I am building a home in Black Mountain, NC which is about 15 miles east of Asheville.
Construction started around the first of June. The home is a hybrid timber frame. Goshen Timber frame is building the timber frame portion. Luna Group is the general contractor in charge of overall construction.
The house is 40 feet wide and 32 feet deep. I will have about 1500 sq ft on the main floor, 700 sq ft on the lower floor and 800 sq ft in the upper loft. There are 2 bedrooms and 2 baths. The lower level will not be finished at this time, but is designed to be another bedroom/bath or den.
This is the view we will have from the front porch. This is the winter view. In the summer the trees will leaf out.

This the view to the west, taken from where our driveway will enter the lot. The trees in the foreground will have to be removed.

The following are the elevations for the house. The first is the the view from the street, the second will be looking down the valley to the east, the third is the west side and the fourth is the rear of the house.


The following are the floor plans as they are today. There will be some changes as the house is constructed, especially in the lower level. First are two plans of the first floor - it needed to be split into two pages. The second is the mudroom and garage and connects the first in the upper right corner.


Loft with bedroom and bathroom

The lower level. This will likely change due to construction needs and site conditions.

Construction Starts - June 2013
Clearing of the lot begins around the end of May, early June. This first photo shows some of the lot cleared. There is a video of the tree coming down that created the large stump on the left and photo of the stump top later.

These next two photos are stumps. The first is the stump of a Chestnut Oak shown above with a quarter to judge the size. The second is a red or turkey oak with my thumb for size. I counted the rings in this stump and the tree was about 100 years old. The one above is likely a couple of decades older. Not to worry, the wood was not wasted. A significant portion of the better wood will be milled and turned into flooring for the house.


The following is a video of the last tree to come down. He's cut the roots on each side of the tree and is pulling it to the left - you can barely see the cable. It was the largest tree that had to come down - it was in the middle of my kitchen.
The next three photos are in order 1) from the top of the driveway, 2) stakes outlining the house from above and 3) stakes outlining the house from below. In third photo, the front of the house runs from the stake in the foreground to the person in blue. A stake for the back corner is off the photo to the left. The stakes for the garage can be seen above and to the left of the house.


Check up - mid July 2013
Checked in to see how things were progressing. The foundation was supposed to be nearing completion and framing work on the lower and main floor was supposed to start shortly thereafter. A lot of rain in the area delayed the foundation work and it had not progressed as far as I'd hoped. Such is construction in the mountains.... More later.
First a short diversion. When I arrived at the site about 8:45am I was surprised that there was no one there. As it turns out the foundation crew drives in from another county so gets there late. That's fine.
But I wasn't alone. There was a large male black bear checking out the job site. He was about 30 inches tall at the shoulder and showed no fear of me. We circled each other at about 40-50 feet, me holding a 2 foot piece of rebar. Eventually I threw some rocks at him to give him the idea that he's not welcome. He ran off into the wood, I left for about 45 minutes and when I returned the bear had wandered off somewhere else. But the foundation crew had arrived and they didn't see him. Some photos of the bear, a white tailed deer and some wild turkeys follows


As it turned out, the foundation crew was planning to pour the footing that afternoon. Yippee! How fortunate I was that I'd picked that day for a visit.
While waiting for the pour, Darren (the construction supervisor) and I went over to the sawmill where the logs were taken to be cut into planks. They were cutting the logs that day. We got to the sawmill and found a pile of planks about 7 feet wide and more than 3 feet high of clear wood and there were still about a dozen logs to plank. This is going to make gorgeous flooring. The sawyer estimated we'll have about 2000 sq ft of raw planks and after drying, cutting into 3, 4 and 5 (and maybe a few 6) inch widths, planing and adding tongue/groove we should wind up with about 1400 sq ft of finished flooring. That should be enough to floor the living and dining rooms, master bedroom, and the entire second floor. The photo below is of a piece of the raw wood - in this case Chestnut Oak.

This a short video of first concrete being poured into the forms for the footing, in this case the upper corner of the garage footer.
The following is a photo of concrete in the garage footing - they started at the top and worked down. The footer for the garage is poured and they are working on some isolated footings before moving to the house footing.

It's a day or two later. The footings are poured and set, forms removed. The first photo below is an excavator cleaning up the crawl spaces that will be under the house and filling in around the footing. The next three are various stages while the crew is starting work on installing rebar for the walls - in case the downhill garage wall - 1) rebar laying around, 2) rebar going up, 3) forms going in.


August 1, 2013 - foundation walls are poured
Some photos of more of the forms for the walls. Concrete was poured today, all day. Total pour for the entire job is estimated to be 140 cu yds of concrete. First photo is from the rear corner of the garage looking toward the rear of the house. The second photo is looking down the side of the house. A retaining wall if be built in the foreground later. One more pour of the front porch and garage floor.


August 8, 2013 - forms removed
The following photos are after the forms have been removed. Work on the garage floor deck is underway on the right. Another smaller deck will be placed on the small area in front for the front porch. Work continues on prepping the crawl space, water proofing, and adding fill in the front for the drive way. A retaining wall will be poured on the left corner of the front of the foundation.
Timber frame raising is set for Sept 9. The lower level and first floor deck needs to be framed before then.


August 21, 2013
Foundation is now complete. The photo below is along the view side of the house showing the columns that will hold up the porch along that side and around the corner. A retaining wall was also added. They've been working on waterproofing the foundation and prepping the crawl space and other tasks. They should start working on fill in the front for the driveway and start on the framing next week. The second photo is of the forms for a retaining wall and looking up toward the driveway entrance.


August 26, 2013 - The photo below shows the new retaining wall prior to fill being brought in. Also on the left is a pile of lumber to start framing the lower and upper floors in preparation for the timber frame to be placed on top.
If you look close you can see a bear between the wood and the retaining wall downhill staring at my builder.

August 28, 2013 - Back fill and gravel is being brought in to
fill in the area in front of the house and garage and level the
drive way.

August 30, 2013 - A couple of photos - the first is looking downhill at the piers that will hold up the deck on this side of the house overlooking the long distance view of the valley below. They are working on back fill and will lay a anti-vegetation screen and then gravel on top of that. The next photo is is looking up uphill at the retaining wall and driveway. There is a hole in the wall for the fireplace air intake.


September 6, 2013 - A bunch of photos today.
This photo is from the top of the driveway looking at the house and where the first floor will be.

Framing on the lower level looking down from where the first floor will be. The door will lead out to a deck and the window will be in a small workshop. The area to the left will be a den and bathroom/closet.

If you walk down the driveway and go right around the back of the garage, then down hill and look back up, you see this. The small door is required by code but otherwise the area under the garage is open space. The wall on the right side will be under a suspended mudroom that will run from that corner to the house and be 12 feet wide. A 10 foot wide deck will extend further to about where the photographer is standing.

Turn around and you see this, a rather monolithic wall. Some of this will be hidden by the mudroom and deck. The top of the wall is the level of the main floor.

Walking to the corner of the house in the above photo you would see this. Again, the lower door in the concrete is required for code for access to the crawl space under the lower floor. Near the top, and closest is a window that will be in a small workshop and then a door that will lead to a lower deck that will extend from about the door to the corner. There will be another deck above that deck and it will wrap around the corner seen in the distance.

Moving to the corner in the above photo, you would see this. You're looking back up hill at a retaining wall and where the driveway will be. The photographer is standing in line with piers that will support the outer side of a deck that will have a fantasic view down the valley which is to the right. The deck will extend from the top of the retaining wall to about where the photographer is standing and wrap around to the left. The part on the left will be covered and in the future (and if needed screened).

Walking up hill and looking left is a view of the huge crawl space. A lot of the mechanical stuff like HVAC, water filters and other stuff will be in this area. The crawl space is "conditioned' which means it is sealed to the ground and will exchange air slowly with the rest of the house. That will eliminate the chance of mold and moisture build up. We were not able to use this space for living area without either raising the house several feet higher or digging that area out (and that would be hard to do as there is bedrock only inches down). Both options would be very expensive and not worth it to get only 400 sq ft.

September 23, 2013 - Timber Frame Raising
Today they began to raise the timber frame. Below is a frame
disassebled and laying in 5 piles. The gable framing on the far end
of the house was built on the floor and will be raised first. We
are waiting for the crane to arrive. There are other covered piles
of lumber and prebuilt framing waiting to go onto the outside of
the house.

The crane arrived and got set up in the future driveway. The gable framing has been raised and they are working on putting up the first post. The post is laying on the floor.

Most of the posts and beams have been erected for the master bedroom and bath. The bath is mostly in the bay on the right. The two bays on the left will have the master bedroom and closet.

This photo is taken when most of the bedroom and bath is complete. The ceiling beams have been installed. The photo was taken from about where the shower will be located. There will be another bedroom above this one. My builders are standing to the left (and the construction super is standing next to them behind the post - you can just see his elbow).
The joint on the upper left is very complicated. It had to contain the intersection of four beams (three installed and one yet to be instaled on the spline to the left), plus the post below and one above yet to be installed.

End of the first day. Most of the posts for the middle of the house are up. The area on the left will be the dining room below and a loft above. The post in the middle of the area (standing alone for the present), will be the corner of the kitchen island. The kitchen will be in the foreground on the right and the living room on the left behind the crane.

September 24, 2013
The lower floor is mostly complete. The kitchen area is the rectangle on the front right. My builder is placing a post to hold up the rafters on the left side of the crane boom. The living room is below him in that hole. The next hole over is the loft and that (and the kitchen) still need joists to be placed for the ceiling (you can see the cut outs in the beams to hold the joists). The living room is open to the roof above.The loft looks down into the living room and there is a large picture window that will be placed in dormer behind the crane boom which will look down into the valley below to the left.

All the posts and beams are complete. The joists are in place for the kitchen and loft. It's lunchtime. Roof rafters are next. A mudroom will be build off the very front corner to the right and the garage will be in front of that (where the lumber is stacked on the lower right corner).

Below, one is looking into the kitchen from the living room. There will be cabinets, a desk and microwave oven between the two posts on the right. A door to the mudroom will be between the two posts in the back right corner. The mudroom will be conventionally framed and extend another 18 feet and include a large pantry and laundry area as well as entry into the garage that will be on the right. A door will lead to an open deck that can be seen in joists with a piece of green sheathing on top as well as two posts that will form part of the railing. An island will include the post on the left and extend to the right and back into the kitchen. Along the wall on the far left (in shade) and back wall will be the refrigerator, range, sink and more cabinets.

The photo below is taken from the door from the mudroom looking into the kitchen and living room in back. The ceiling will be covered between the kitchen ceiling beams and flat so the beam beyond won't actually be visible. Initially, the area above the kitchen was to be for storage and three SolarTube skylights would bring in more natural light into the kitchen. We decided to eliminate the SolarTube sky lights (they'd be on a north facing roof and not effective) and open the storage area above to be a study.

All of the long rafters on the right side of the house have been installed. The rafters on each side come in two parts - they installed the longer piece. They are installing the first of the left side rafters. No, the worker isn't wearing any safety harness and I did check that their Workman's Comp is in place.

The rafters have been installed on the left side. Again two piece rafters (except for two). There appears to be some missing rafters. The two missing rafters in the distance (near the workers) and closer in missing rafter will each have a dormer installed in the roof. The far dormer will have a window into the upstairs bedroom. The other dormer will have a window over the living area to bring in light. The middle area is where the loft is located and there will be a larger dormer there, extending to the edge of the roof (hence the missing beam on that side).

End of day 2. The shorter rafters have been installed connecting the rafters on each side. Left to do is to install the two small dormers and the ridge beam. Then make adjustments to make sure the posts are vertical and perpendicular to the beams, the joints are all tight and the house is square. At this moment the entire timber frame is not tied down to the floor. It's just resting on the floor - it will be tied down later. Exterior walls will be built on the other three sides.

September 25, 2013
It rained overnight and continued to rain and sprinkle lightly until mid afternoon so a lot of waiting around. They finally did get the rest of the rafters and ridge beams in. The three dormers are using special panels for the walls and they won't be on site until next week so they won't be completed until then.

September 26, 2013
First a wildlife interlude. When I arrived on the site on Sunday, it had rained the day before. I found these bear prints in the mud next to my house. The prints are about 4 inches across. And while about six of us were working around the house. a bear climbed into the back of my construction supervisor's truck parked at the top of the driveway near where this photo was taken, pawed his Igloo cooler open and made off with a bag of potato chips, a mere 40 feet from us. And that's the second time that happened to him - a few weeks ago while eating lunch he left his sandwich to go do something and returned a couple of minutes later to find not one, not two, but three bears on his truck, his lunch now history. In the second photo below is a herd of deer that I saw on the way out of the subdivision.
A third photo shows the three bears - they came down again on Friday. It's a momma bear and her two cubs. They were looking for food again, but finally figured we had none and sauntered down the road. The dirt hole is where my water will connect and the temporary power pole will be removed soon, once it's connected to the house.


Back to the house. They spent the day making sure all the posts on the first floor were where they are supposed to be. Then they checked and made a few adjustments to make sure the rest of the house is plumb, at right angles and not tilted or crooked. You can see a strap keeping the house near perfect. At this point, no place on the timber frame is more than 1/4 inch from the design. Pretty good for having cut all the timbers in a shop 20+ miles away and only able to assemble it once, on site. The exterior wall panels that were built the previous week have been moved into position. There is one window that is framed but the sheathing needs to be cut out in the back of the house. All the timbers except for a small pile next to the house has been put in place. Those are waiting for prefab insulation panels to arrive next week and will be the roof system of the center dormer in the loft.

This is the left side showing the exterior wall panels in place. The center hole will contain a door to the deck and the other two openings are for windows. The white coils are wiring for ceiling fans and lights that need to be run in the timber frame before the roof is applied. This is the end of the day. I visited with the cabinet maker and electrician to discuss some details. The cabinets need to be ordered by the end of next month and he needed to get as built dimensions rather than as designed. We did change the wall section in front on the right. The electrician wanted to discuss some of the details on breaker box location, generator and transfer switch location, and other details.

September 27, 2013
Tongue and Groove Eastern White Pine boards were put on one side of the roof. This will be seen from the inside of the house in upstairs rooms. It will be covered with structural insulated panels giving an R-40 insulation value next week.

This is what the T&G ceiling looks like. This is an example as most of this will be hidden. The photo was taken from the front window in the living room, looking back and up toward the kitchen. There will be sudy in this area. The kitchen is below. The island will incorporate the post in the lower left. Cabinets along the wall to the left of that and the back. The opening will have a pocket door opening to the mudroom. More cabinets, a desk/window and microwave oven on the right. Note that photo was taken with a wide angle lens so it is distorted.

This photo shows the start of the the dormer that includes the loft. It is that small bump out on the roof. It will extend to the left to the edge of the house and that wall will have more windows. That portion and the other two smaller dormers will be completed next week.
Not shown but a crew was working in the lower level to frame the rooms down there. They will start framing the main and upstairs levels, and add the front gable next week. They also need to frame the mudroom and garage. Next visit is end of October.

October 2013 visit
Diana and I visited the lot mainly to make some material selections and check up on progress.
First a bear report: The previous month a bear broke a car window out of one of the crew and stole an apple - can you say Yogi? And then the bears started to eat the house. Below is where a bear bit a post near the front door. You can see a piece of the post he tore off and teeth marks above that. Not much since. The large amount of rain apparently reduced the acorn supply so the bears are hungry looking for food.

Ok back to the house. You will notice that in the month since I was there, the leaves turned color - we happened to pick the peak week to visit. After I left last month, they finished putting the dormers on the roof and added the roof panels. The photo below shows the completed dormers. The roof is covered with tar paper and is waiting for shingles.

For most of October they were framing the rooms inside the house as well added the framing for the decks, as shown on the left in the above photo. They then moved on to frame the mudroom and garage, shown below as they are sheathing the roof. Not very visible is an attic 10 feet wide and 36 feet long for storage or a small living space. The second photo is from the windows on the stair landing of the deck off the mudroom, looking north.


The following are some photos taken on the first floor. In order:
A) The view as one would enter the house. You are looking into the living and dining area below (with master bedroom afar), and the loft above.
B) The view from the edge of the kitchen.
C) Looking at the kitchen and loft area above from the corner of the living room.
D) The layout of the kitchen in blue tape on the floor
E) The view out of the master bedroom window.


Some views from the second floor. In order below:
A) The view from the loft over the kitchen across the living room below and the loft above
B) The view out of the 2nd floor bedroom, looking mainly west
C) Looking out of the 2nd floor bedroom window down at where a covered deck will be located.


Dec 10-13, 2013
A progress visit to deal with the wiring and other details. The leaves have fallen from the trees now so views are clear. On first glance it doesn't appear as if much work has been done. But looking under the covers (or between the studs in this case). one sees a lot more work. The rough in for the HVAC is complete with the air handler is installed under the floor of the lower level in the lower crawl space. All the HVAC pipes have been run. They are working on the rough in for the electric and plumbing and propane gas distribution. I spent 4 hours with the electrician going over the location of lights and where they should be switched from, as well as socket and cable location and other special wiring. We also discussed exterior lighting and the emergency generator, transfer switch and other details.
The first photo is one of the house from about 2.5 miles away on the road going to the house. That's followed by a view of the house (green thing in lower right corner) from Wedgewood, a road just around the corner from the house.


Following are some photos of the view from various places. The first is of the valley in the morning. I'm not sure if the smoke in the valley is "Blue Ridge" smoke or just morning commute smog or a low layer of humid air. The second photo is the view from the covered porch (which is not completely covered yet). Then a view to the west with the one pine tree that is on my lot. The fourth photo is the same valley view in the afternoon. The final photo is what we can see of our neighbor's house in the winter. It's visible only when the leaves are off the trees.


This next set of photos show some of the work outside. The first is the trench that was dug to run the electricity, water and phone lines. This trench crossed the driveway and has been blocking access to the house for several weeks. A load of fill was delivered later that day to start filling it in. The next photo is looking down the hill at the utility trench. The large gray pipe is for the electric cable, the smaller gray pipe is for the phone line and the harder to see black line is for water. Finally is a photo of the septic drain field and septic tank. The drain field will over grow with plants over the next year or two as 'nutrients' are supplied to the soil.


The following photos are of the interior. Not much different
except for the addition of windows and some wiring and plumbing.
The first is from the kitchen looking into the living room and up
at the loft area. The second is from the door of the master bath
looking into the master bedroom. The third is of the area where the
master bath vanity will go with the plumbing and boxes for the
lights. The fourth is looking from the study above the
kitchen across the loft and the second bedroom can be seen through
the studs. The next one is of the loft area and the final one is
looking from the second bathroom into the second bedroom. The
closets are on each side of the window. A window seat will be added
to allow one to nap or read or just enjoy the view.


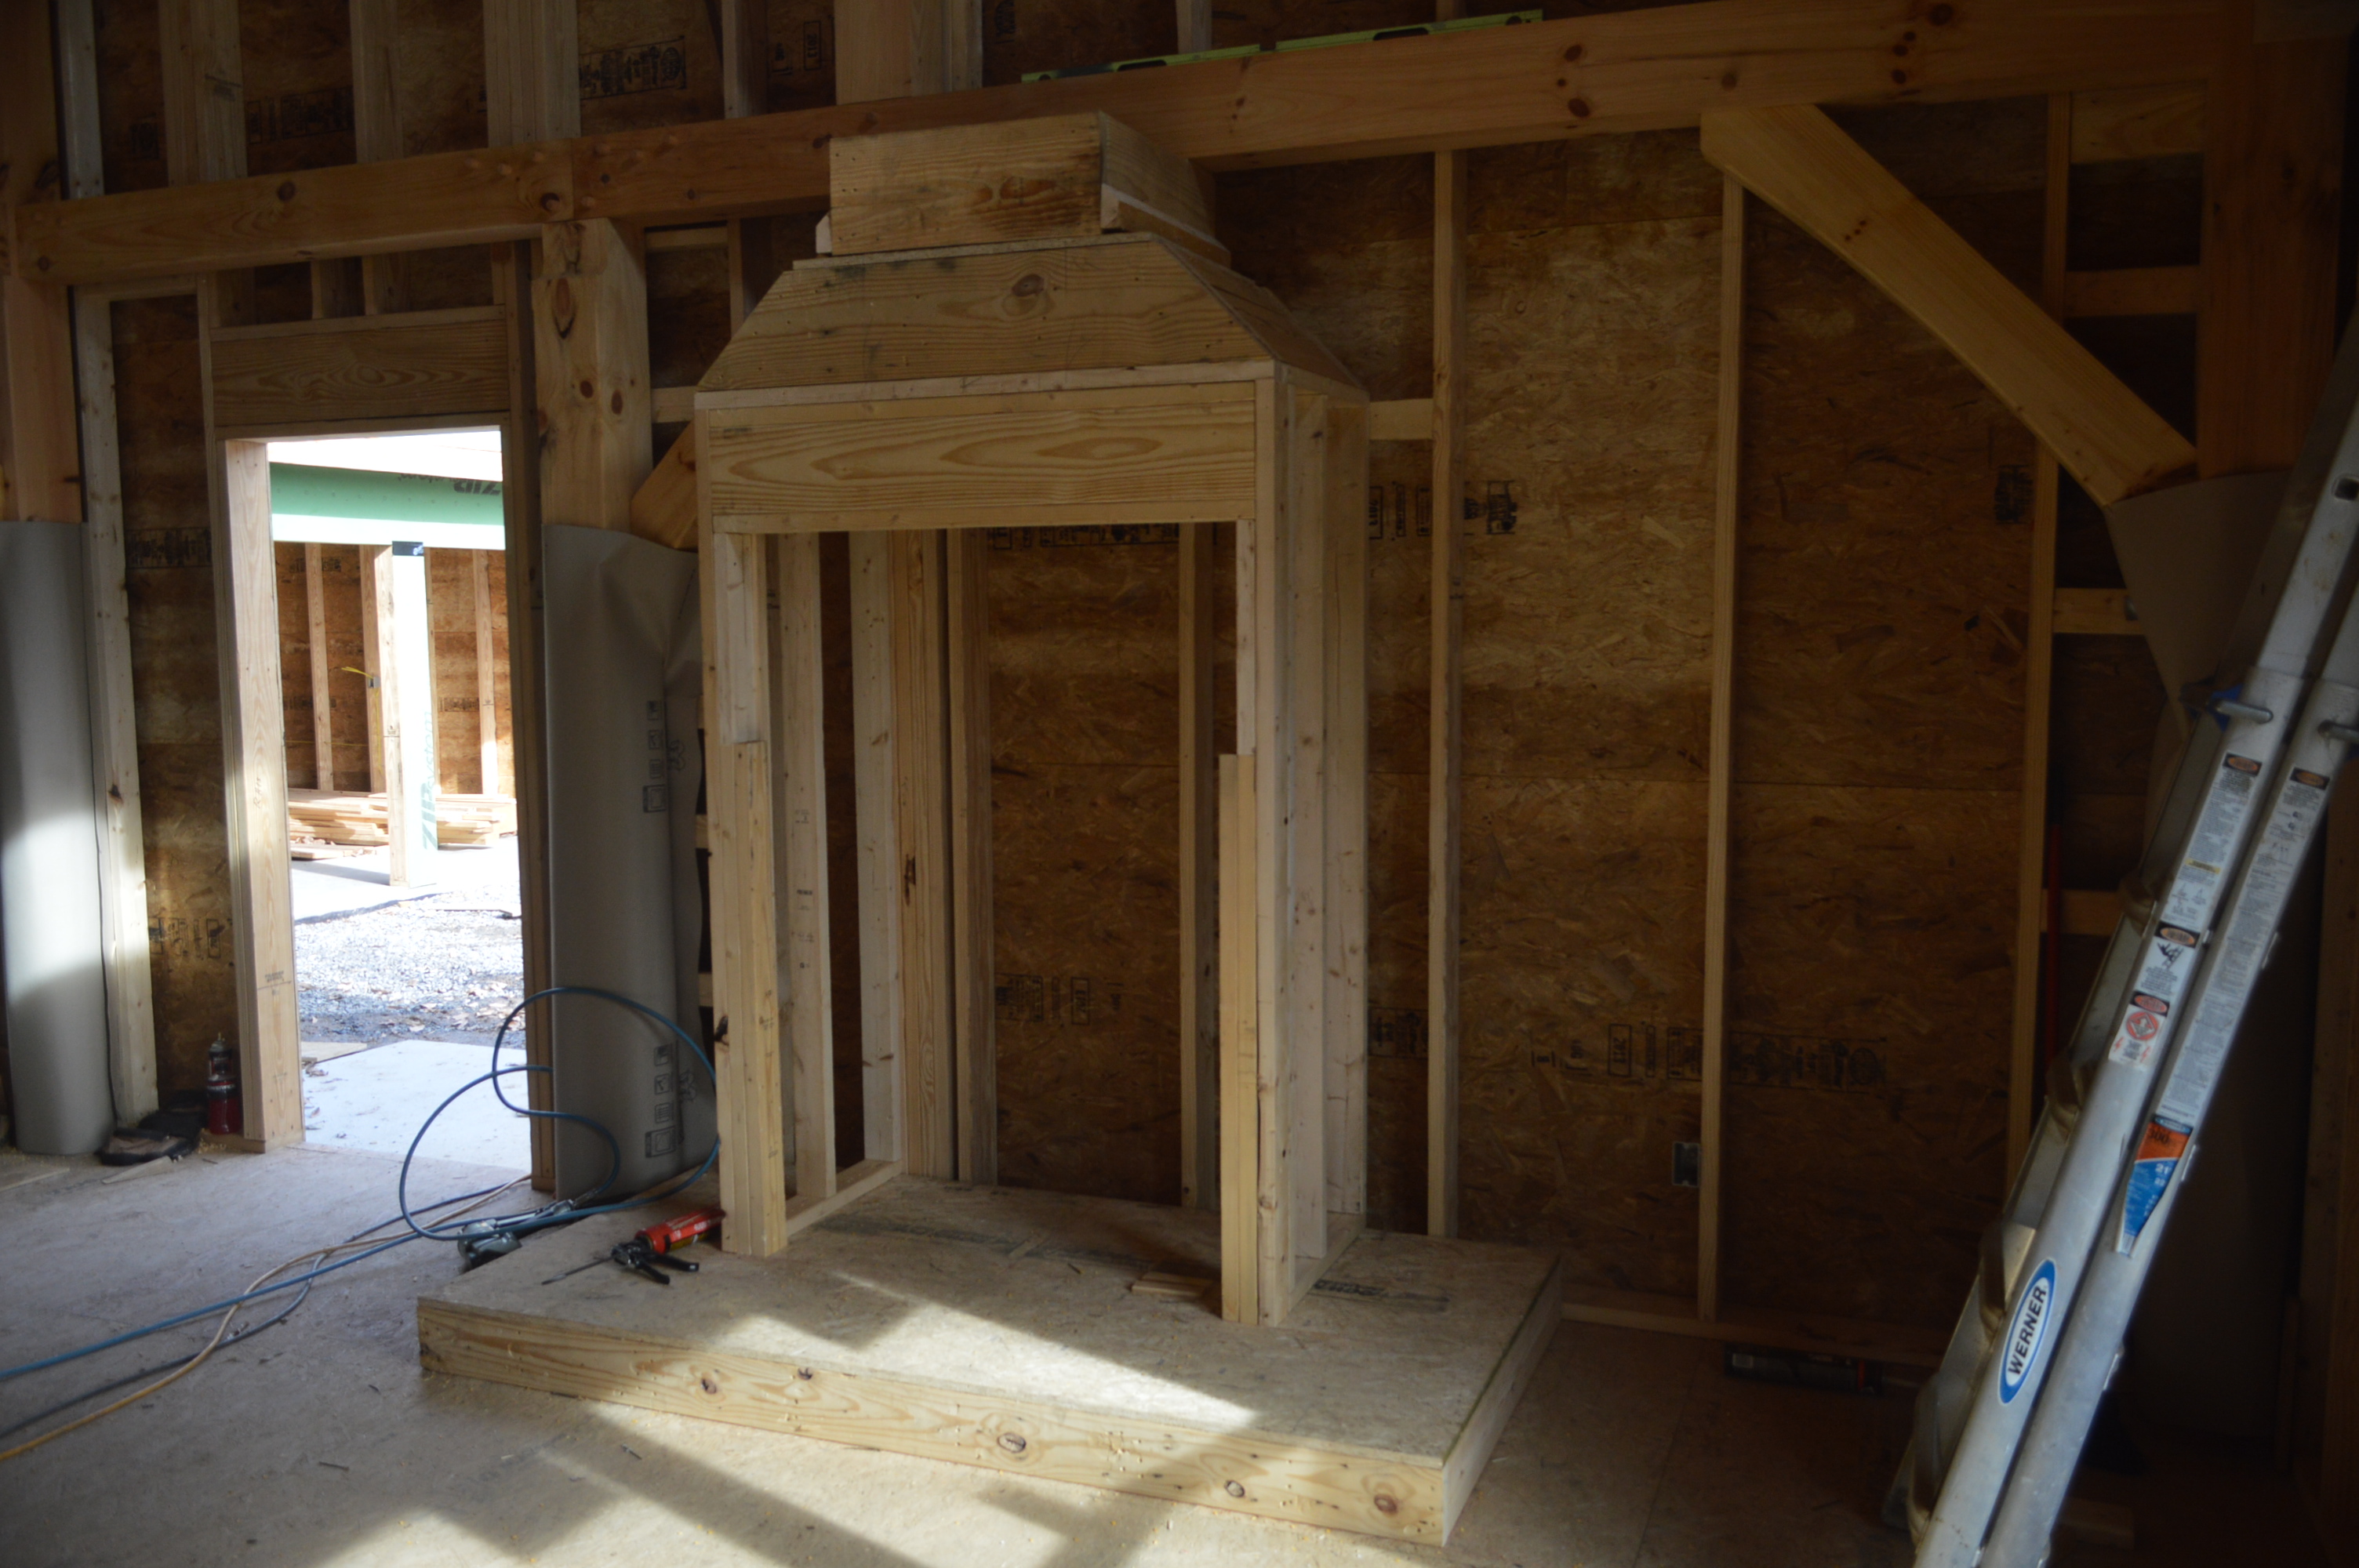
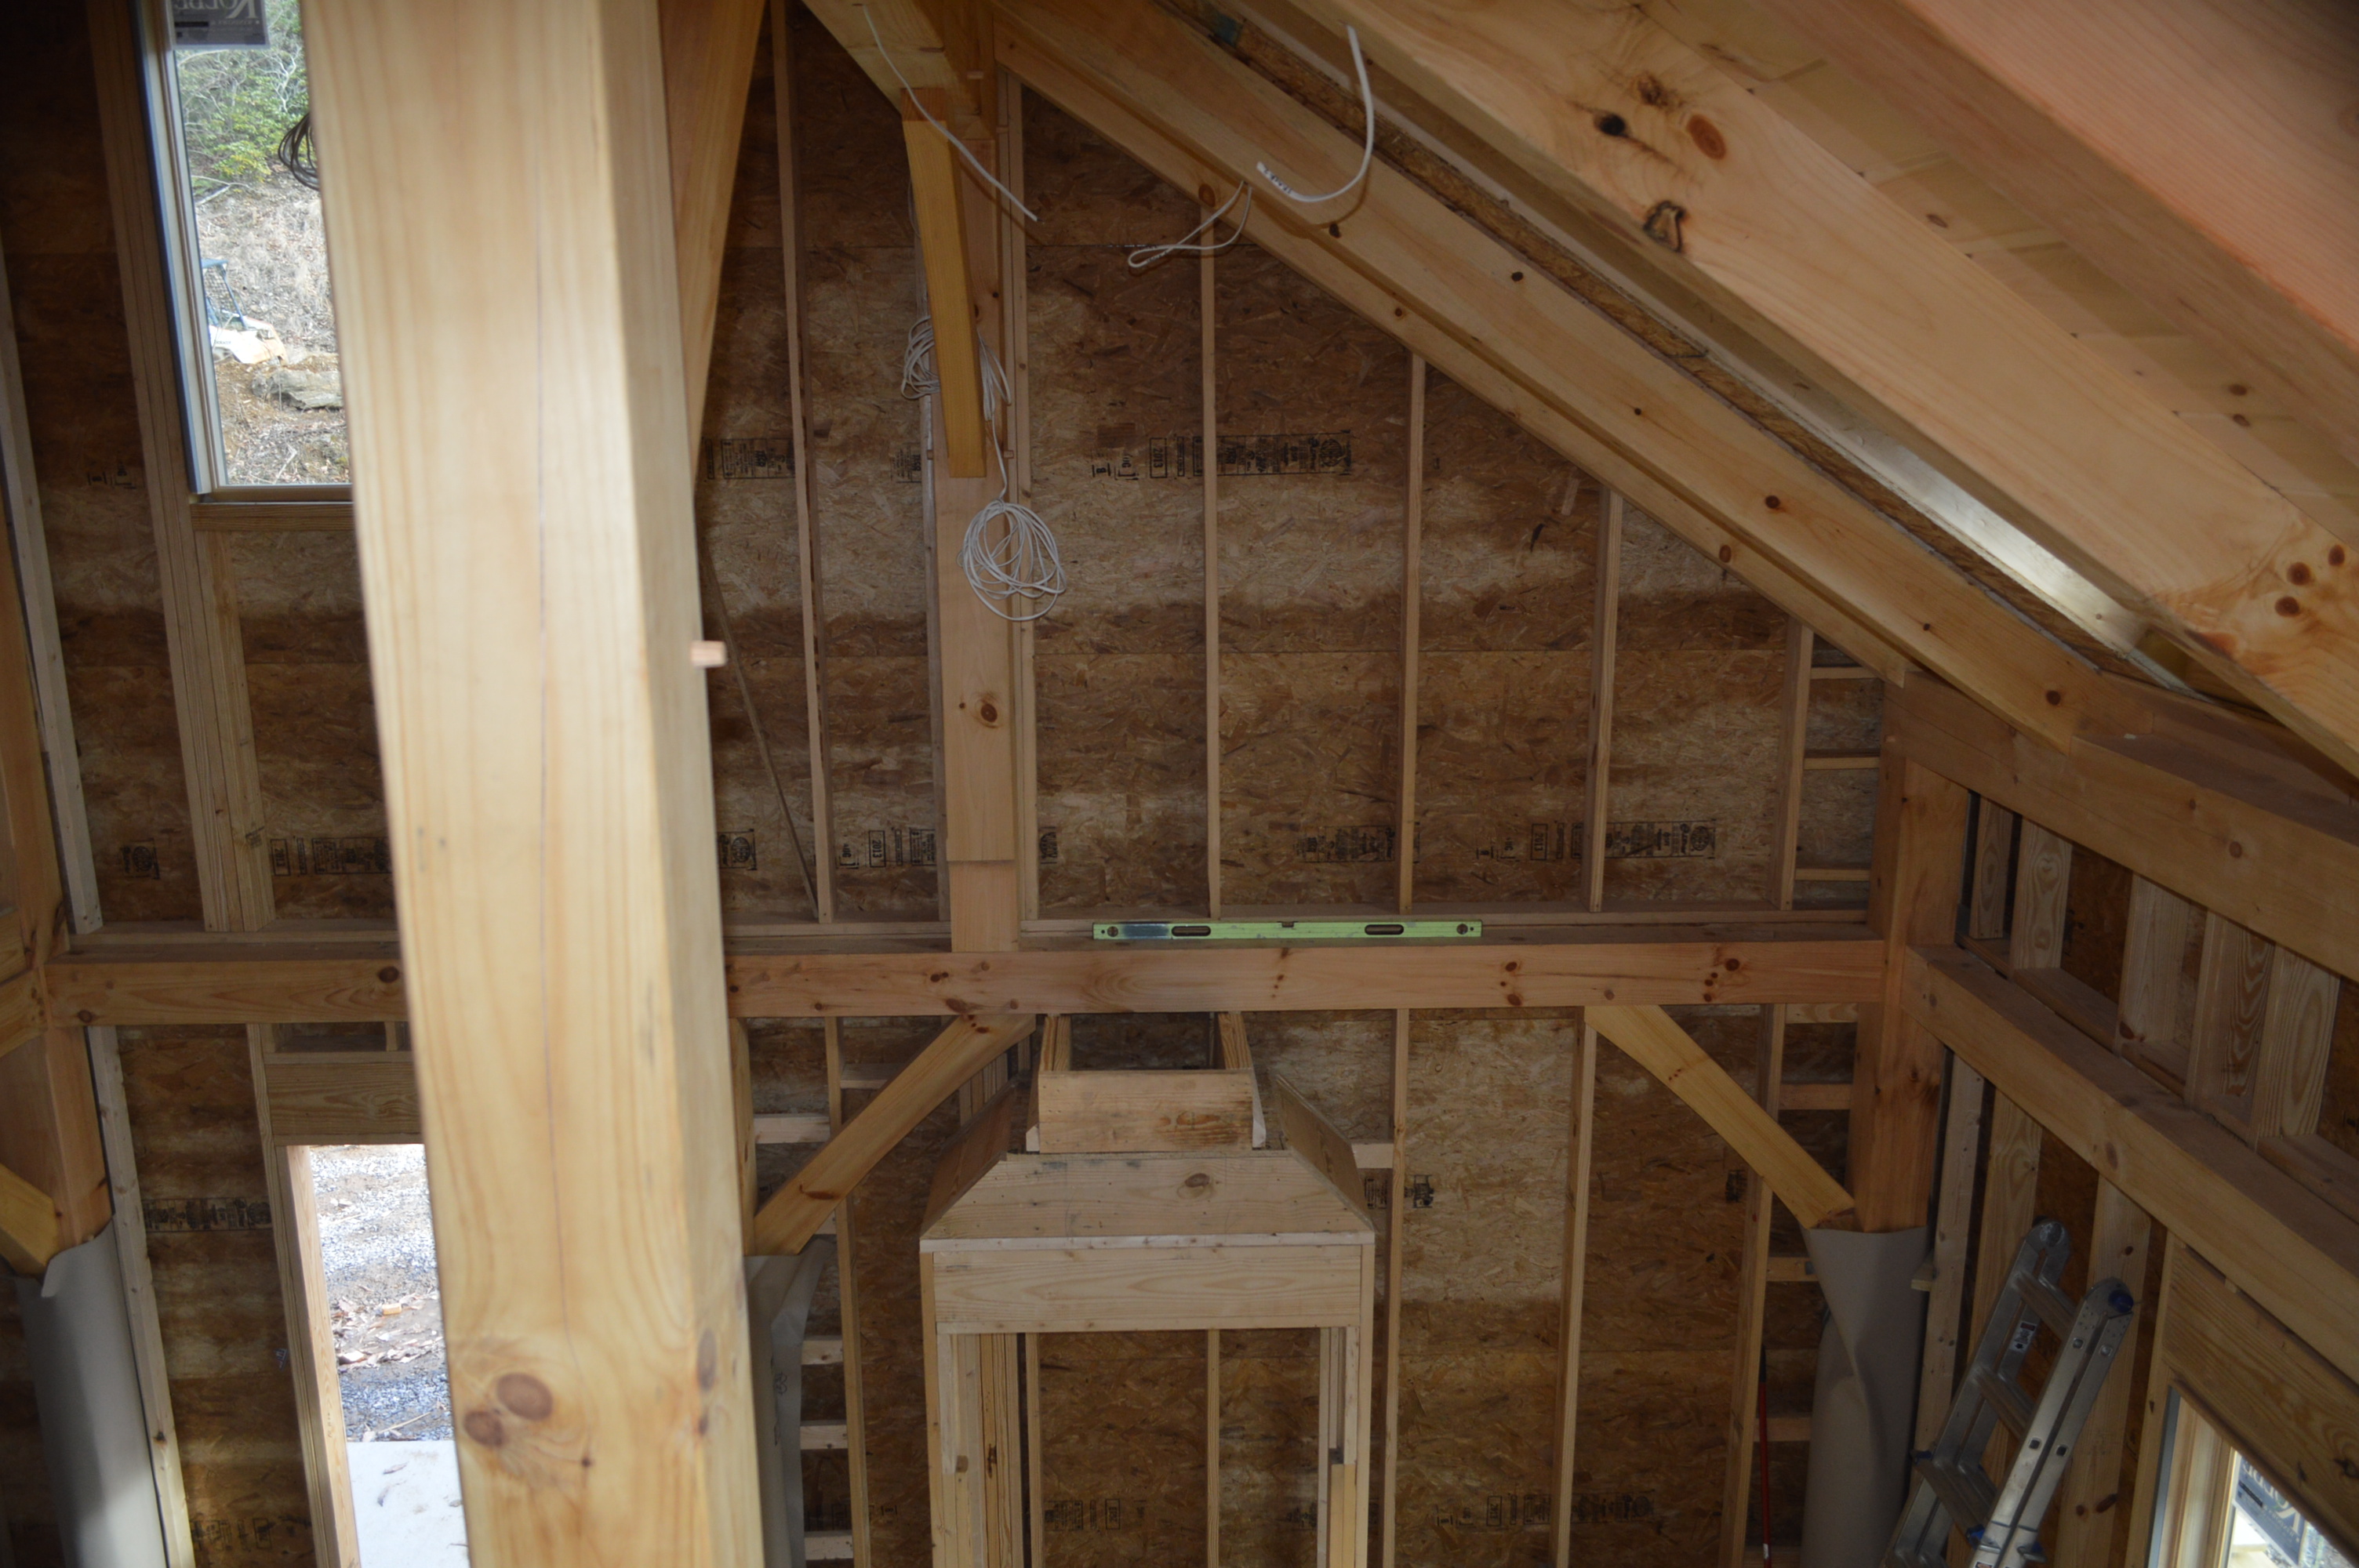
The next two photos show the framing for the fireplace. The first is from the main floor. It will be on a raised heath about 8 inches high when finished and will be topped with stone. The right side of the fireplace will have a wood storage area and to the right of that to the corner will be an entertainment area for the TV. The fireplace is a self contained system that will be installed in the box up to the top of the two studs on the inside front of the frame. Additional framing will be added to complete the front. The chimney tapers above the fireplace and extends up through the ceiling. That part of the framing is yet to be installed. The second photo shows the view looking down from the loft area. The fireplace and chimney will have stone on all sides.
March 2014 Visit
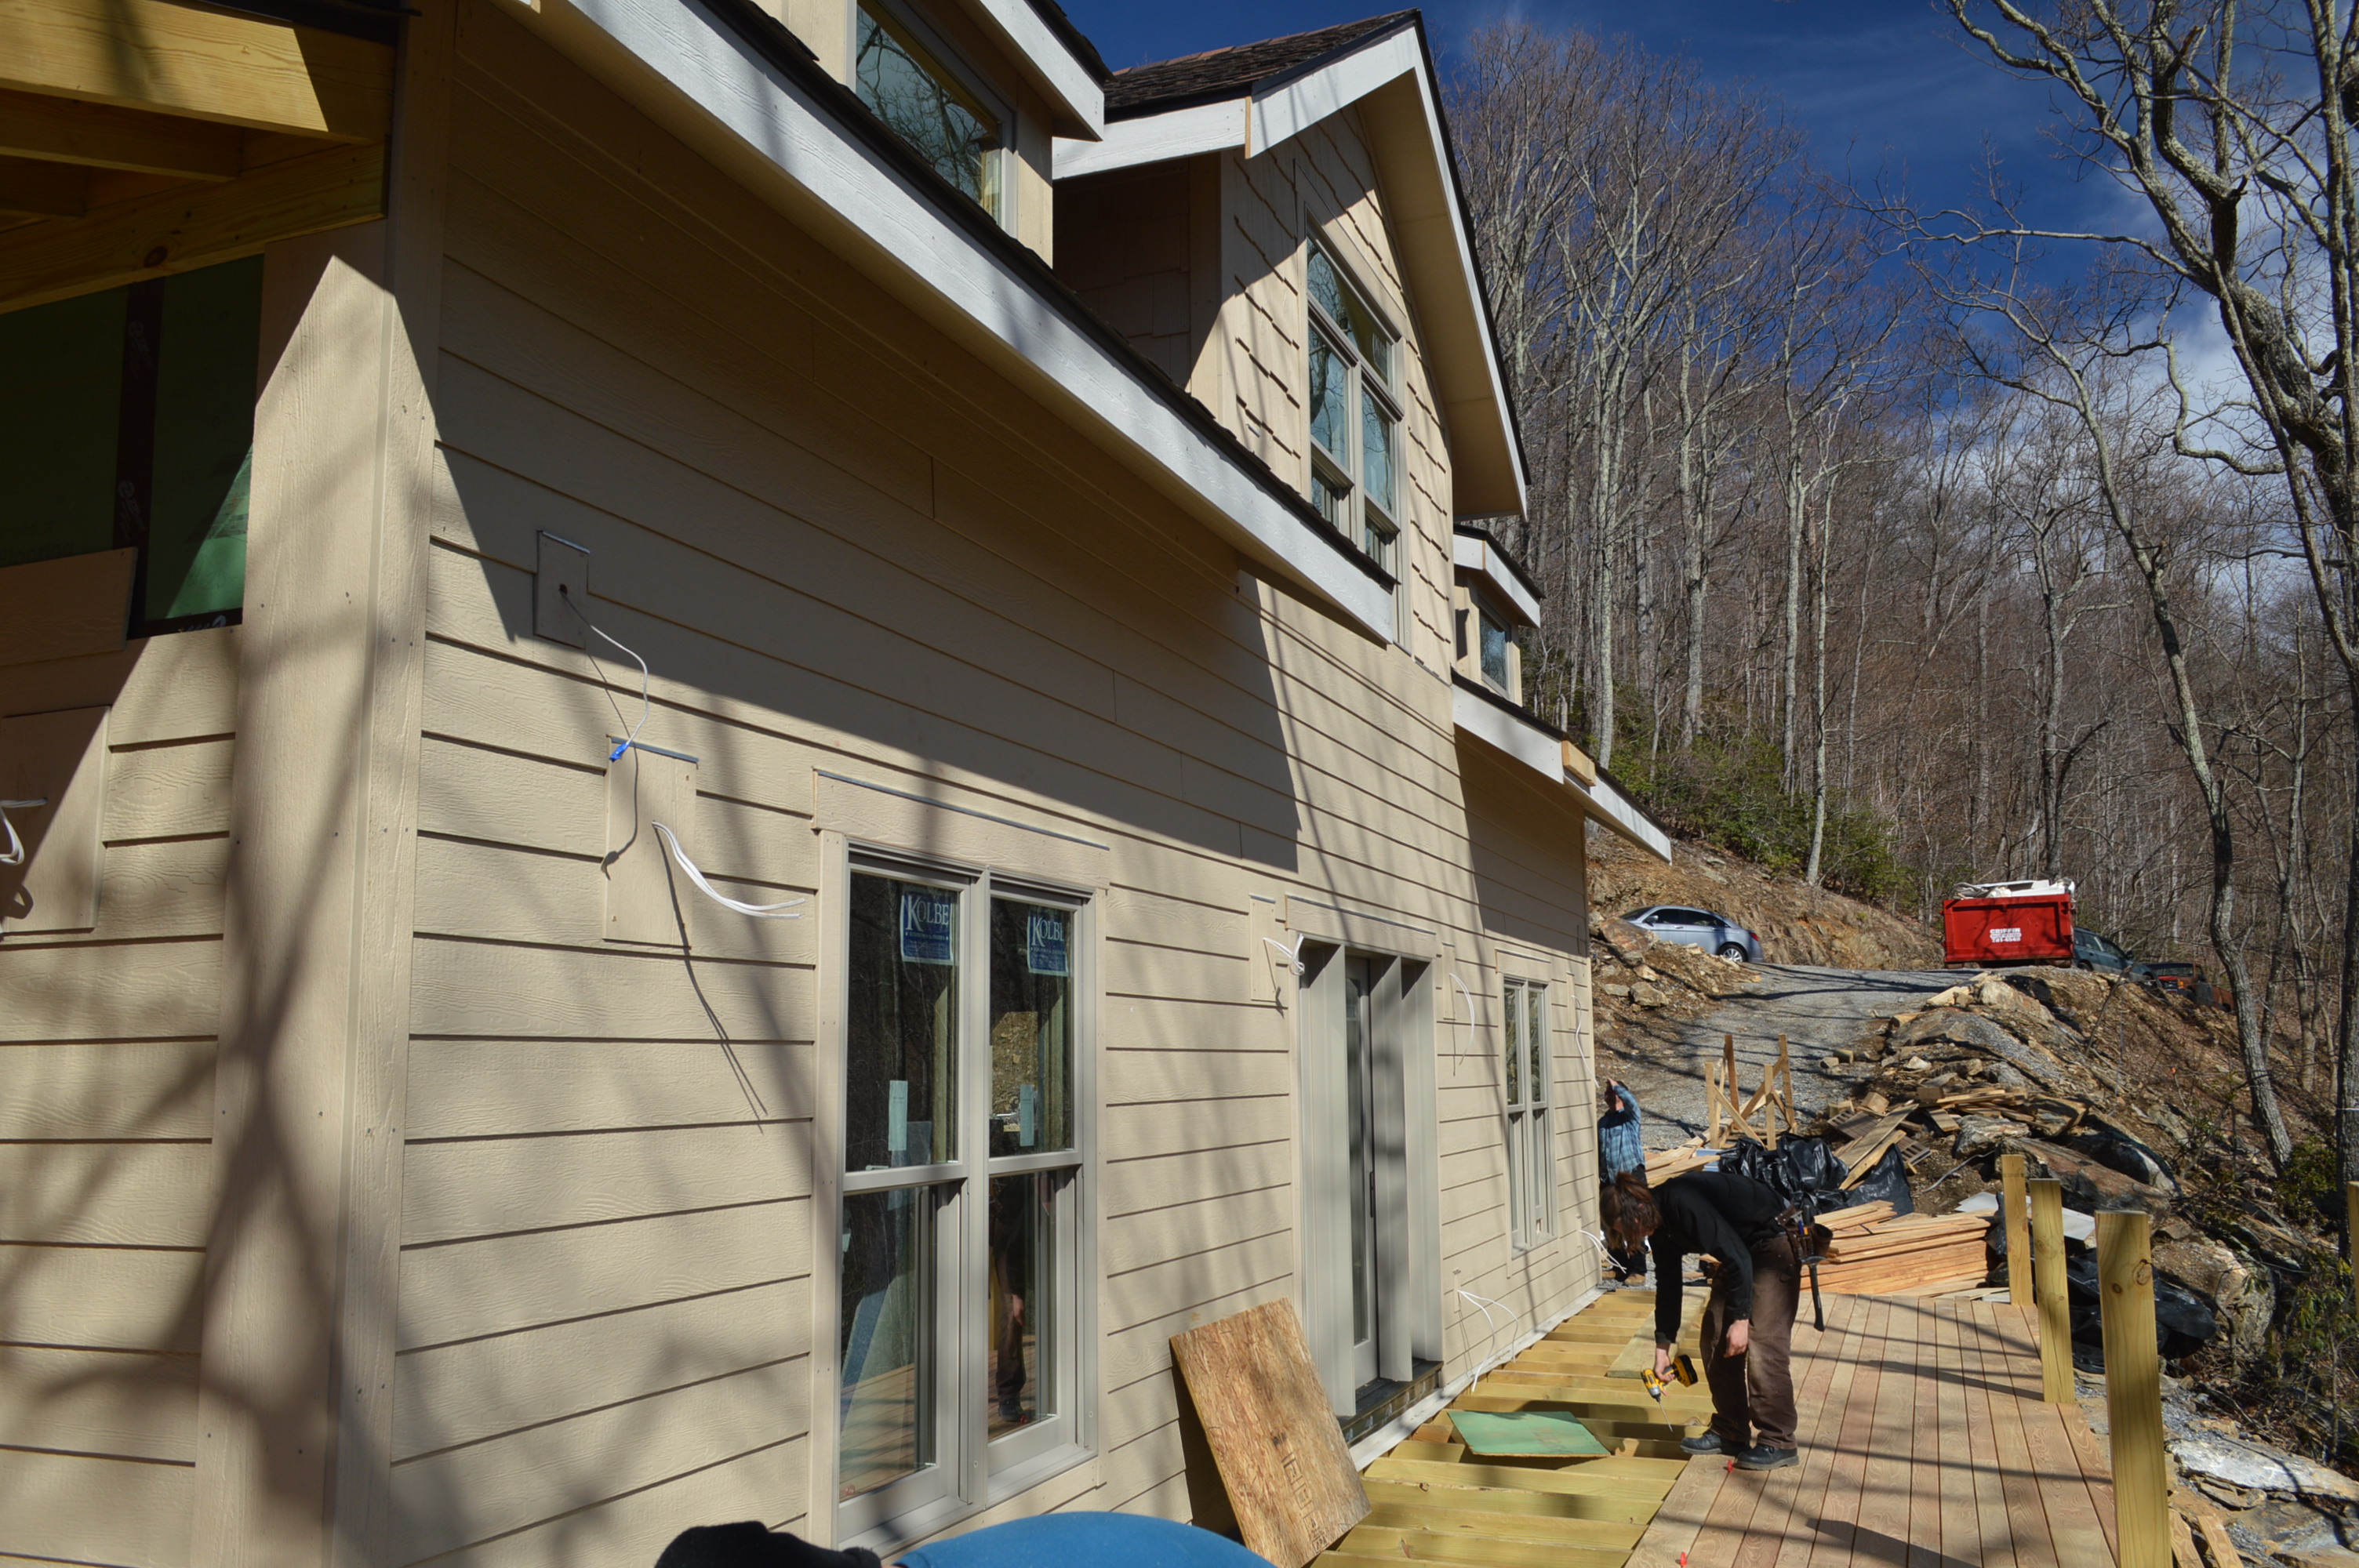
Diana and I made a visit to the site to select some of the finish materials in early March. When we arrived, they had completed a lot more of the house. The roof shingles had been laid, they were working on the exterior siding and laying the locust decking. The rough HVAC, plumbing, electrical and gas has been completed, the exterior walls were insulated and some areas in the interior walls and ceiling had sound deadening insulation installed. The drywall has been installed and they were starting to tape and mud the joints.
We drove to South Carolina to select the granite slabs for the kitchen (Giallo Ornmenal Dark) for the kitchen and selected an Alabama White marble slab for the bathrooms. We also finalized the stone for the fireplace and front porch. We had four samples of interior paint mixed up and painted some scrap drywall to see how they would look. We settled on Serwin William Moderate White for all the walls, except the bathrooms where we selected Assessible Beige cut to 80% (whitens it slightly). The ceiling will be a standard contractors white. We talked with a color consultant on the exterior colors and had some exterior paint samples mixed up. We picked Rosemary (greenish) for the shakes in the upper part of the house and Well-Bred Brown for the main body. Accent color was matched to the Window color. We put up the samples and decided to use a darker brown.
On to some photos, exterior first.
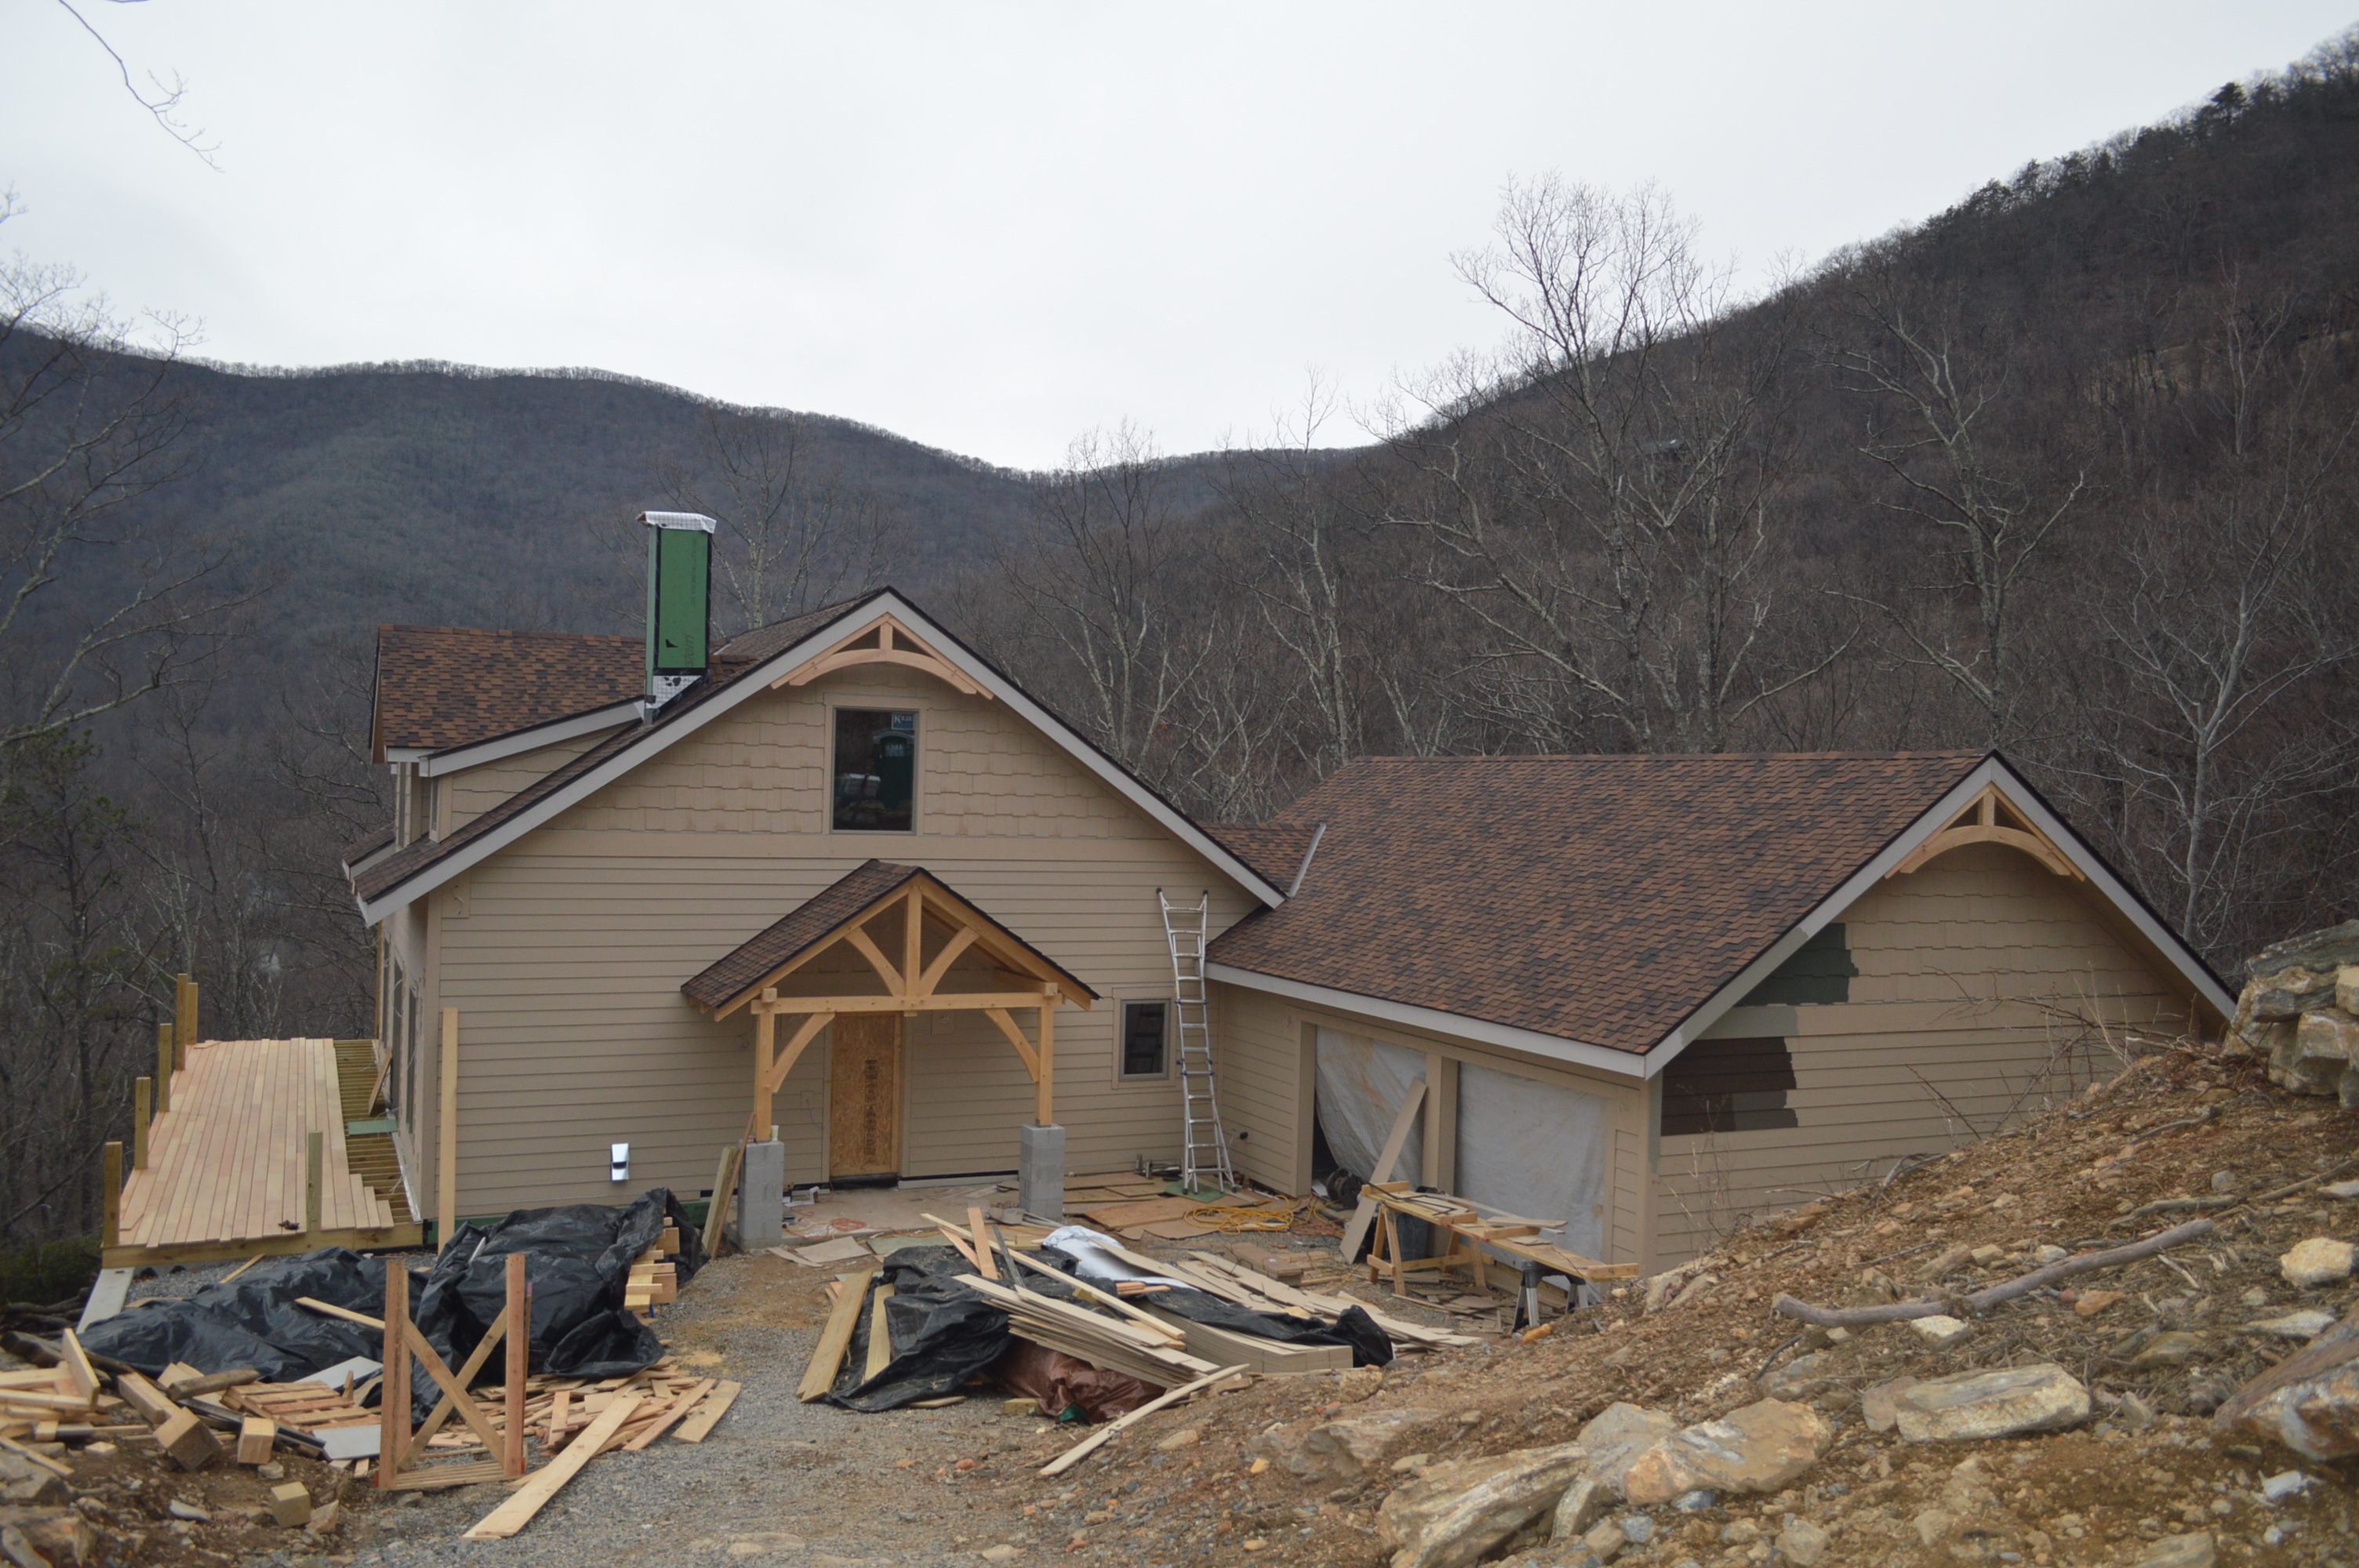
1) the house from the top of the driveway. The siding is mostly finished but not painted (it has a primer paint applied at the factory). The actual colors can be seen on the corner of the garage.
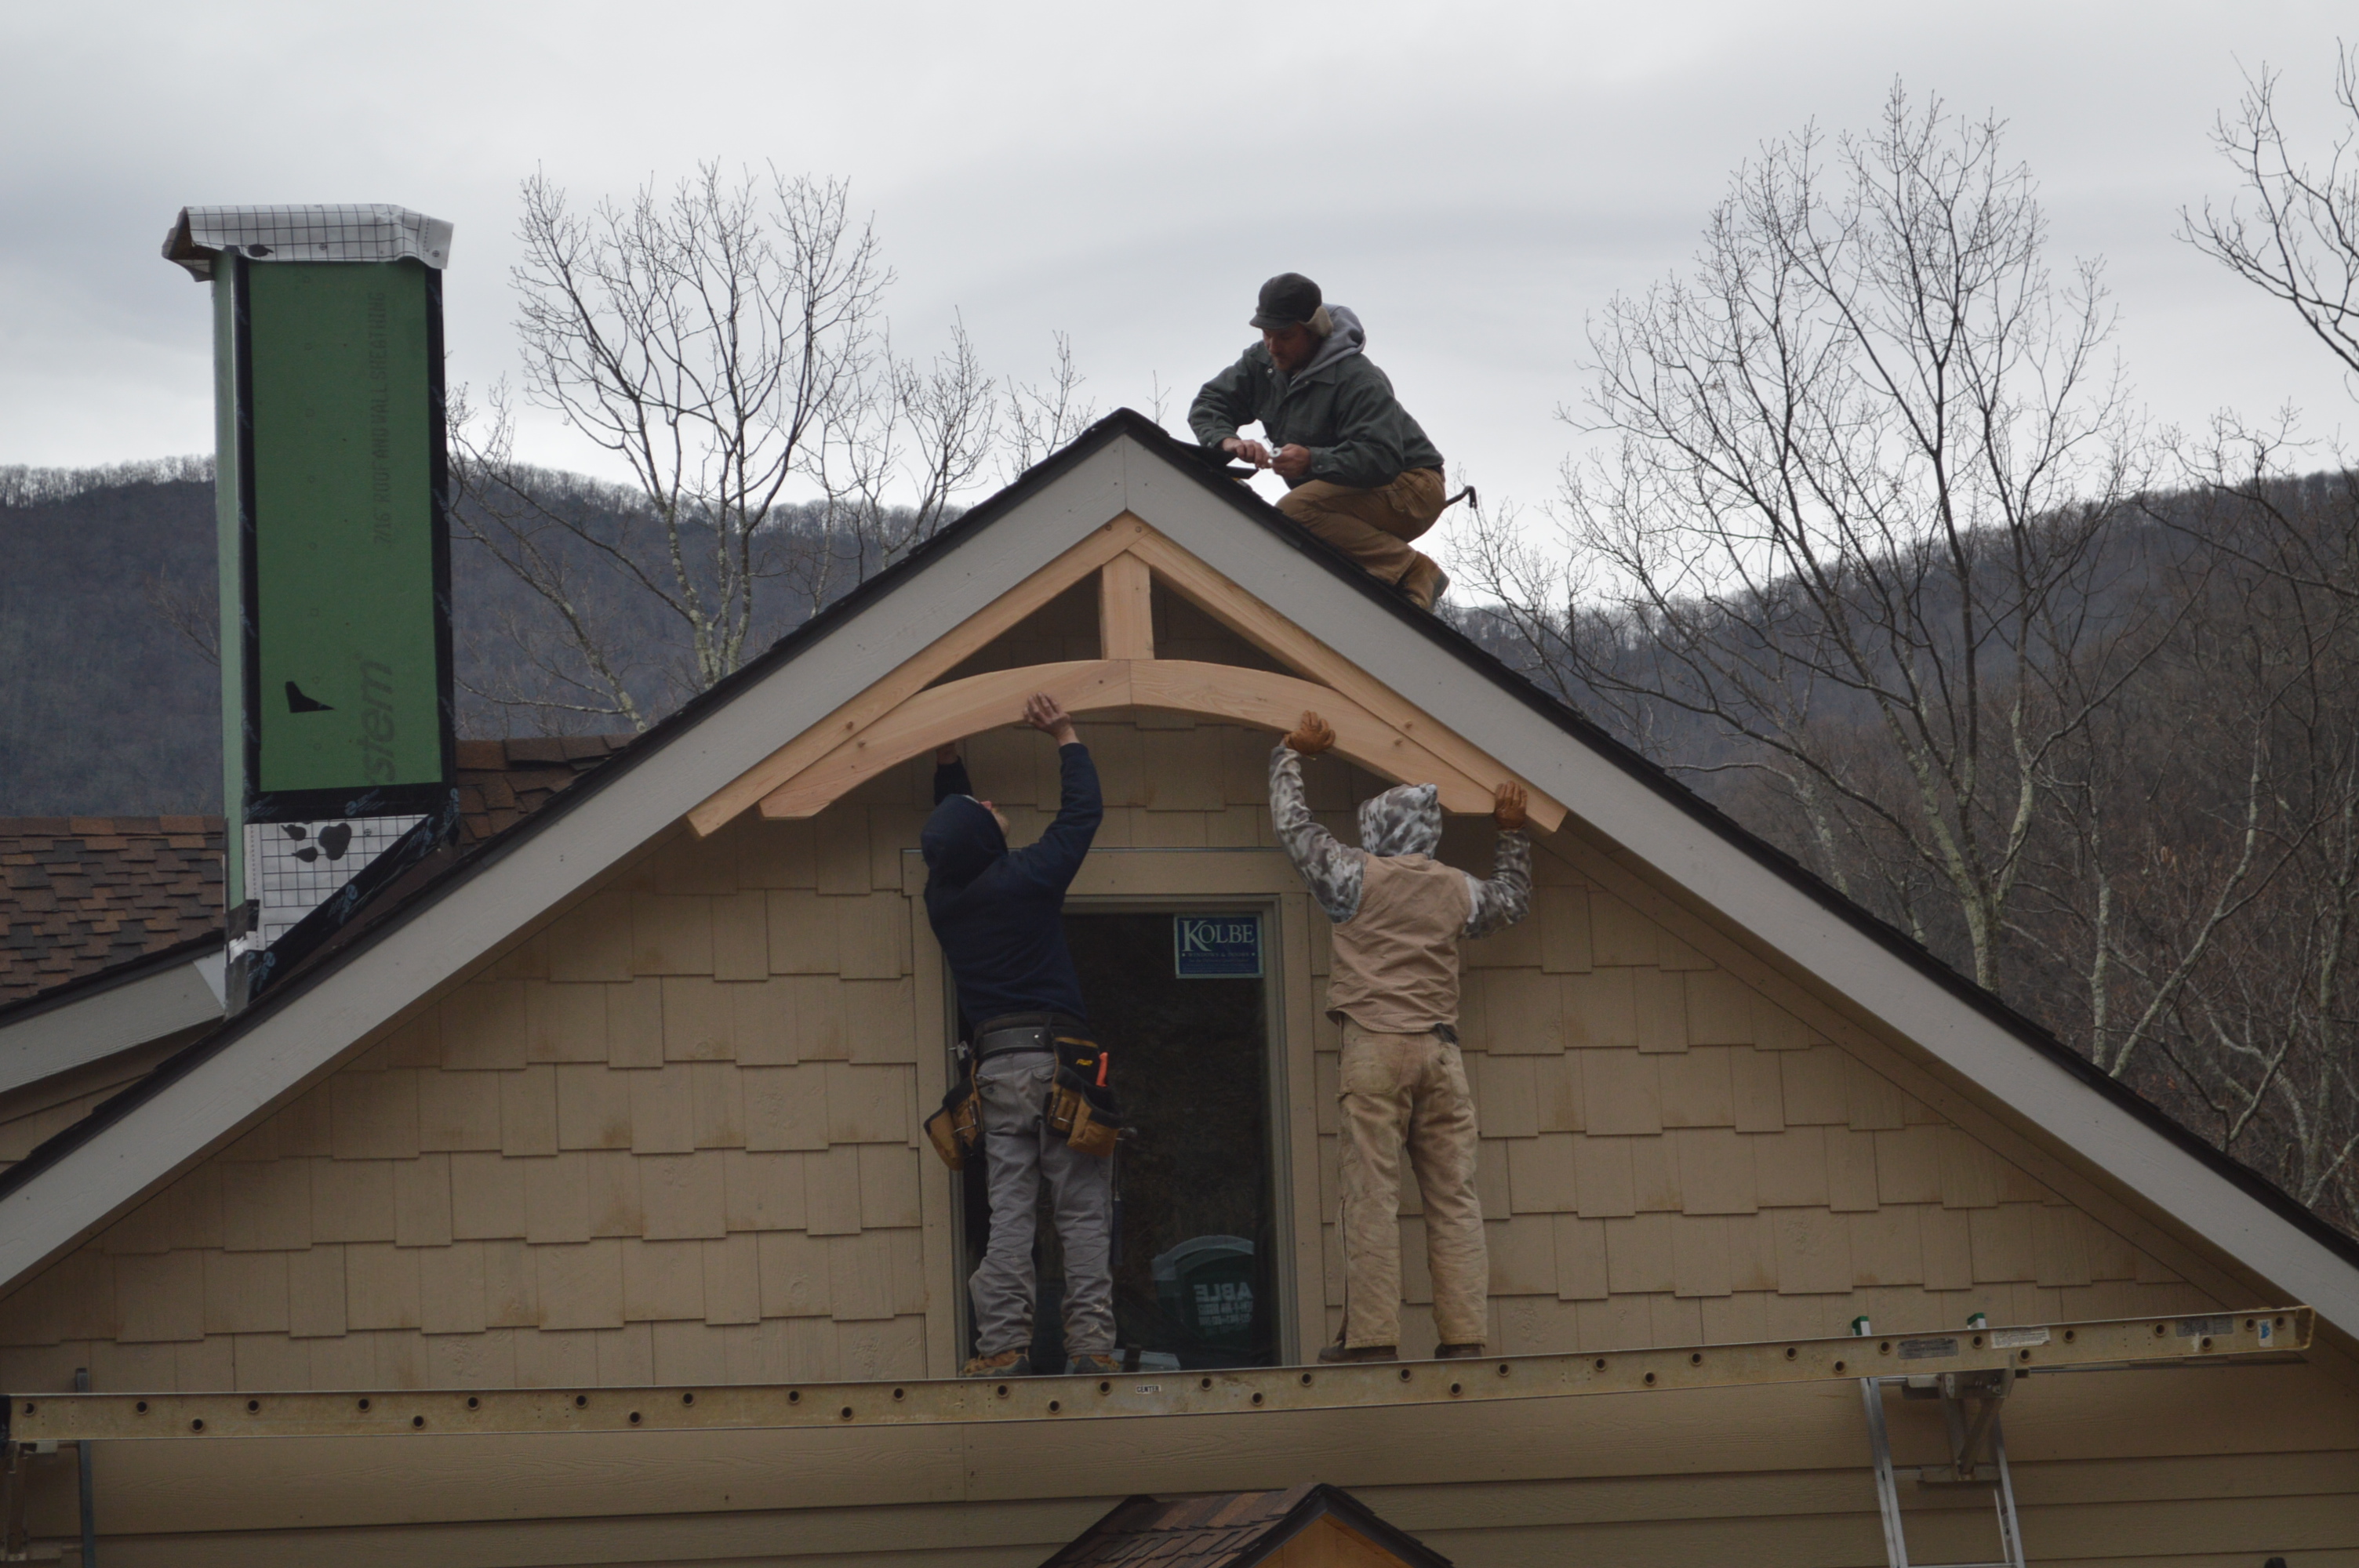
2) Darren and the siders installing a wood detail in the roof ridge.
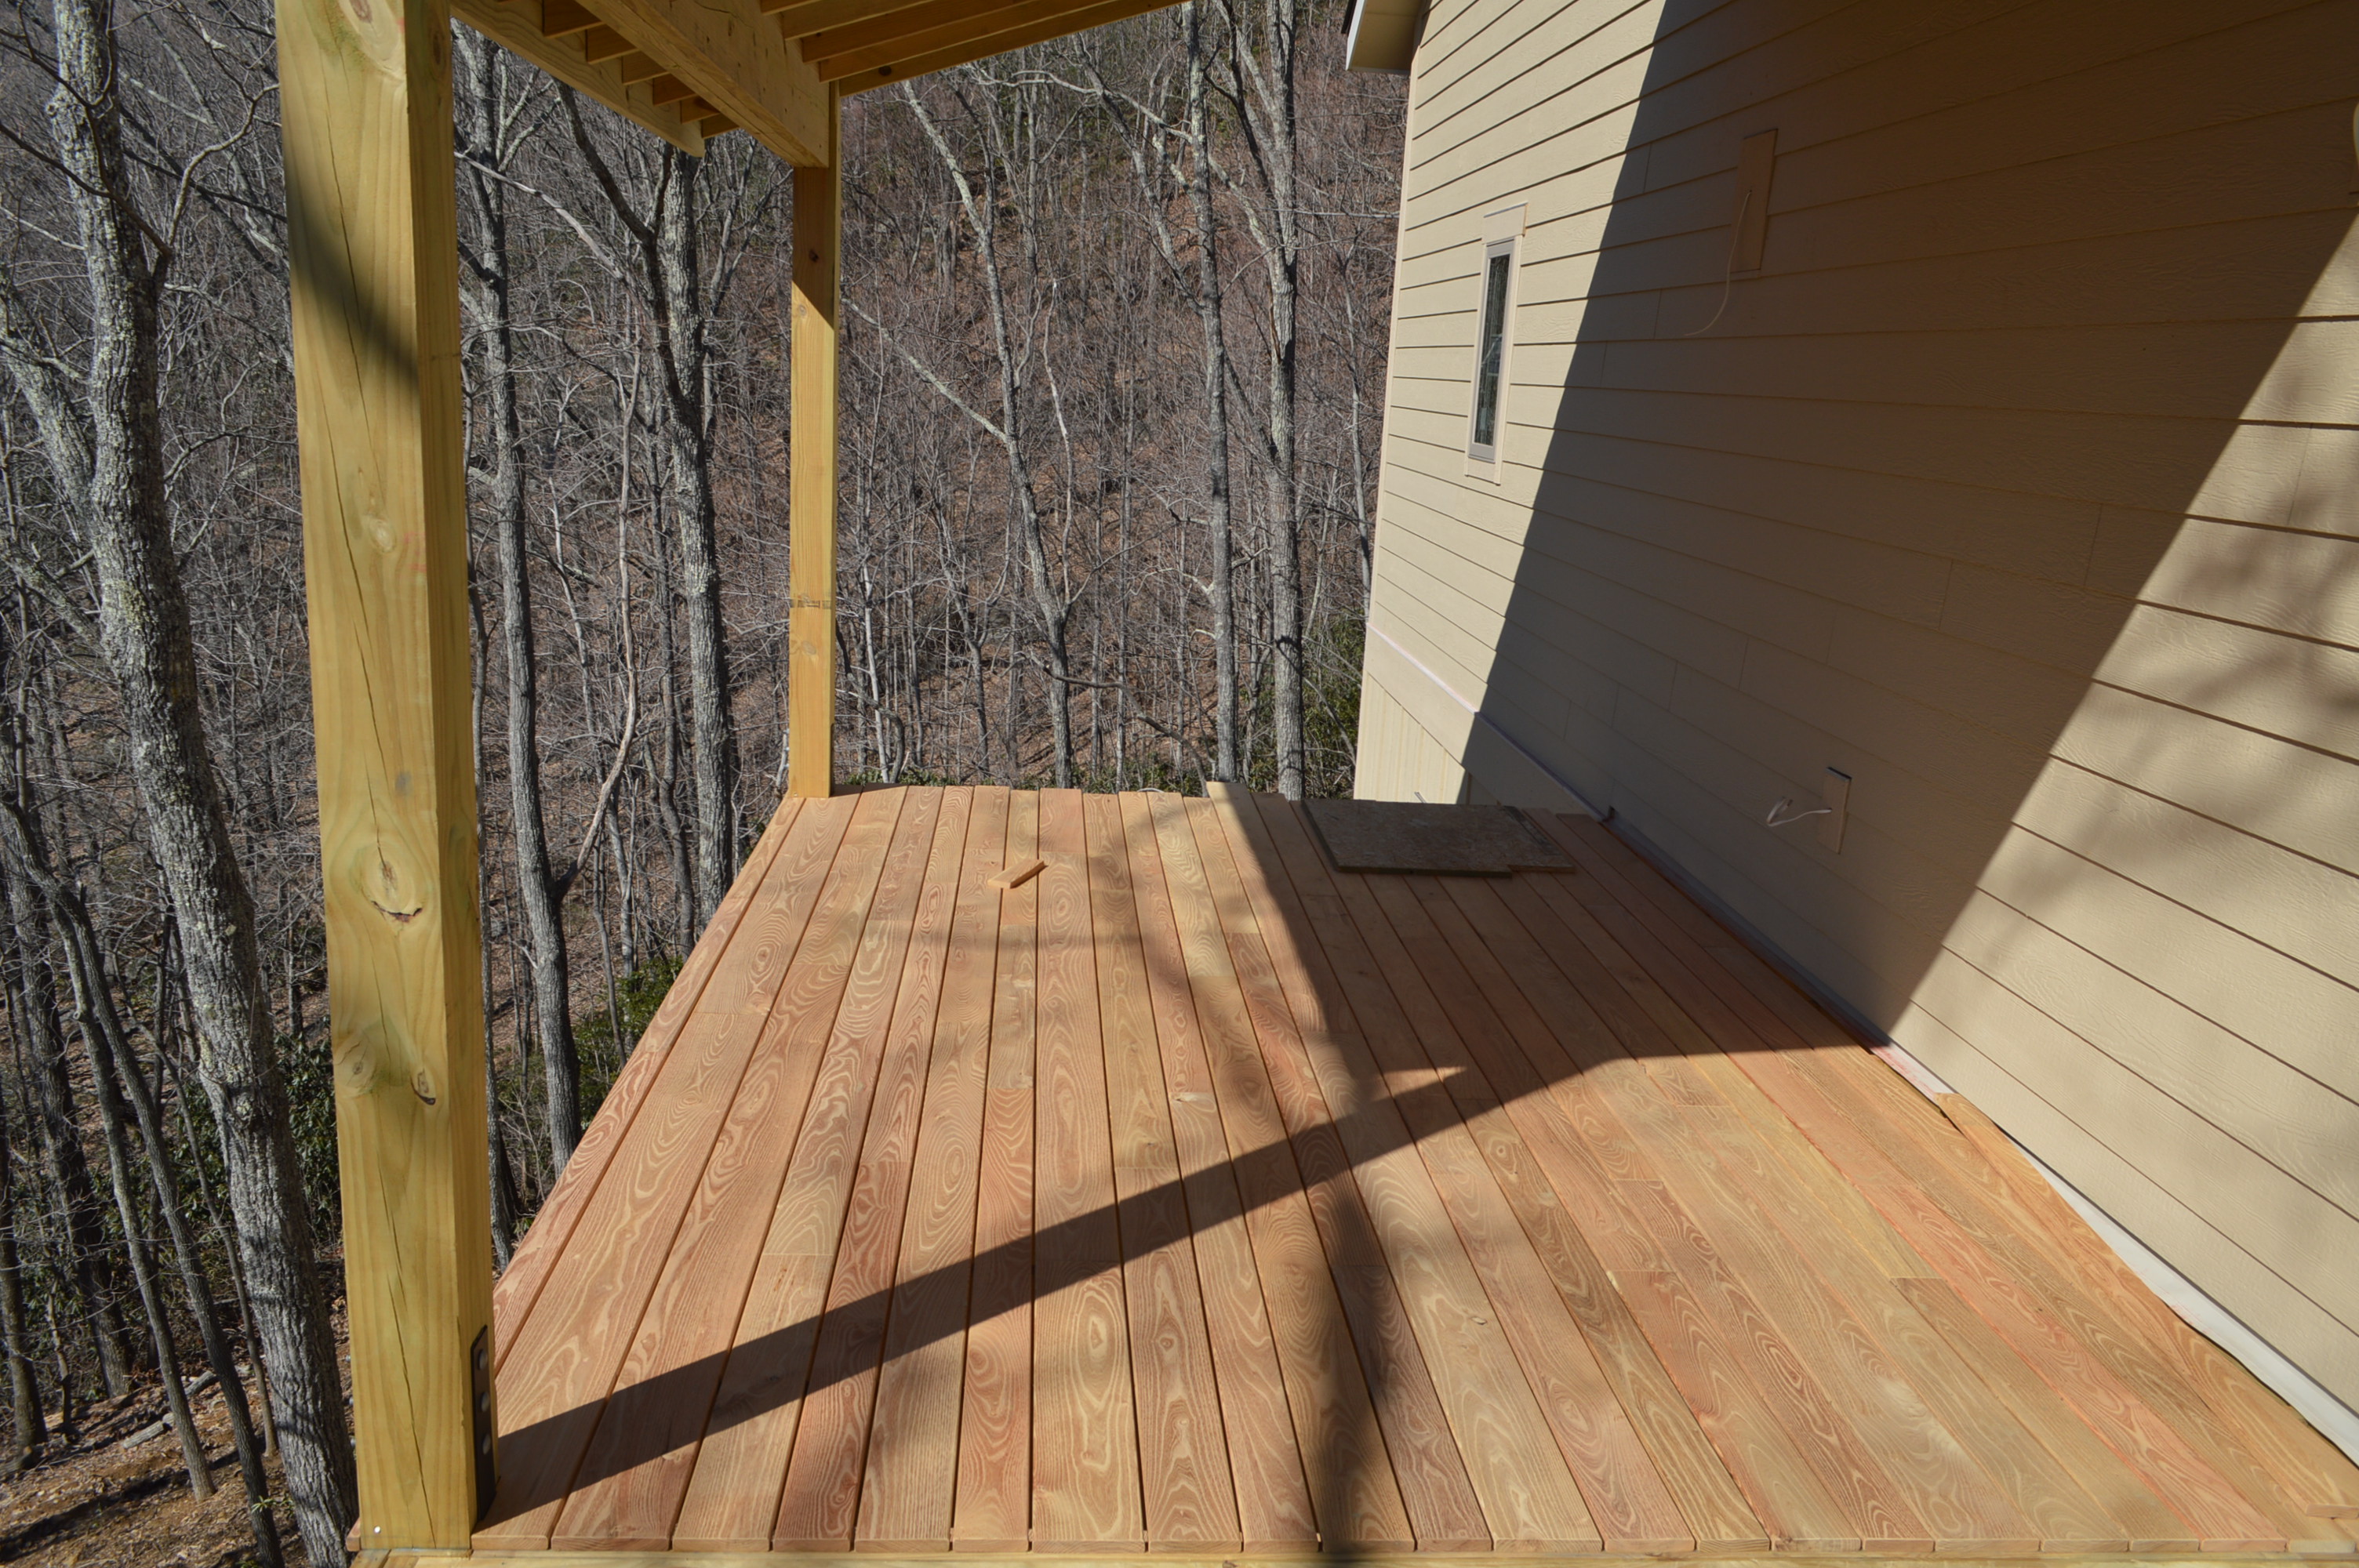
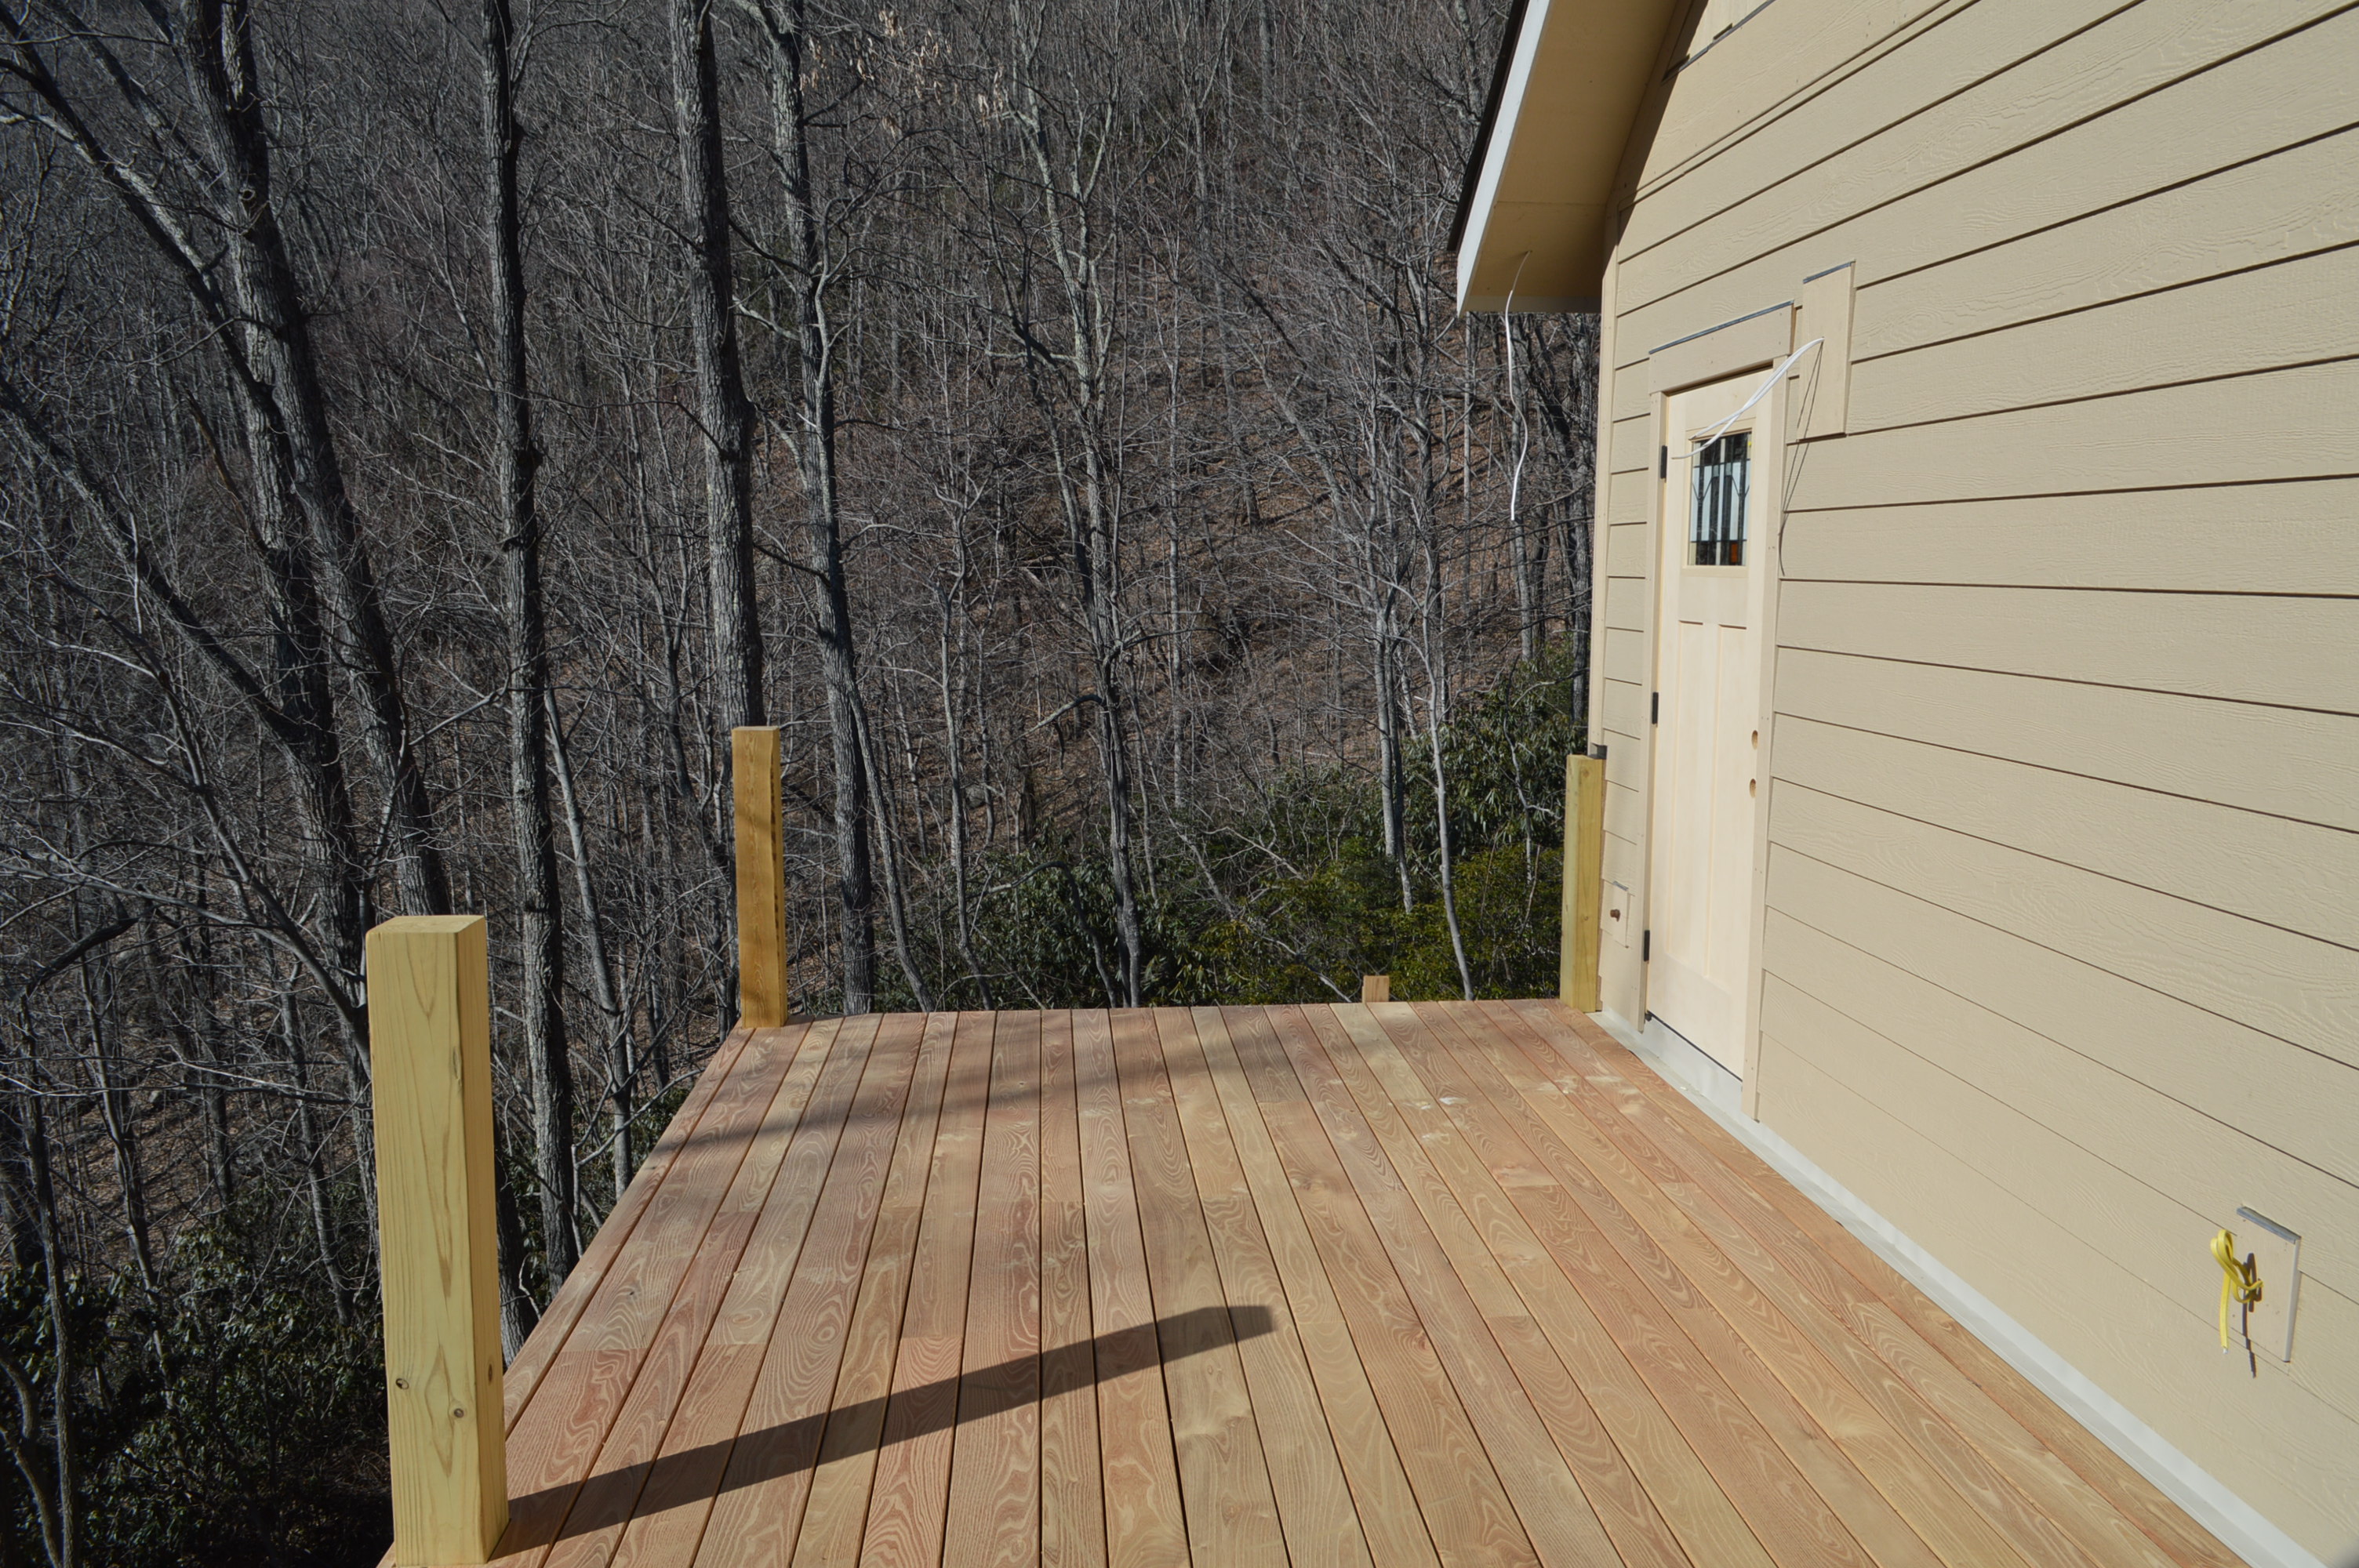
3) carpenters installing the Locust decking using hidden fastener so no screws or nails will be visible. The locust was cut to 3 to 7 inch wide board and are being laid in a random width pattern.
4) the covered porch deck is finished
5) the mudroom deck is finished.
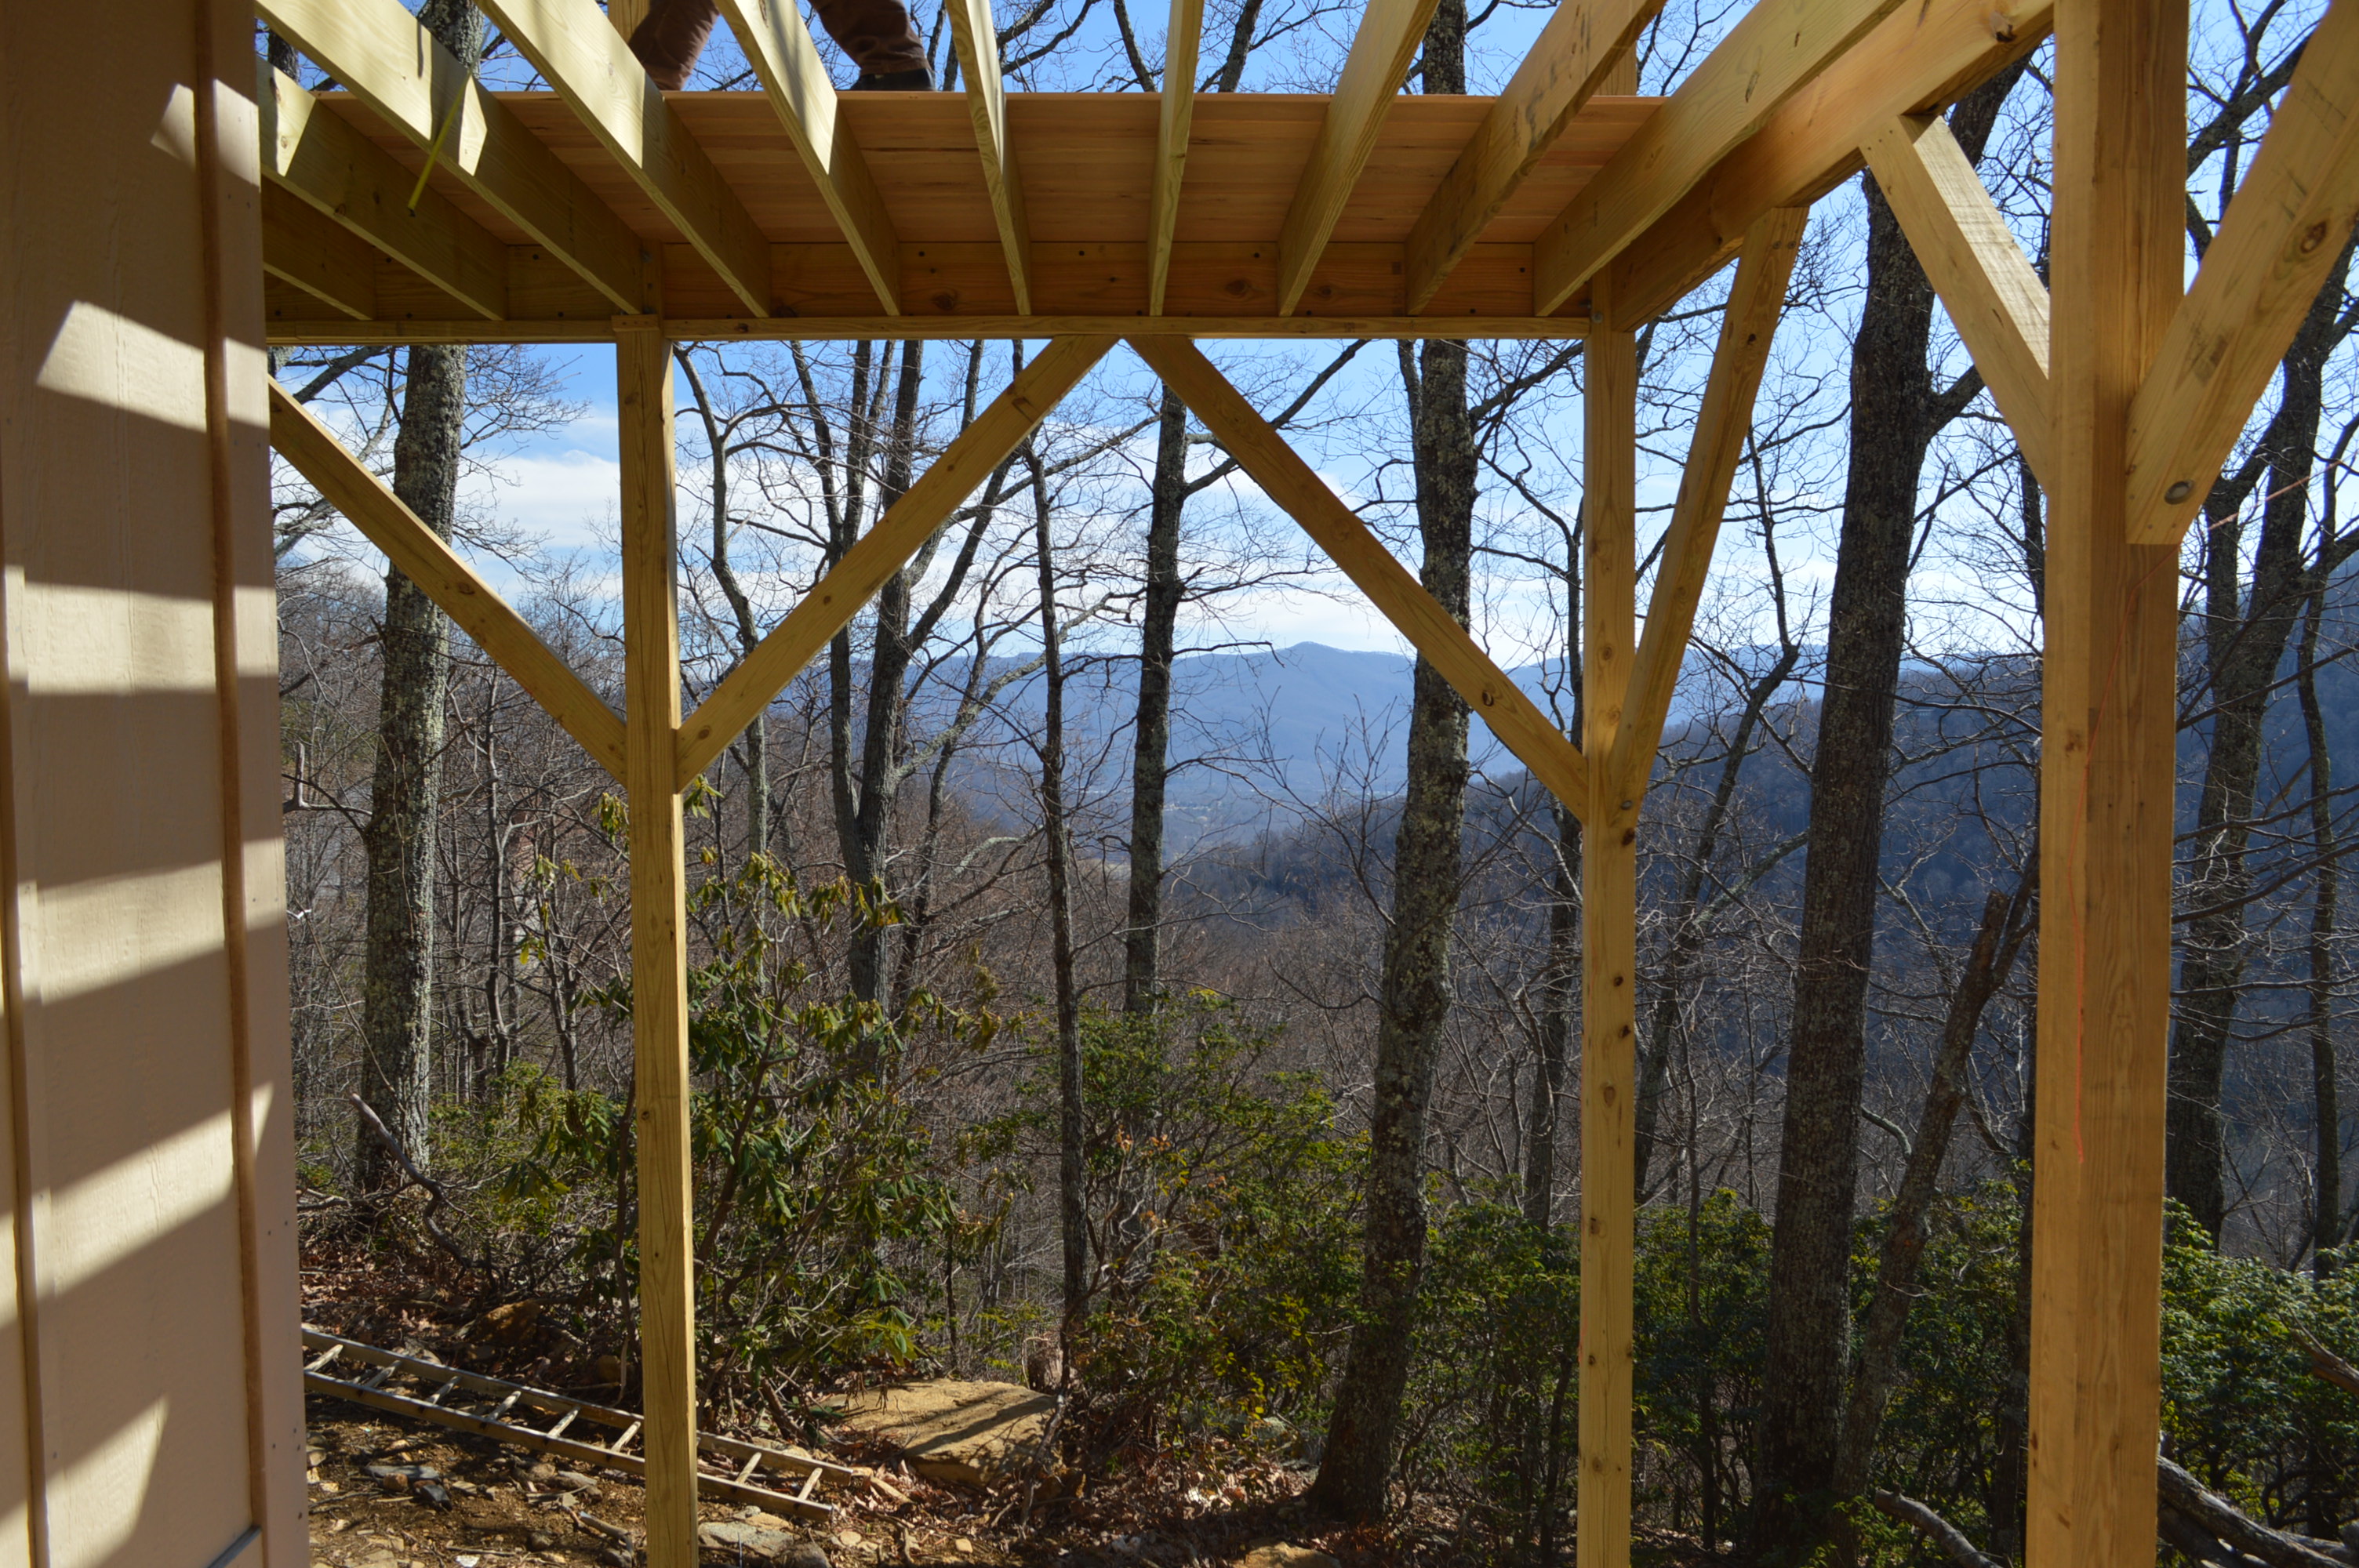
6) view of the valley from the lower deck
Still to do on the exterior is to add the railings to the decks, coat the deck with Timber Oil (which will protect it and make it look 'wet'), paint the exterior, finish the front porch with the stone columns and floor and add stone to the chimney, and some final grading and landscaping.
Some interior photos, main floor first. The were in the process of applying mud to the drywall. The fireplace box had been installed and they were working on installing the flue pipes (you can see two of them as silver cylinders in some photos.
1) Looking up from the front door, the dining room is below, living room near and loft upstairs
2) the dining room, with Darren painting the interior paint samples. The door the master bedroom is behind him and the doors to the powder room and downstairs can be seen.
3) looking into the kitchen. You can plumbing for at the island - it will go unused.
4) looking from the mudroom door across the kitchen and into the living and dining rooms
5) the master bedroom from one corner
6) the master bathroom.
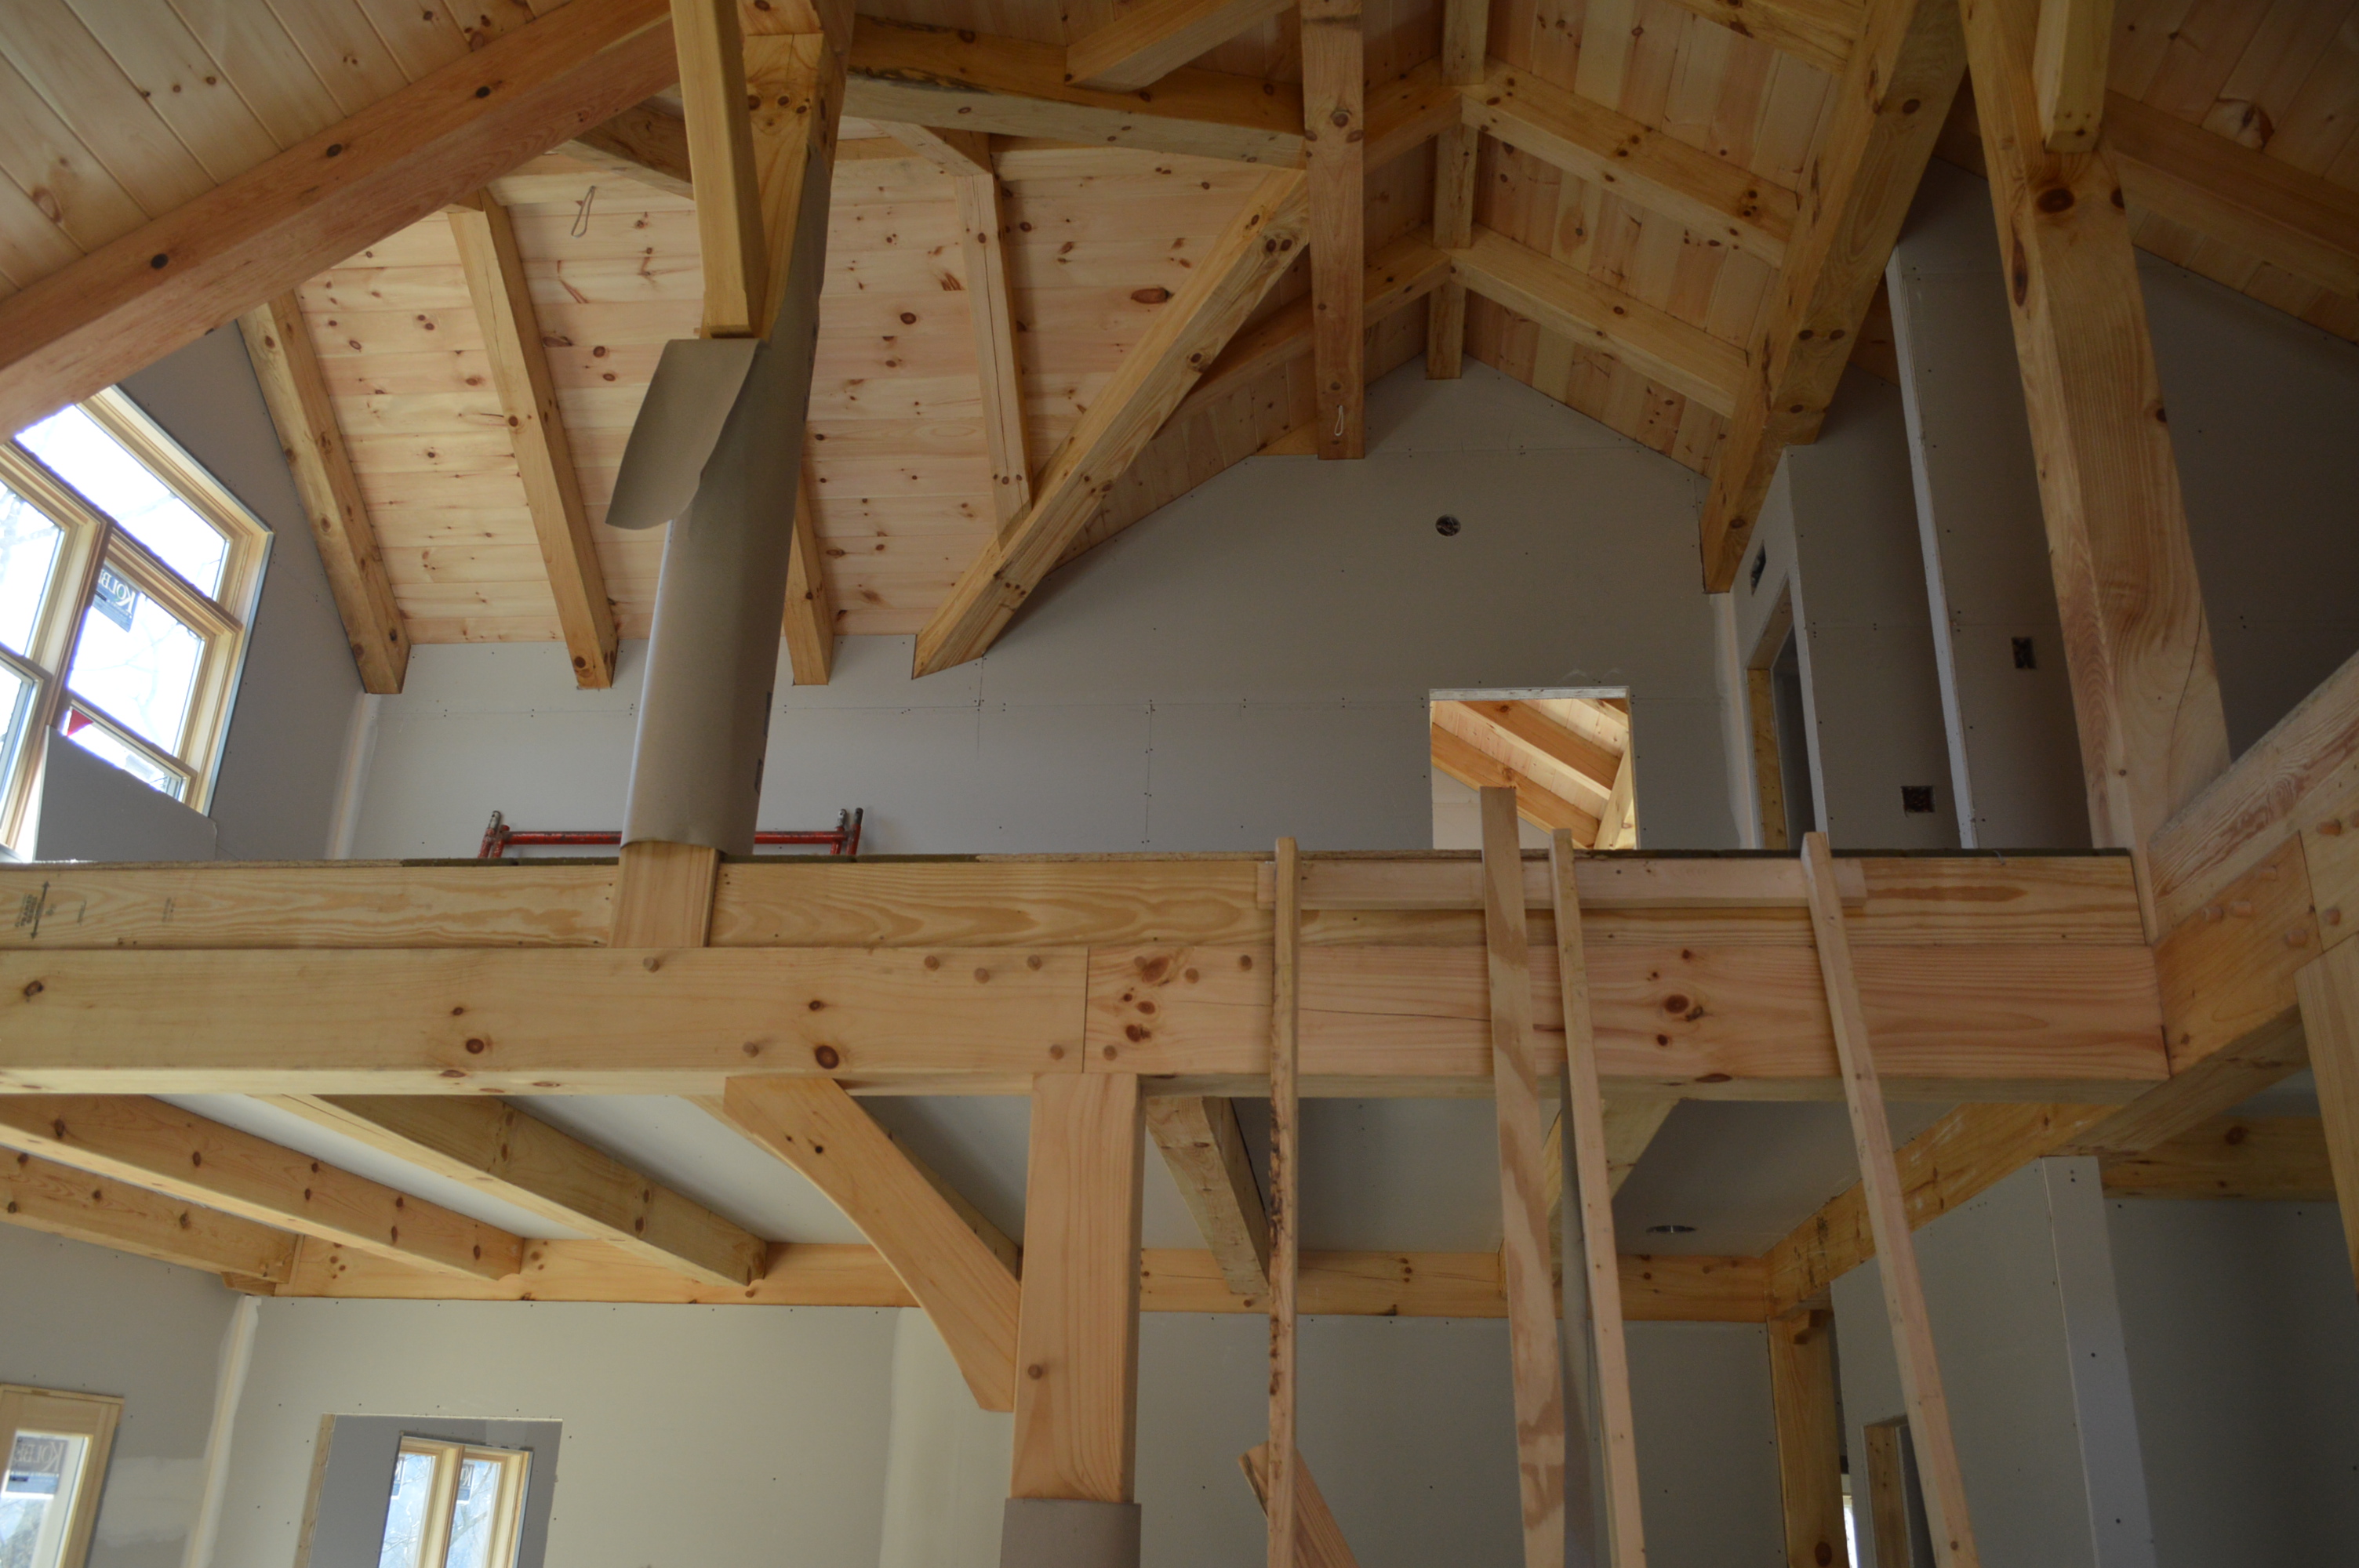
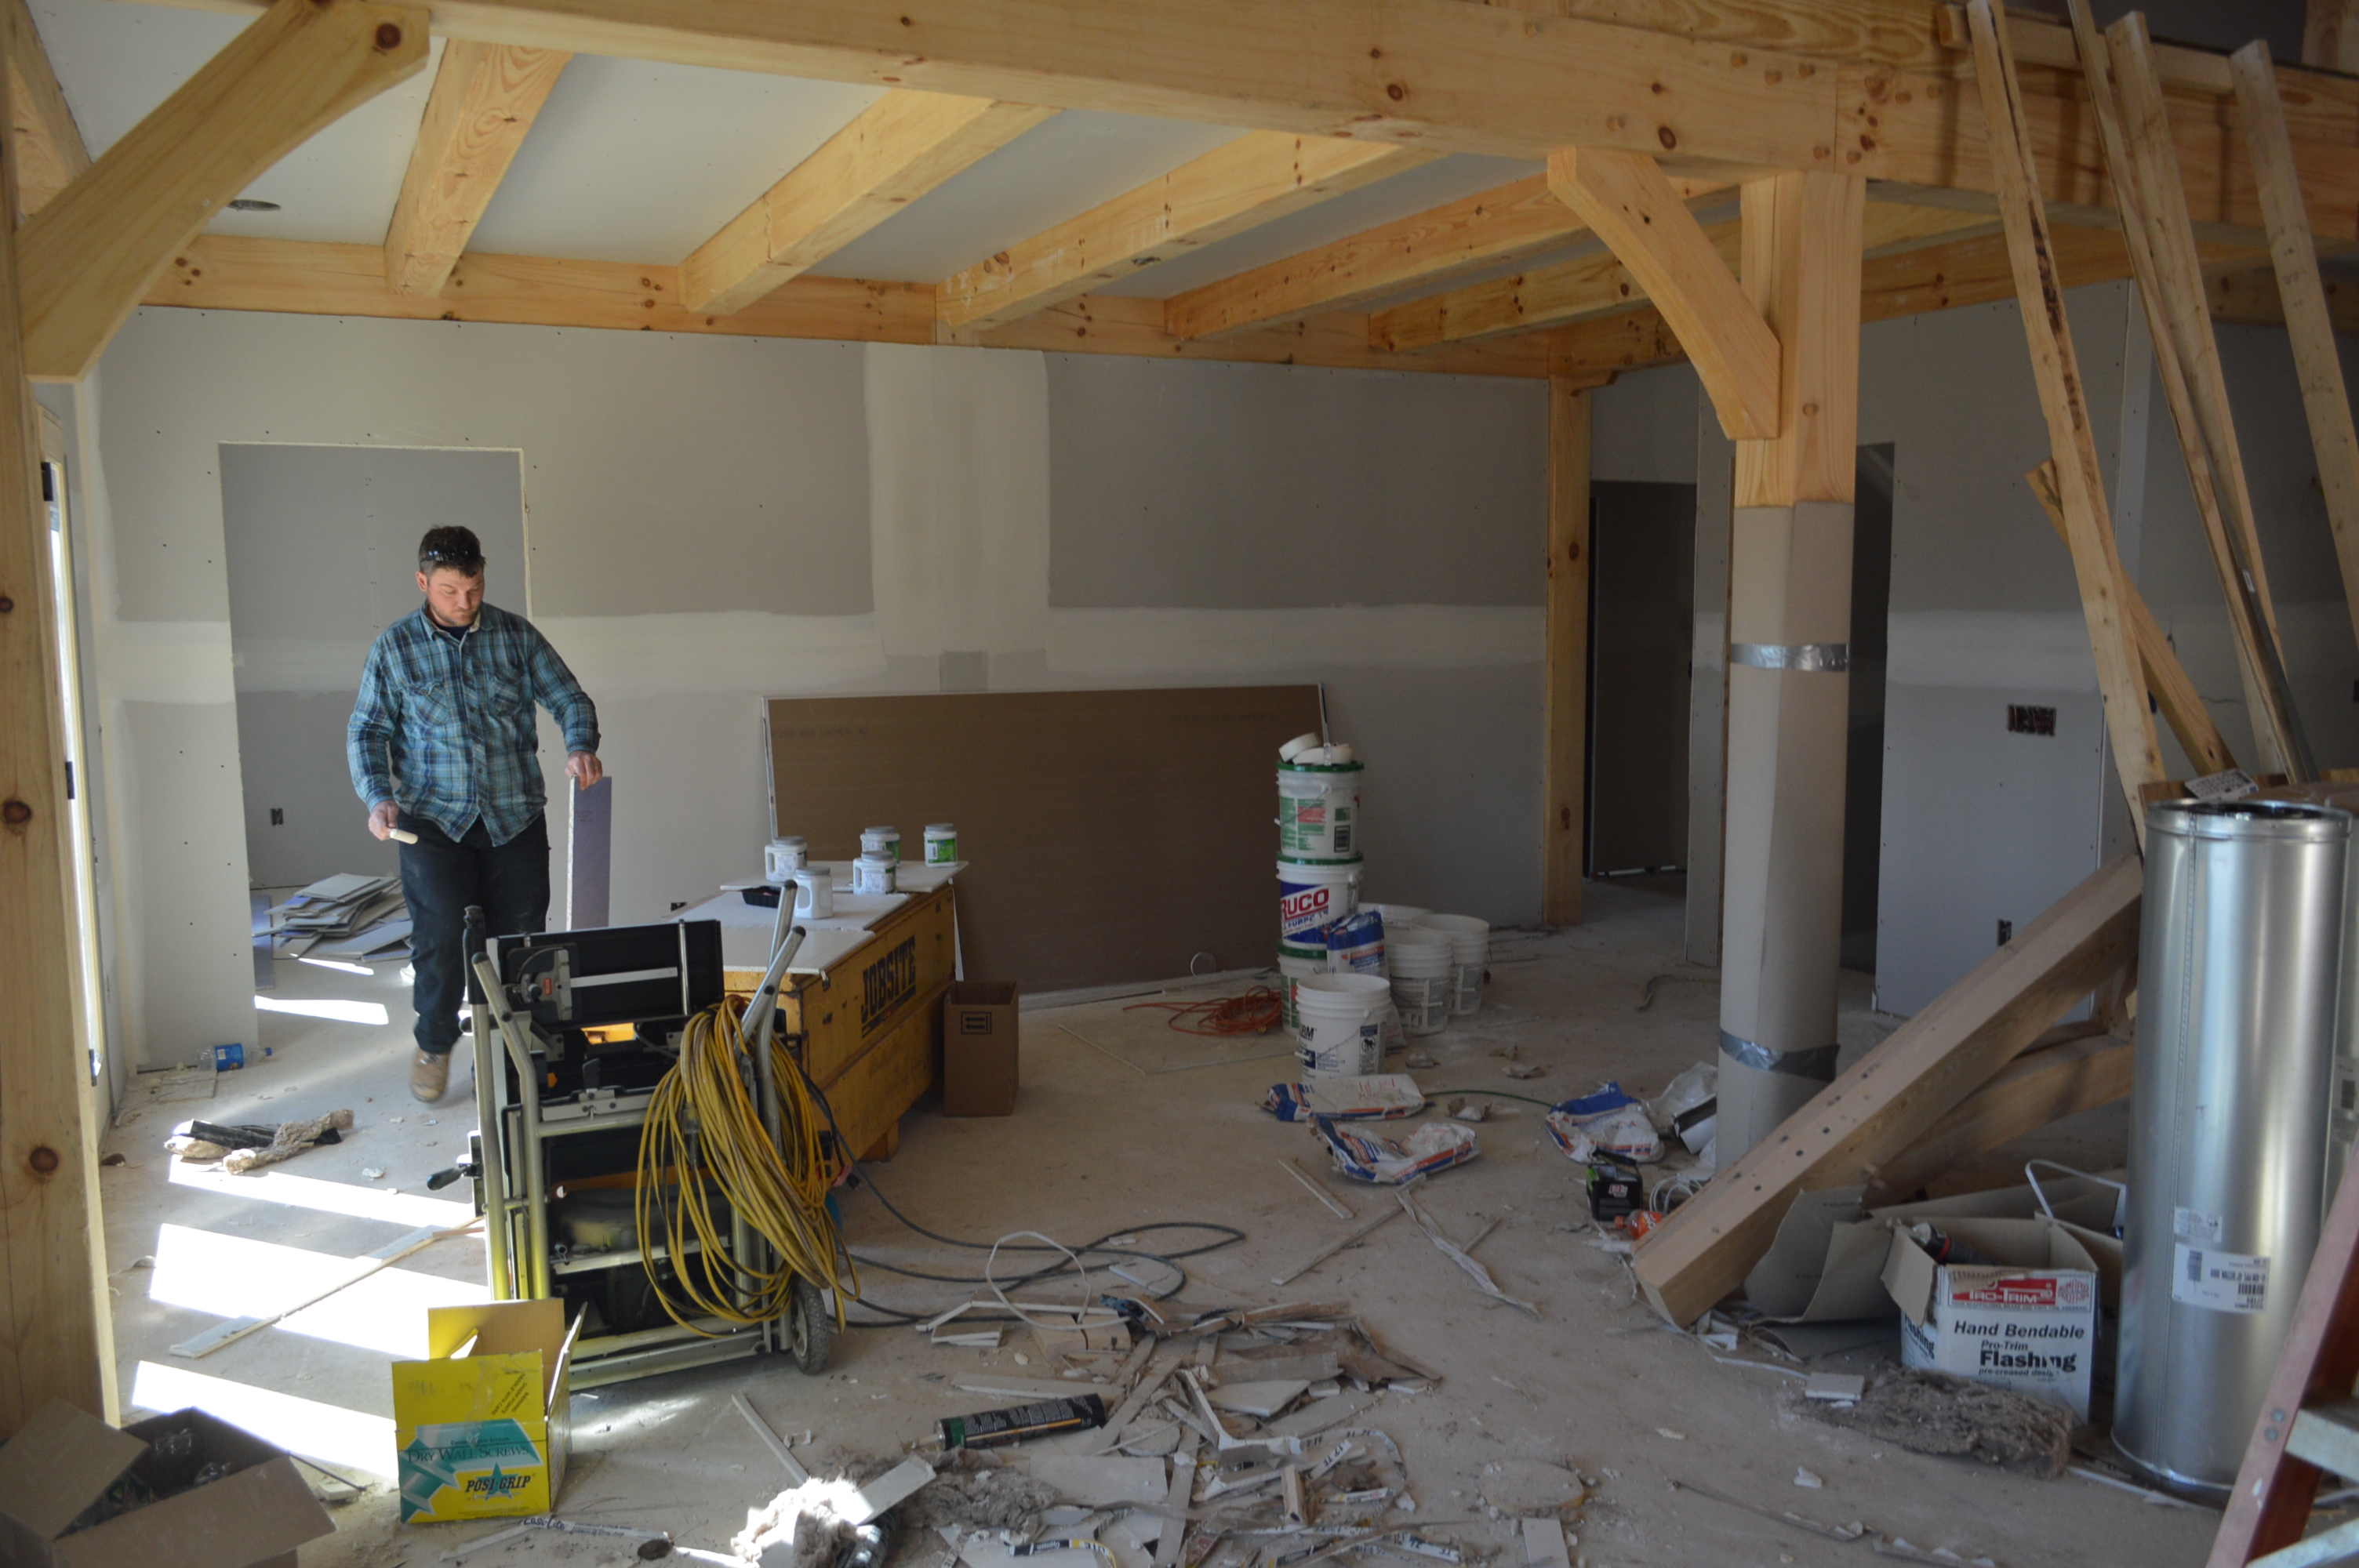

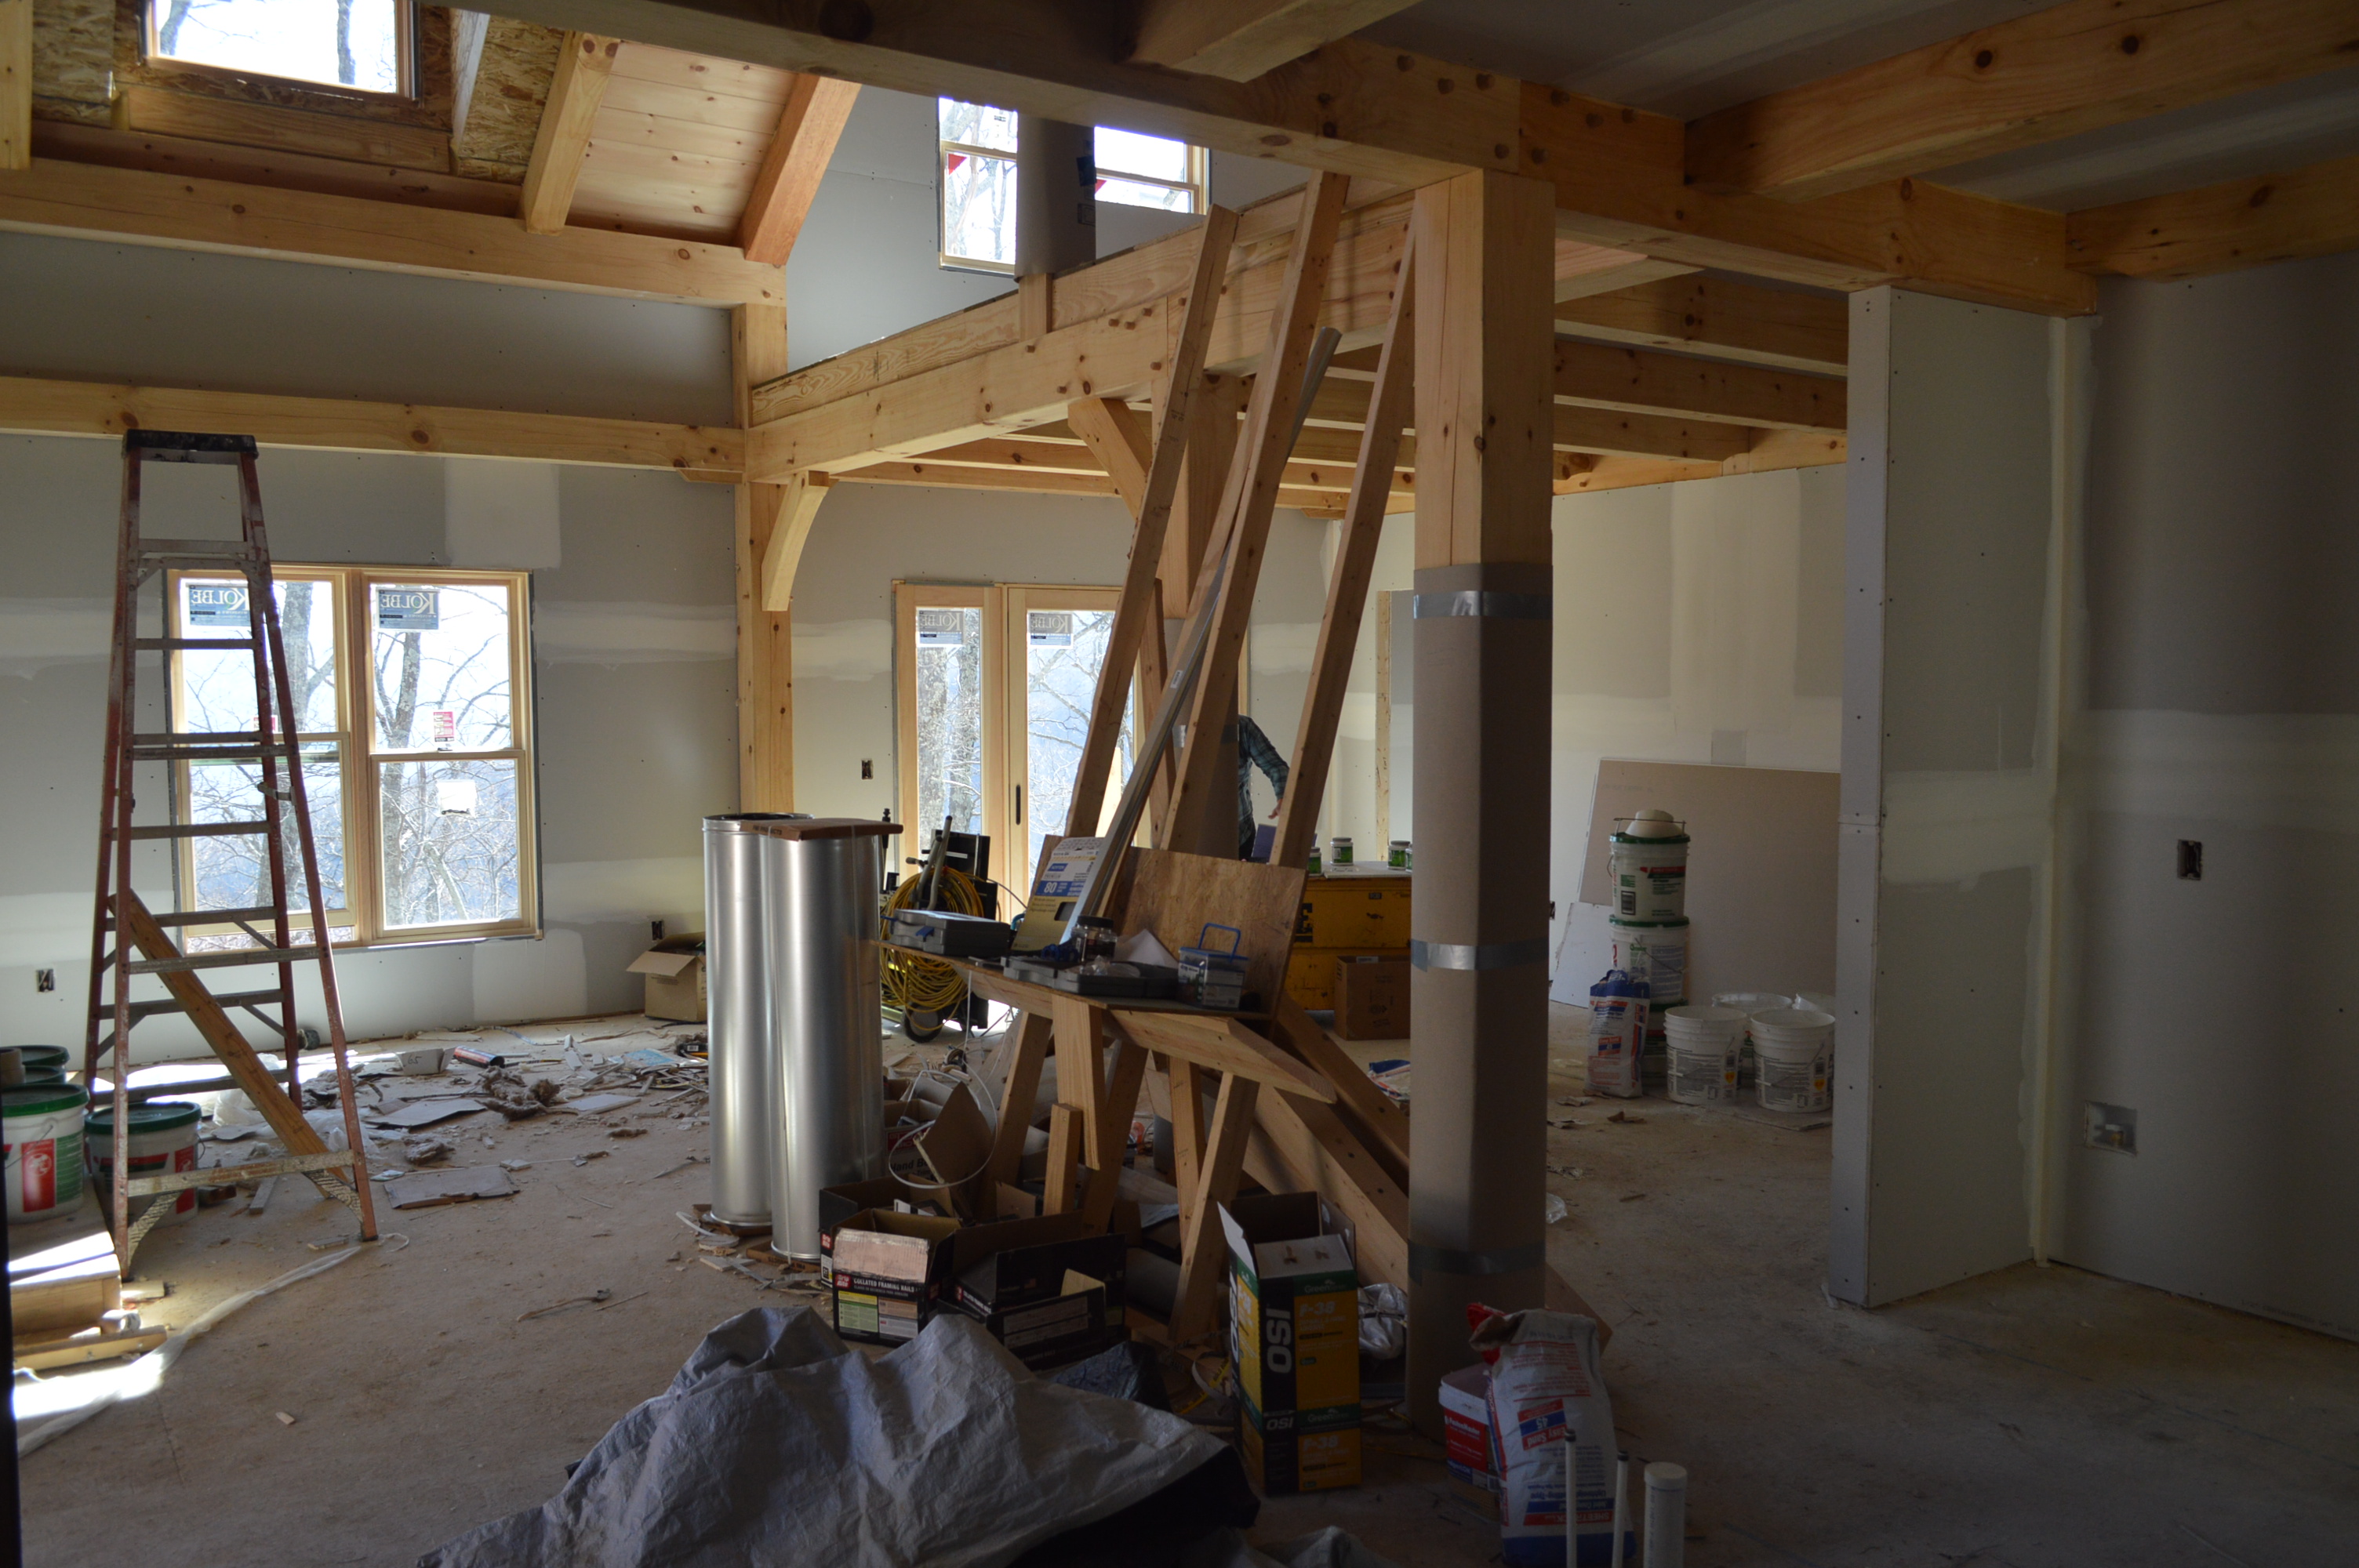
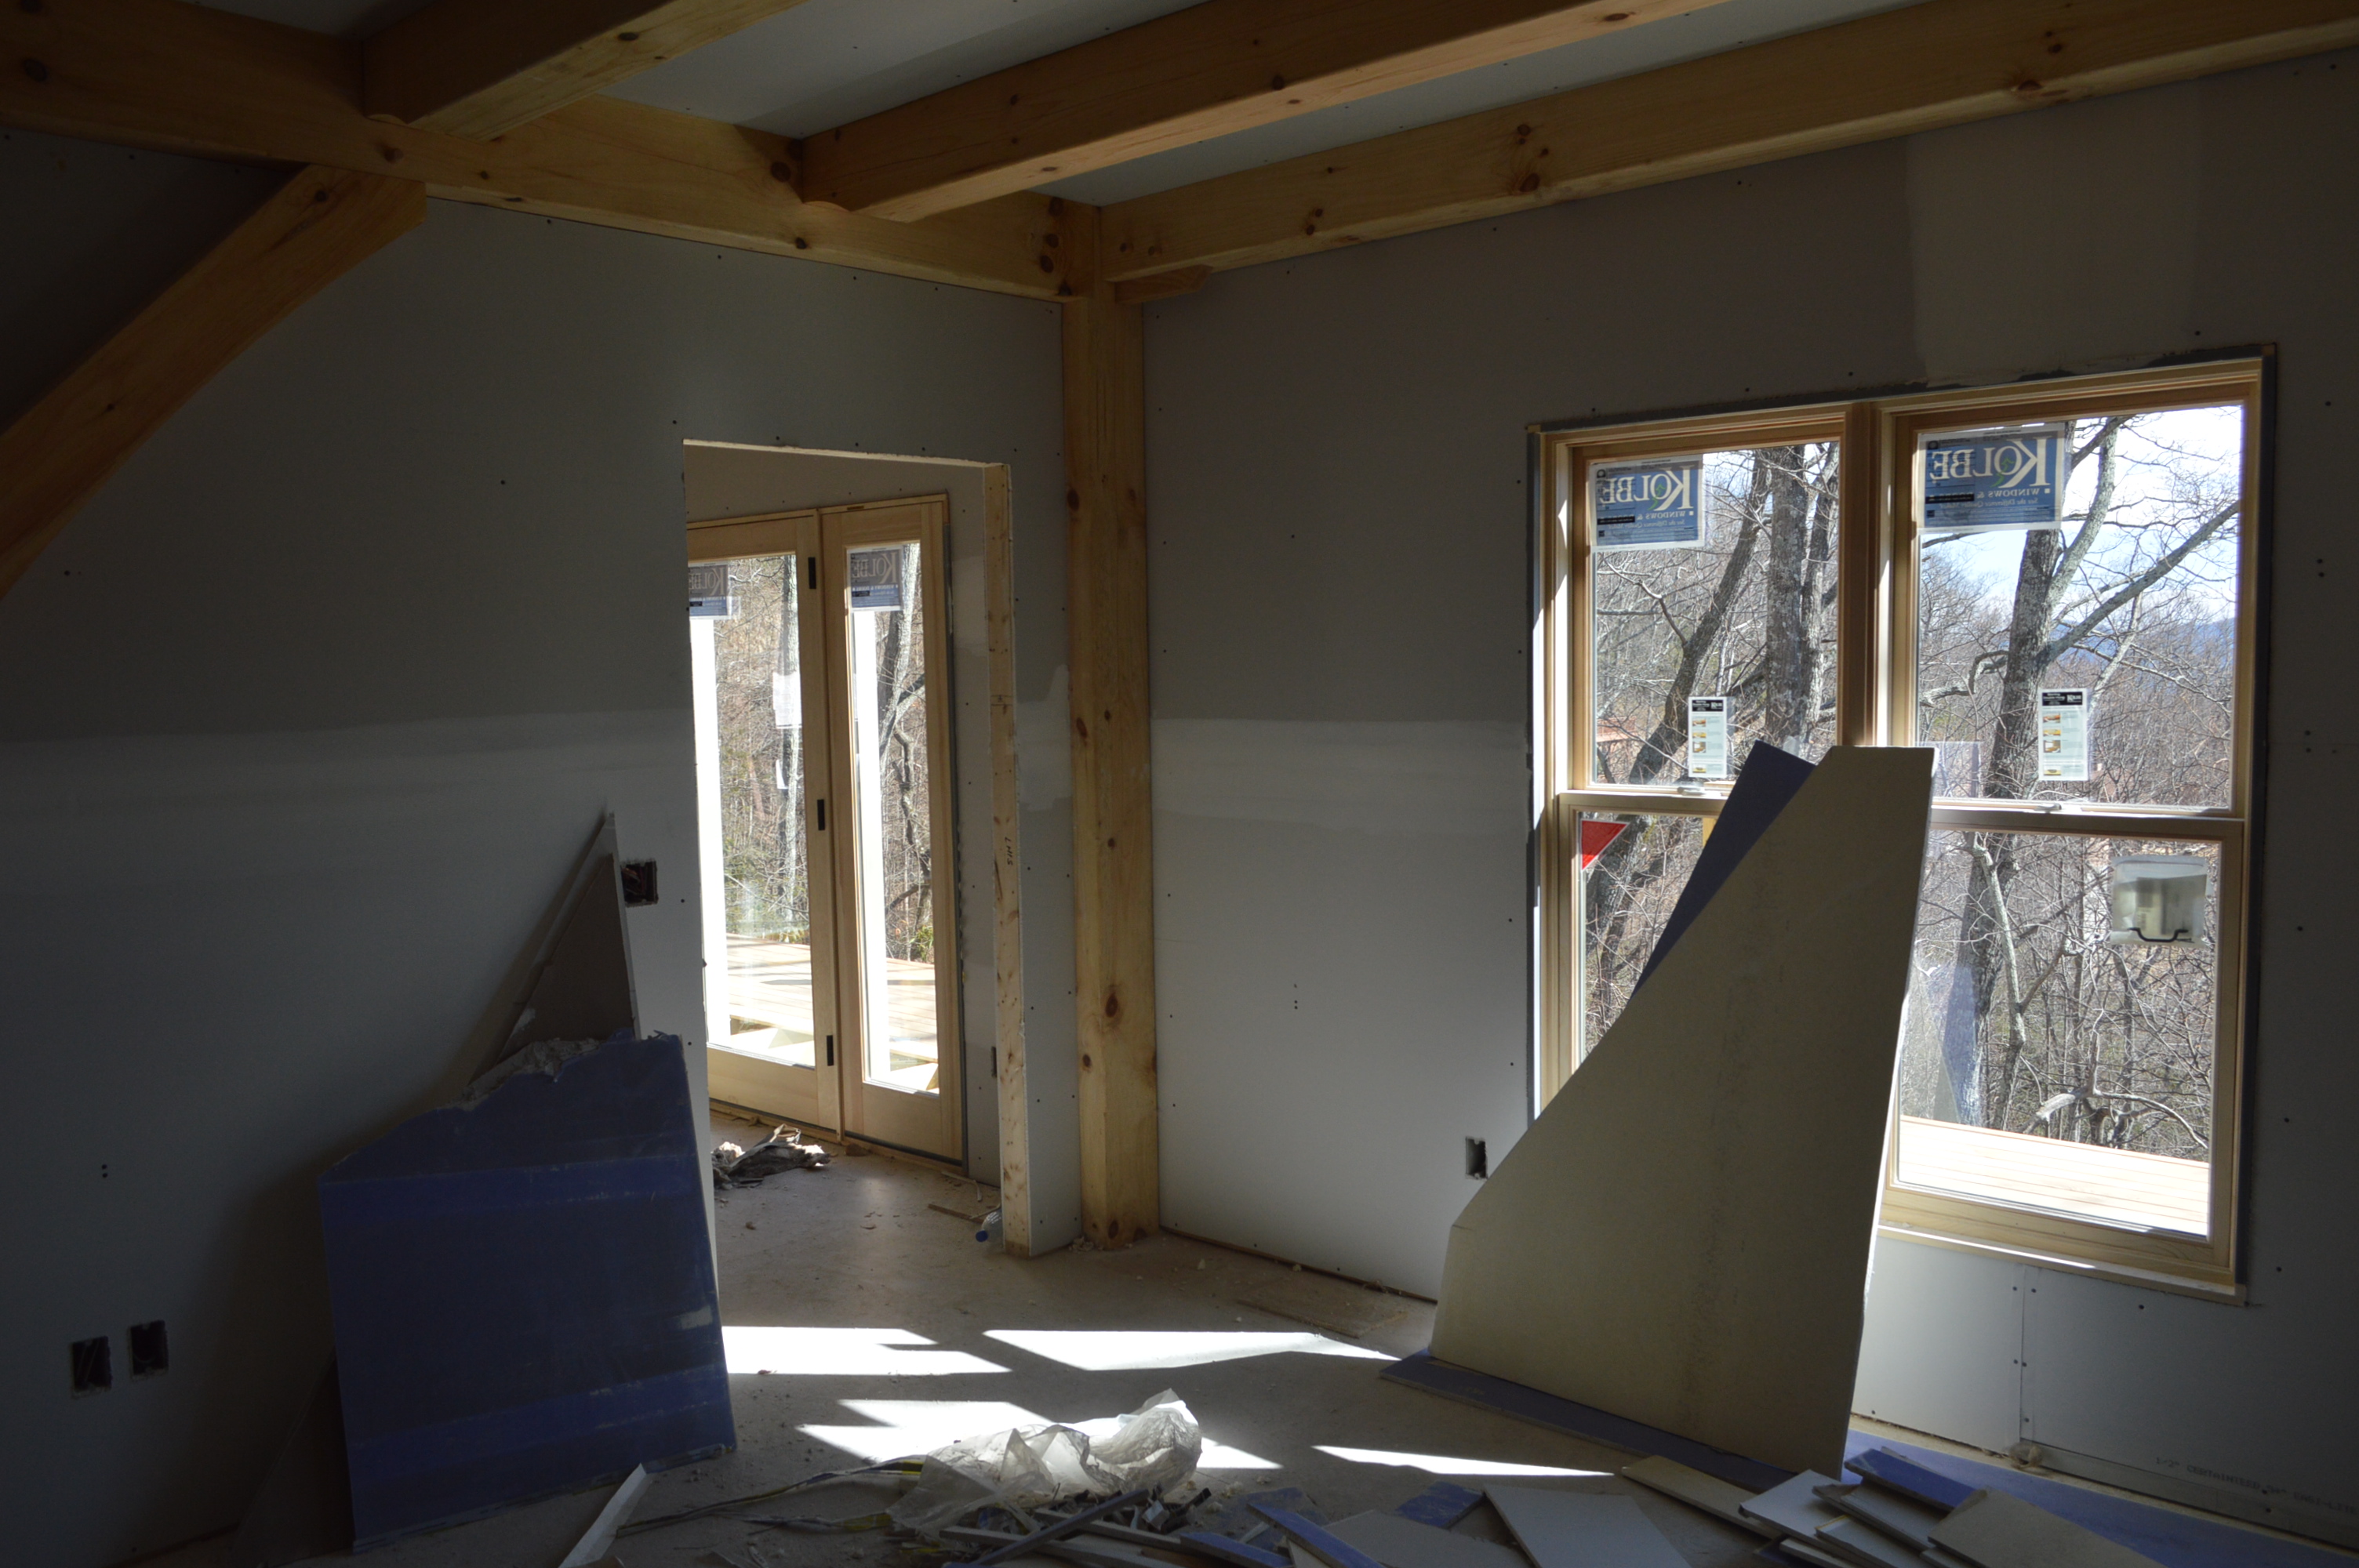
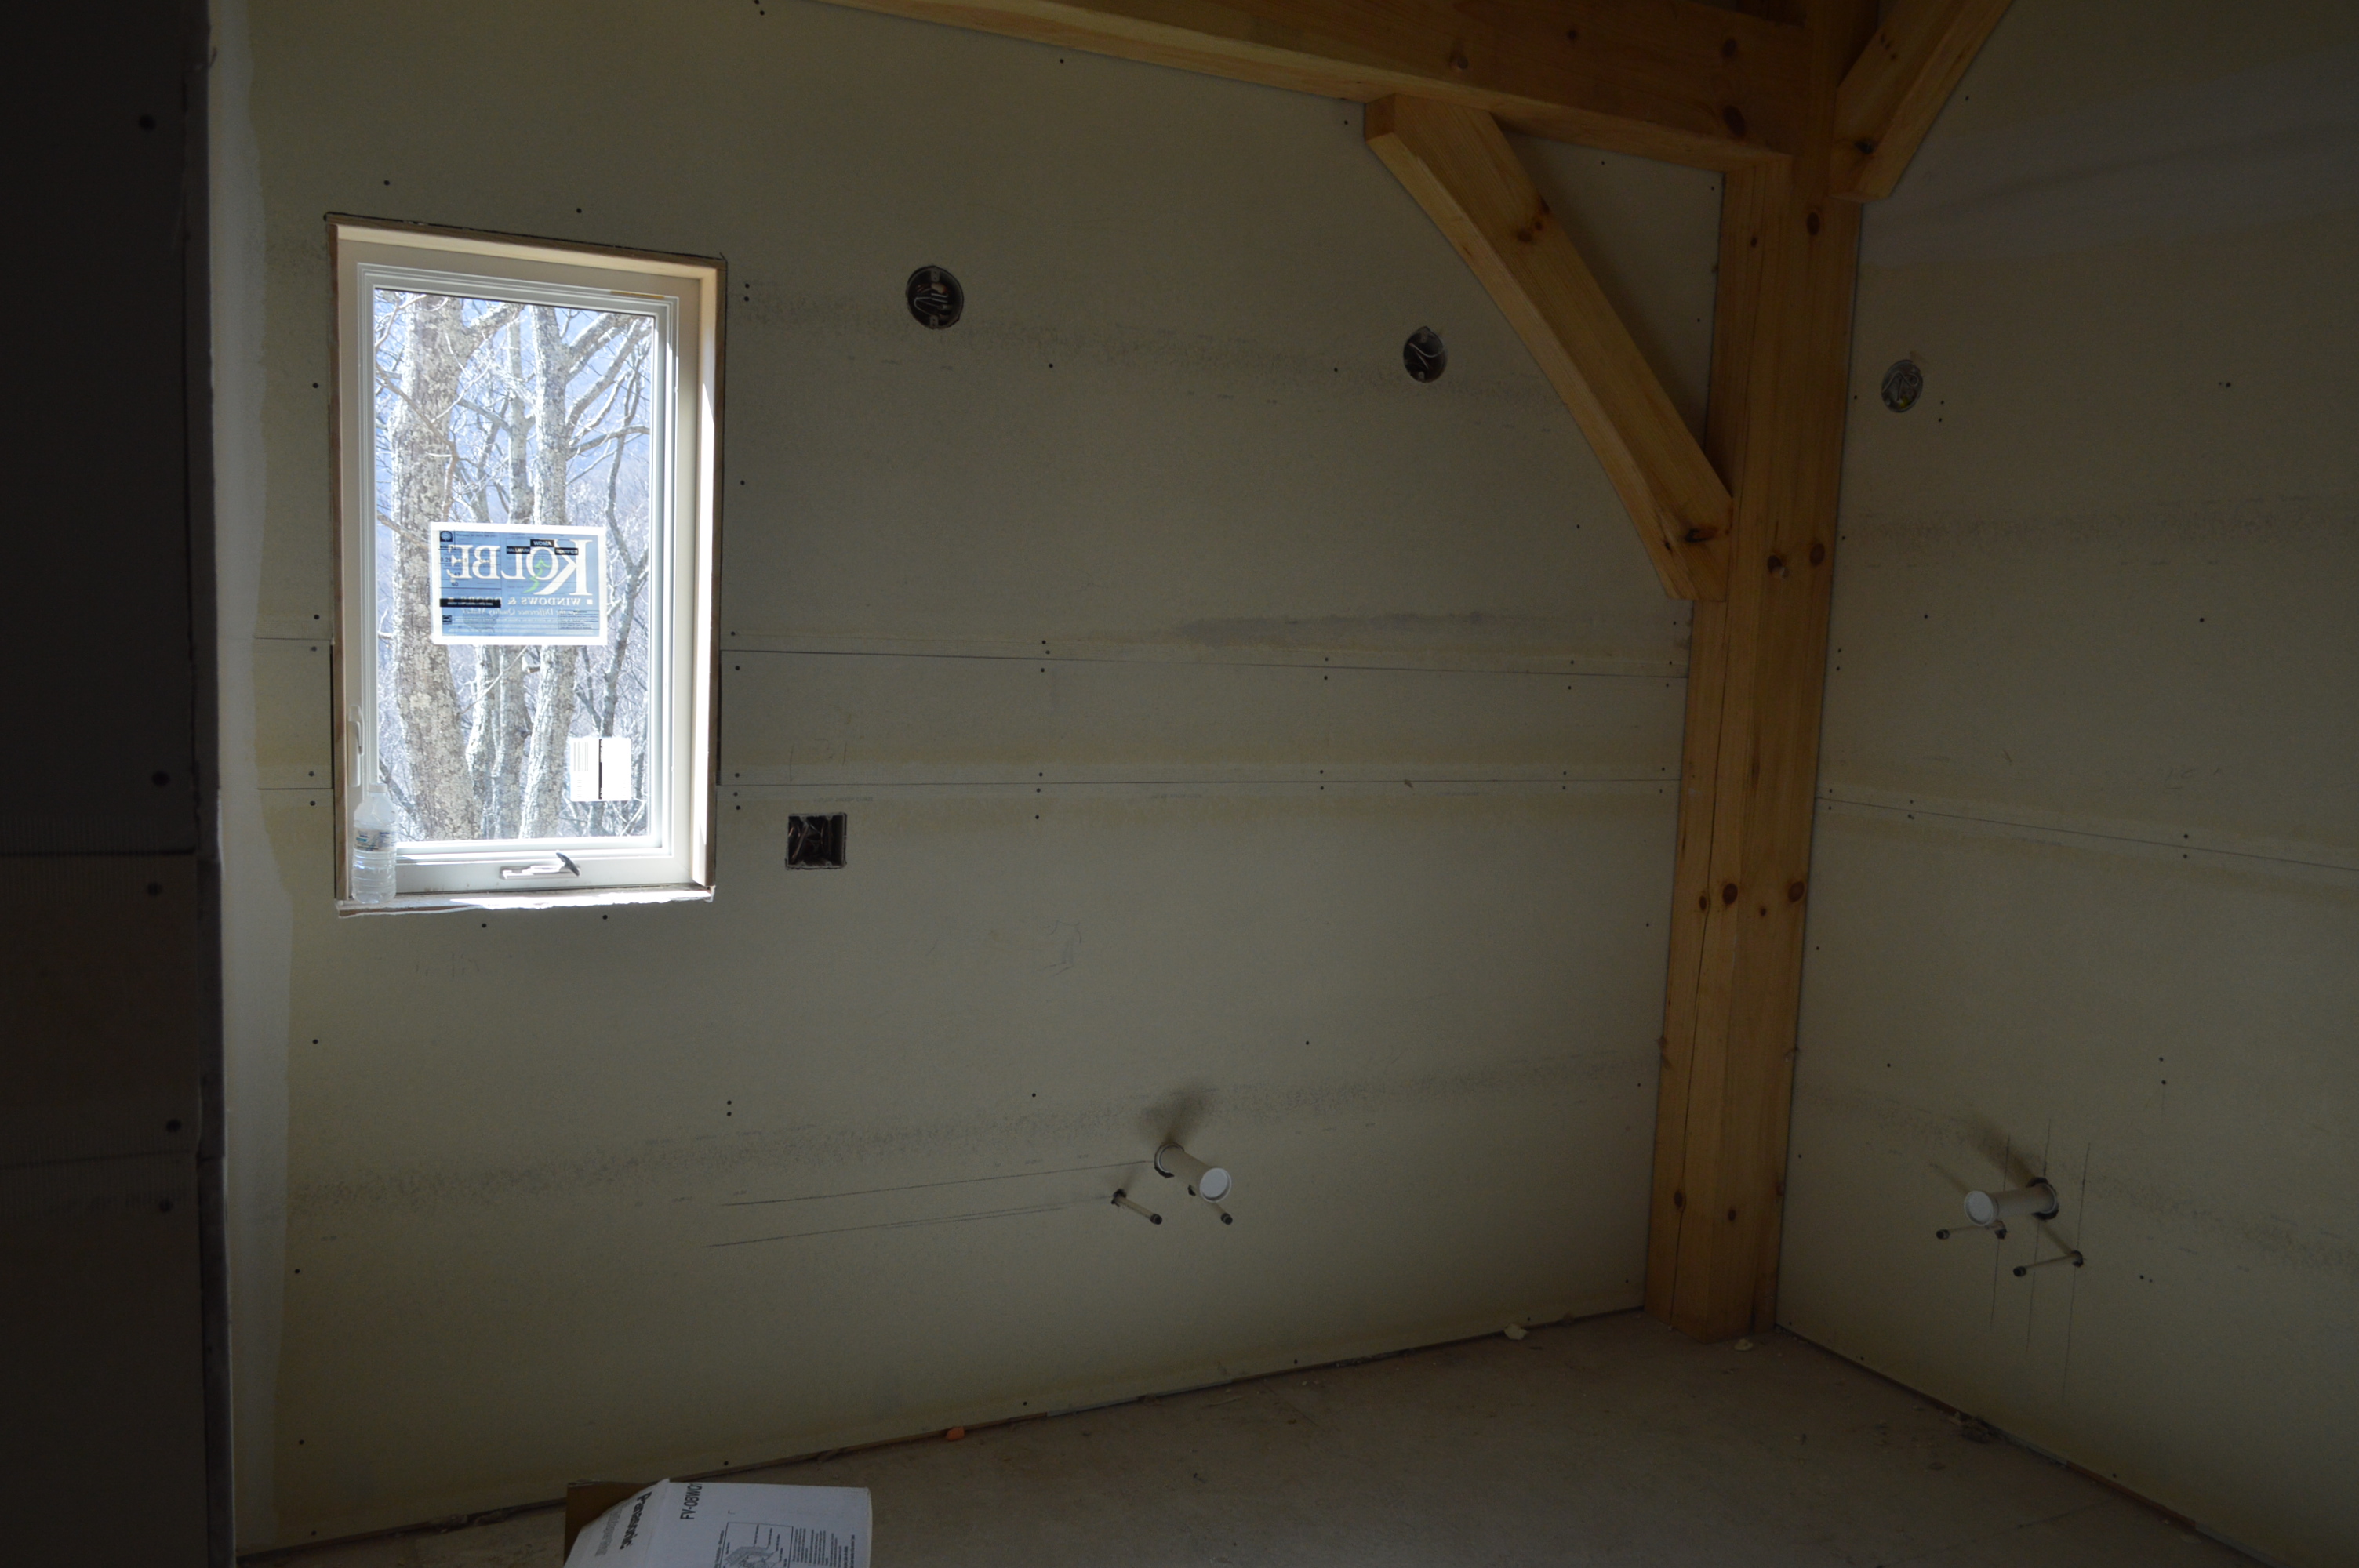
The second floor.
1) the view of the loft as one ascends the stairs
2) the loft at the top of the stairs
3) looking across at the study area.
4) looking down at the fireplace and hearth. The fireplace will be covered in stone with a stone hearth surrounding. A wood storage box will be built on the left side of the fireplace and an entertainmet area for the TV will be on the right side.
5) The upstairs bedroom, the pocket door to the bath on the left, and door leading to the loft on the right
6) the double closets and dormer (where a generaous window seat will be built).
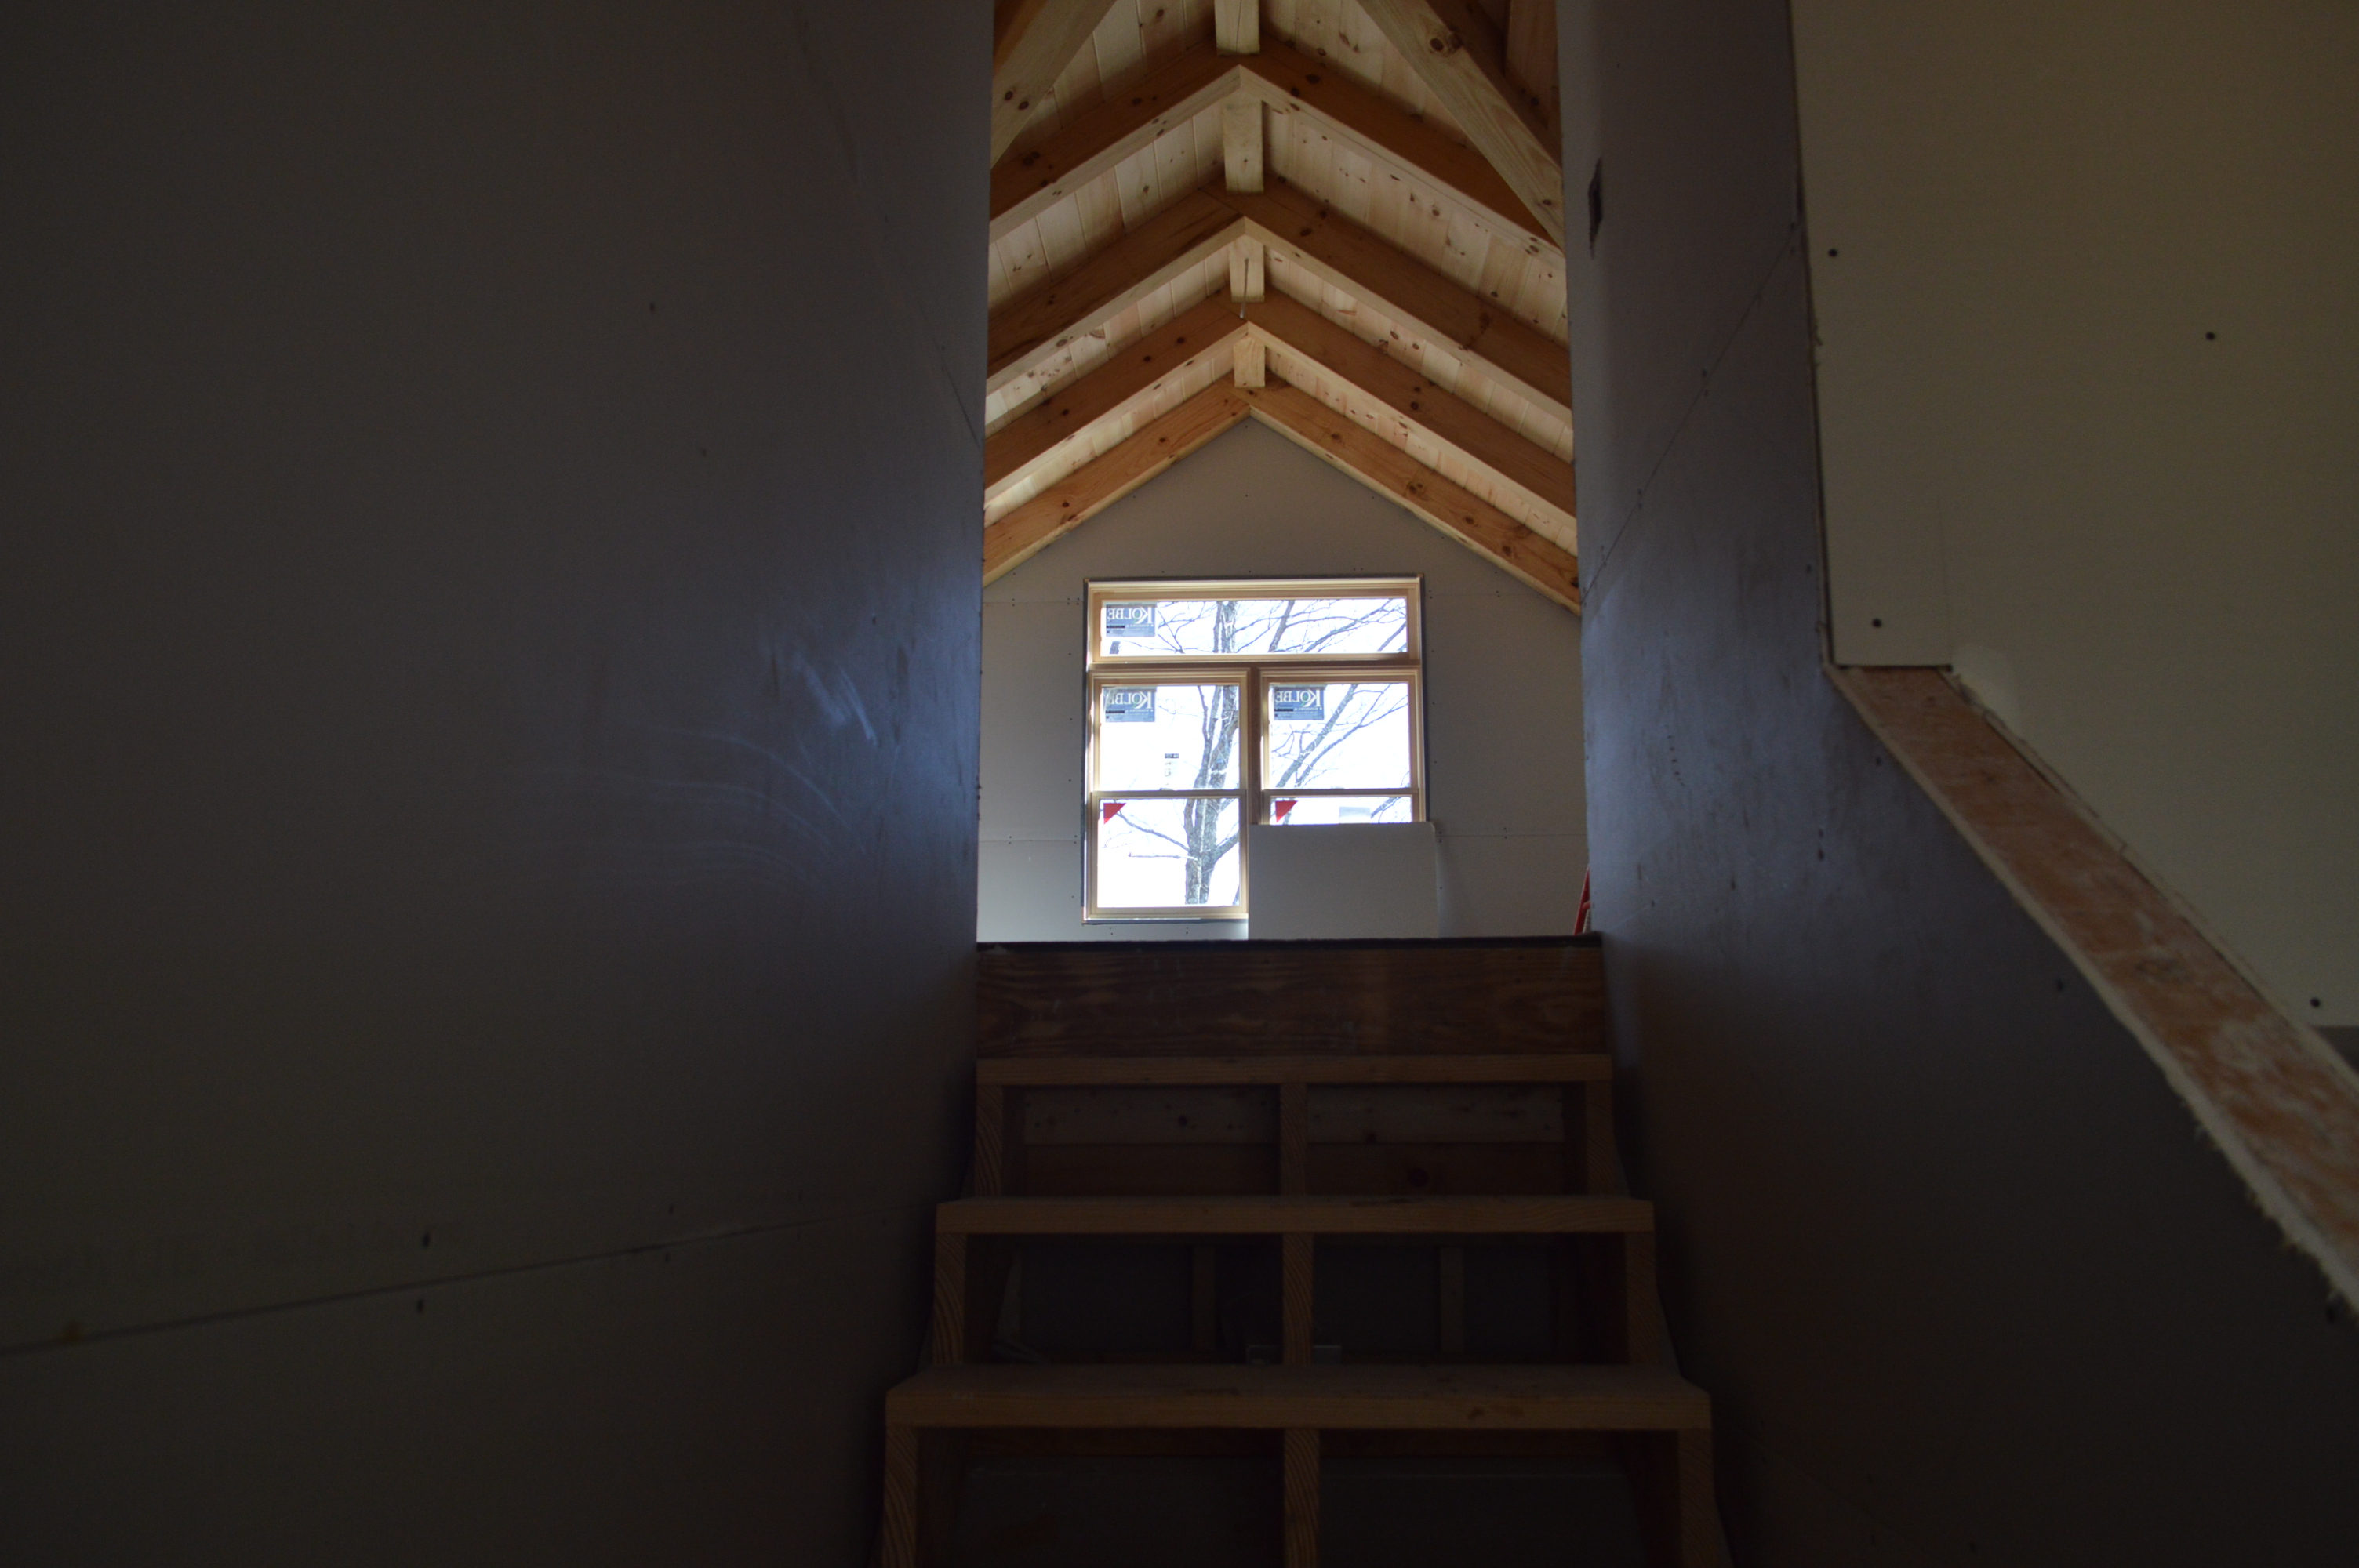
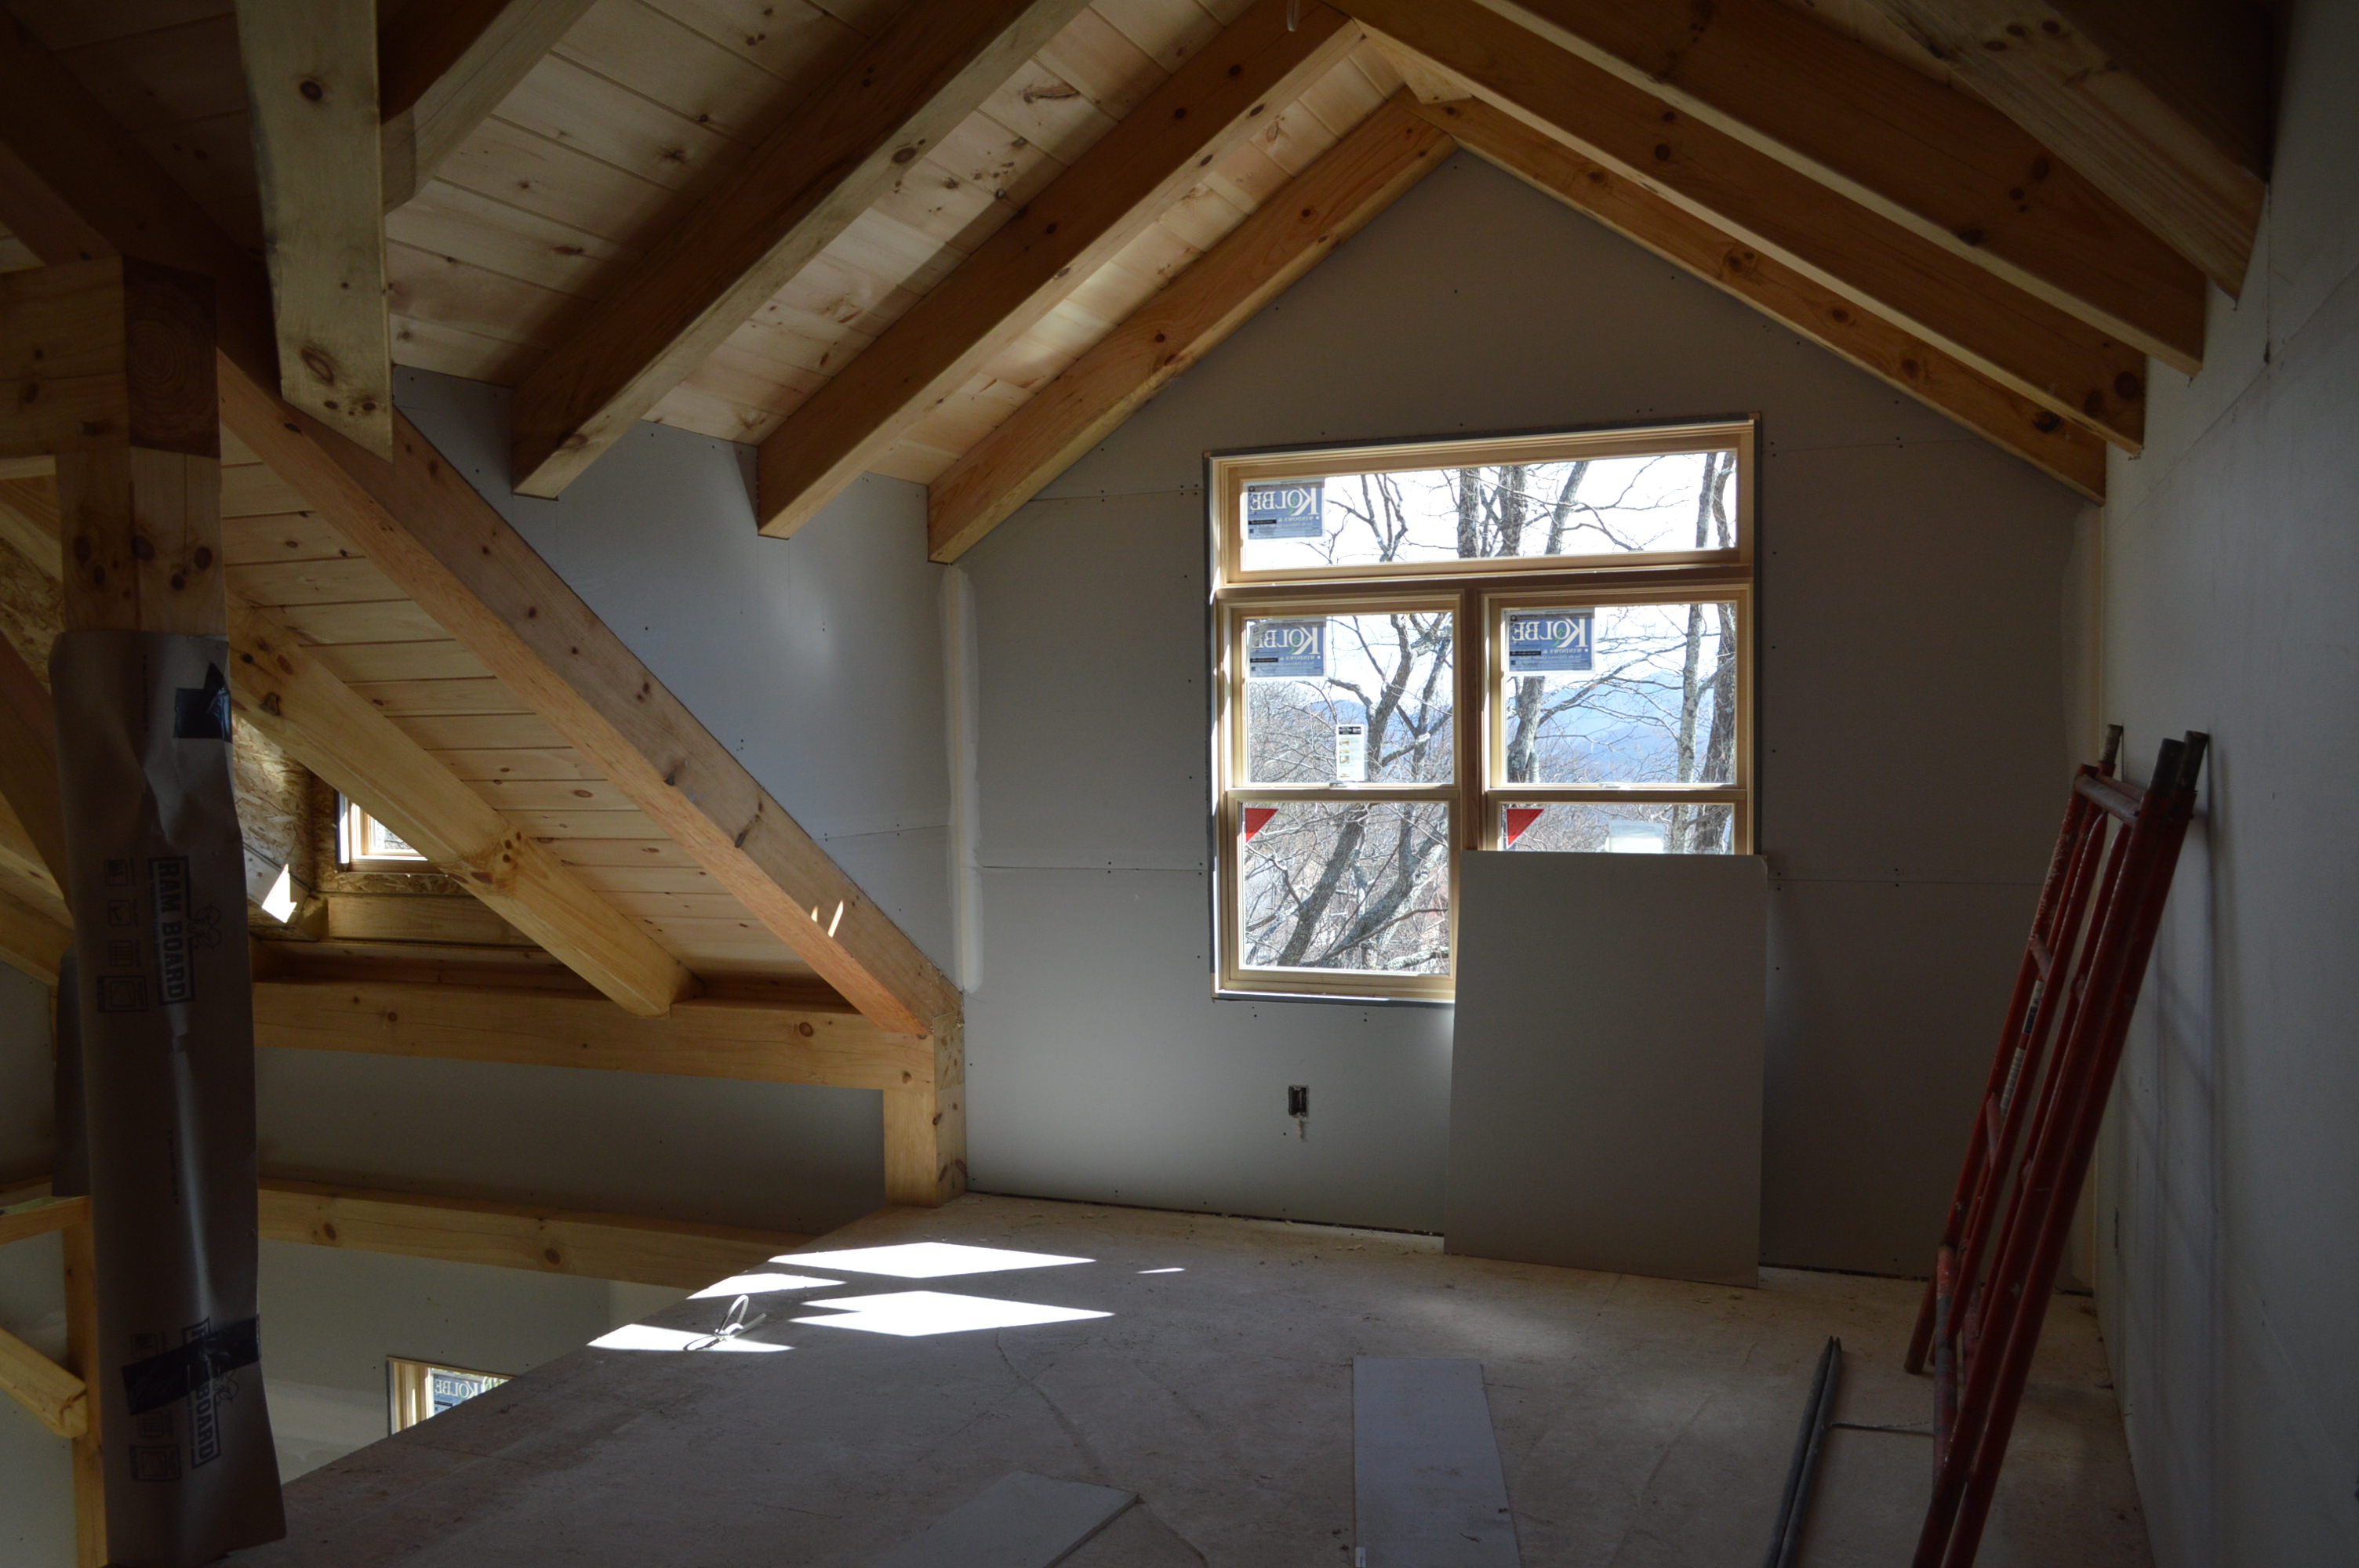
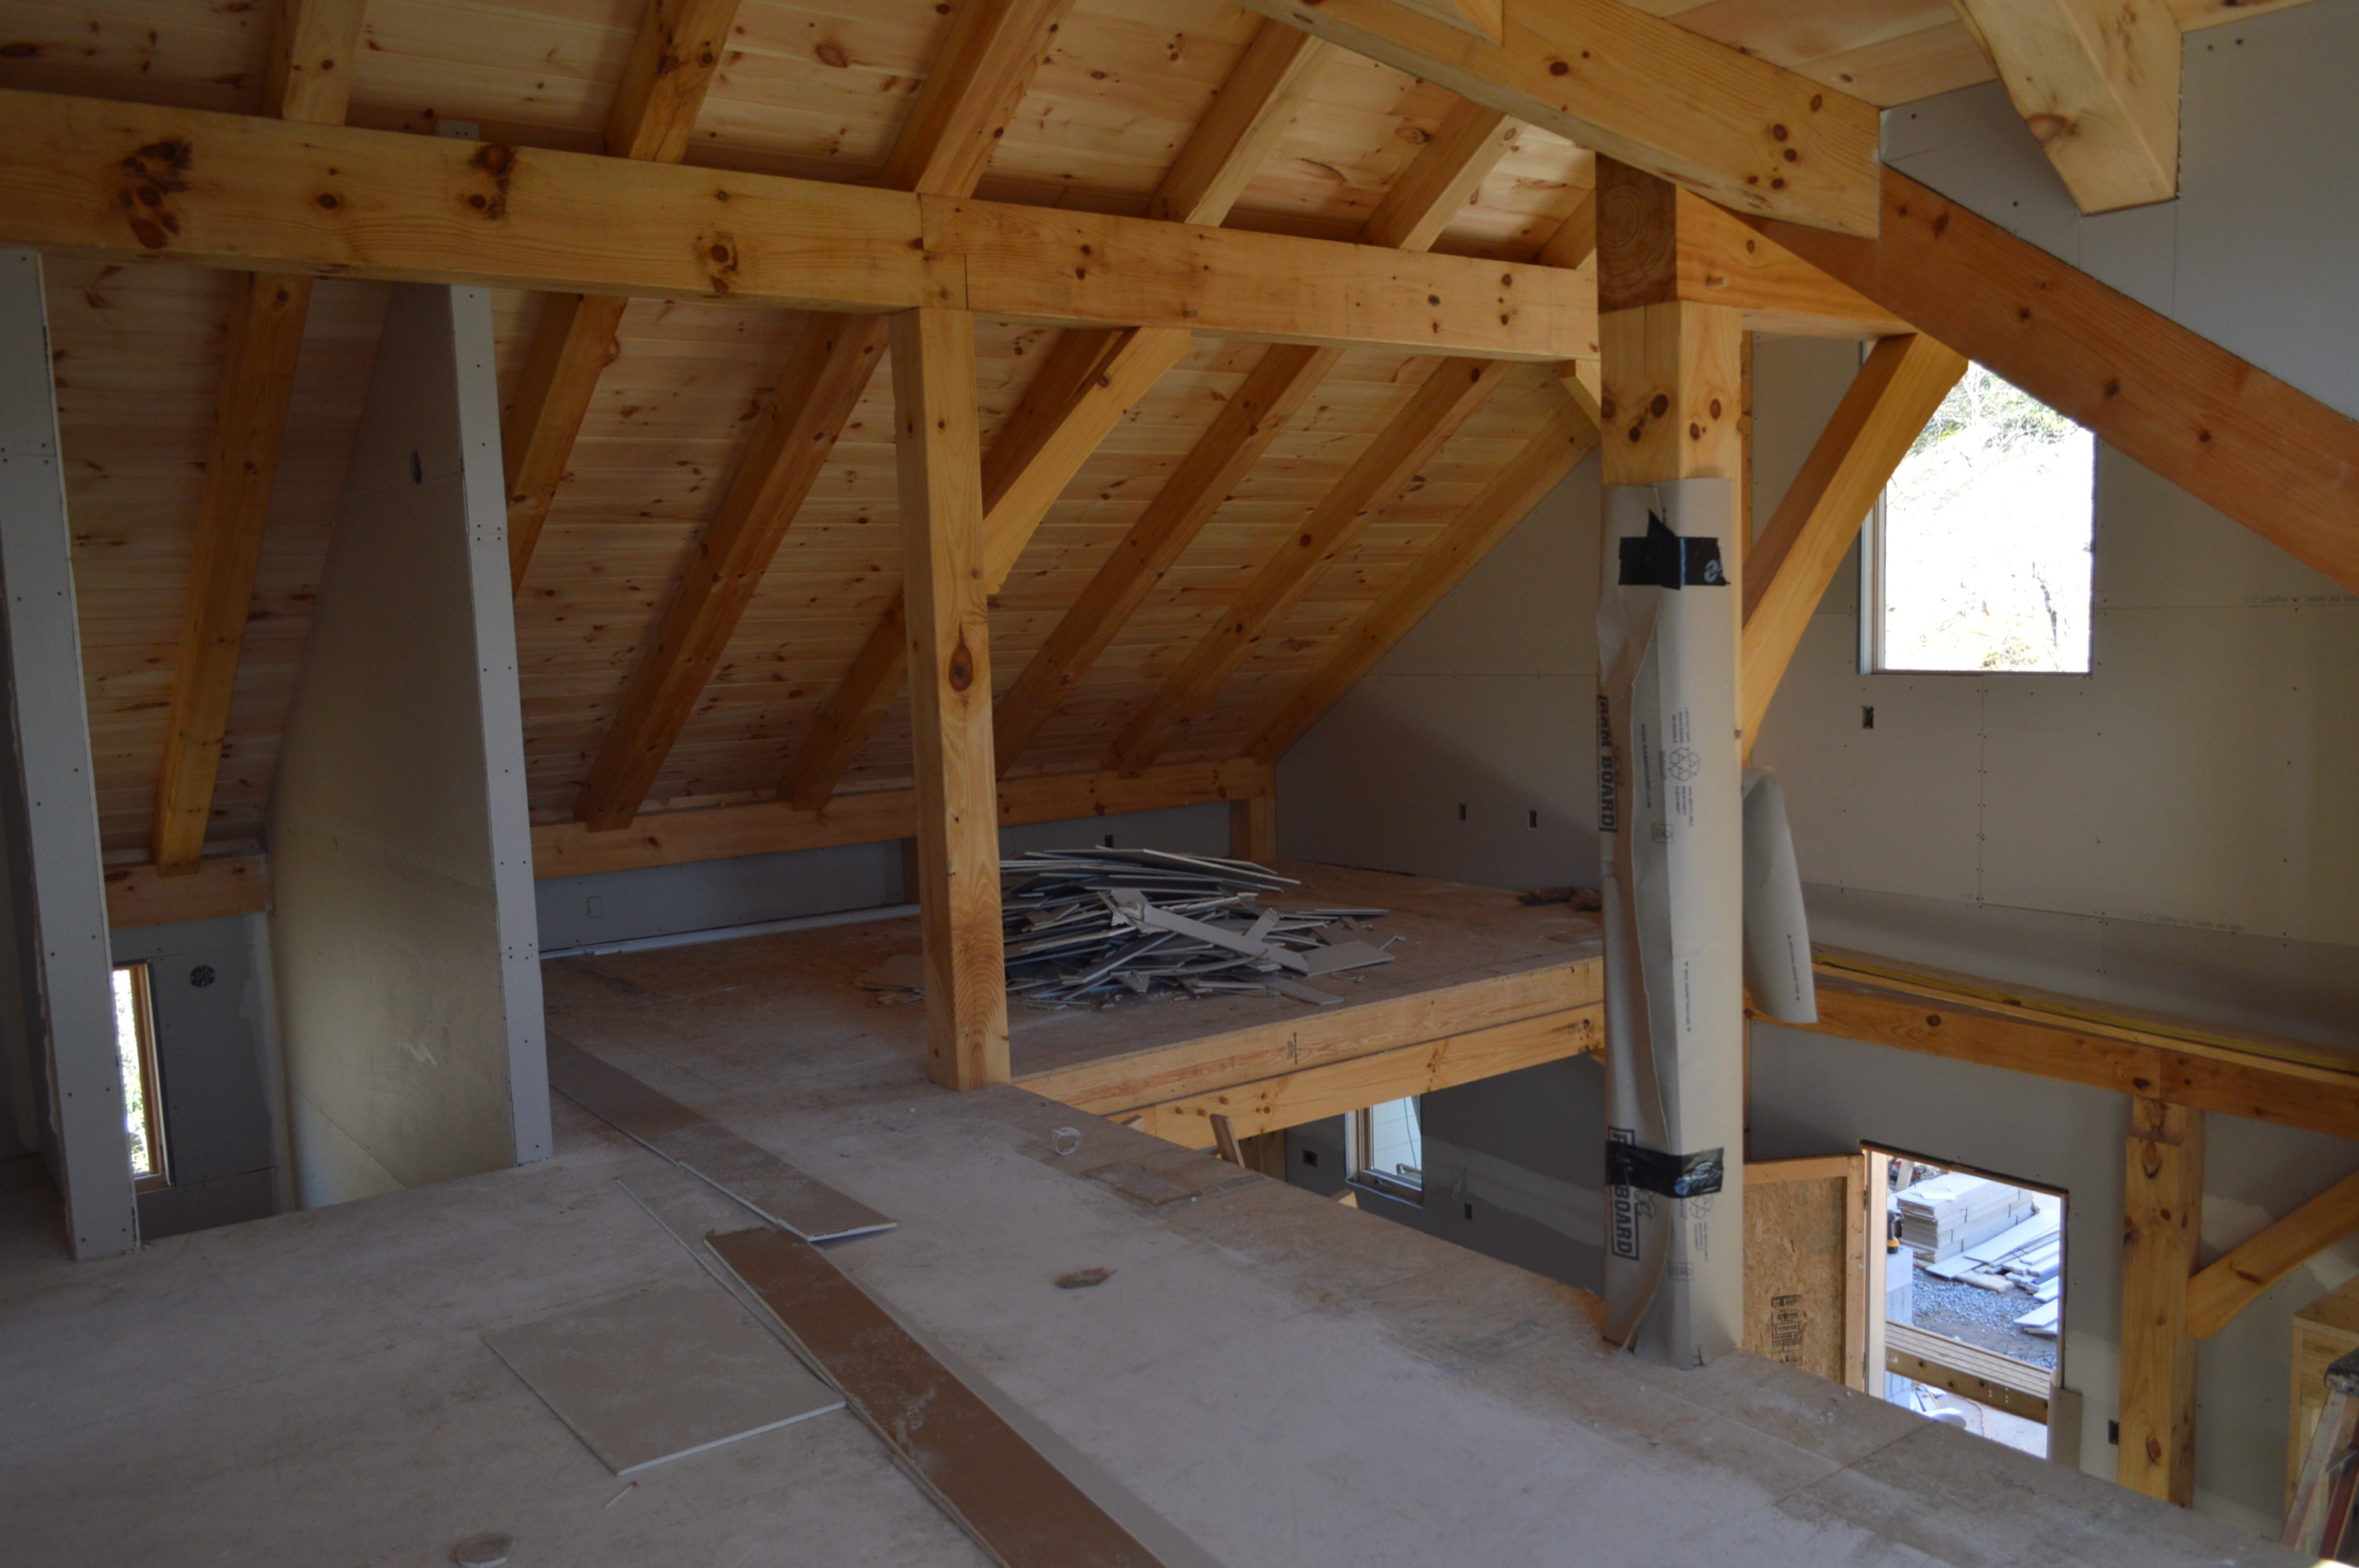

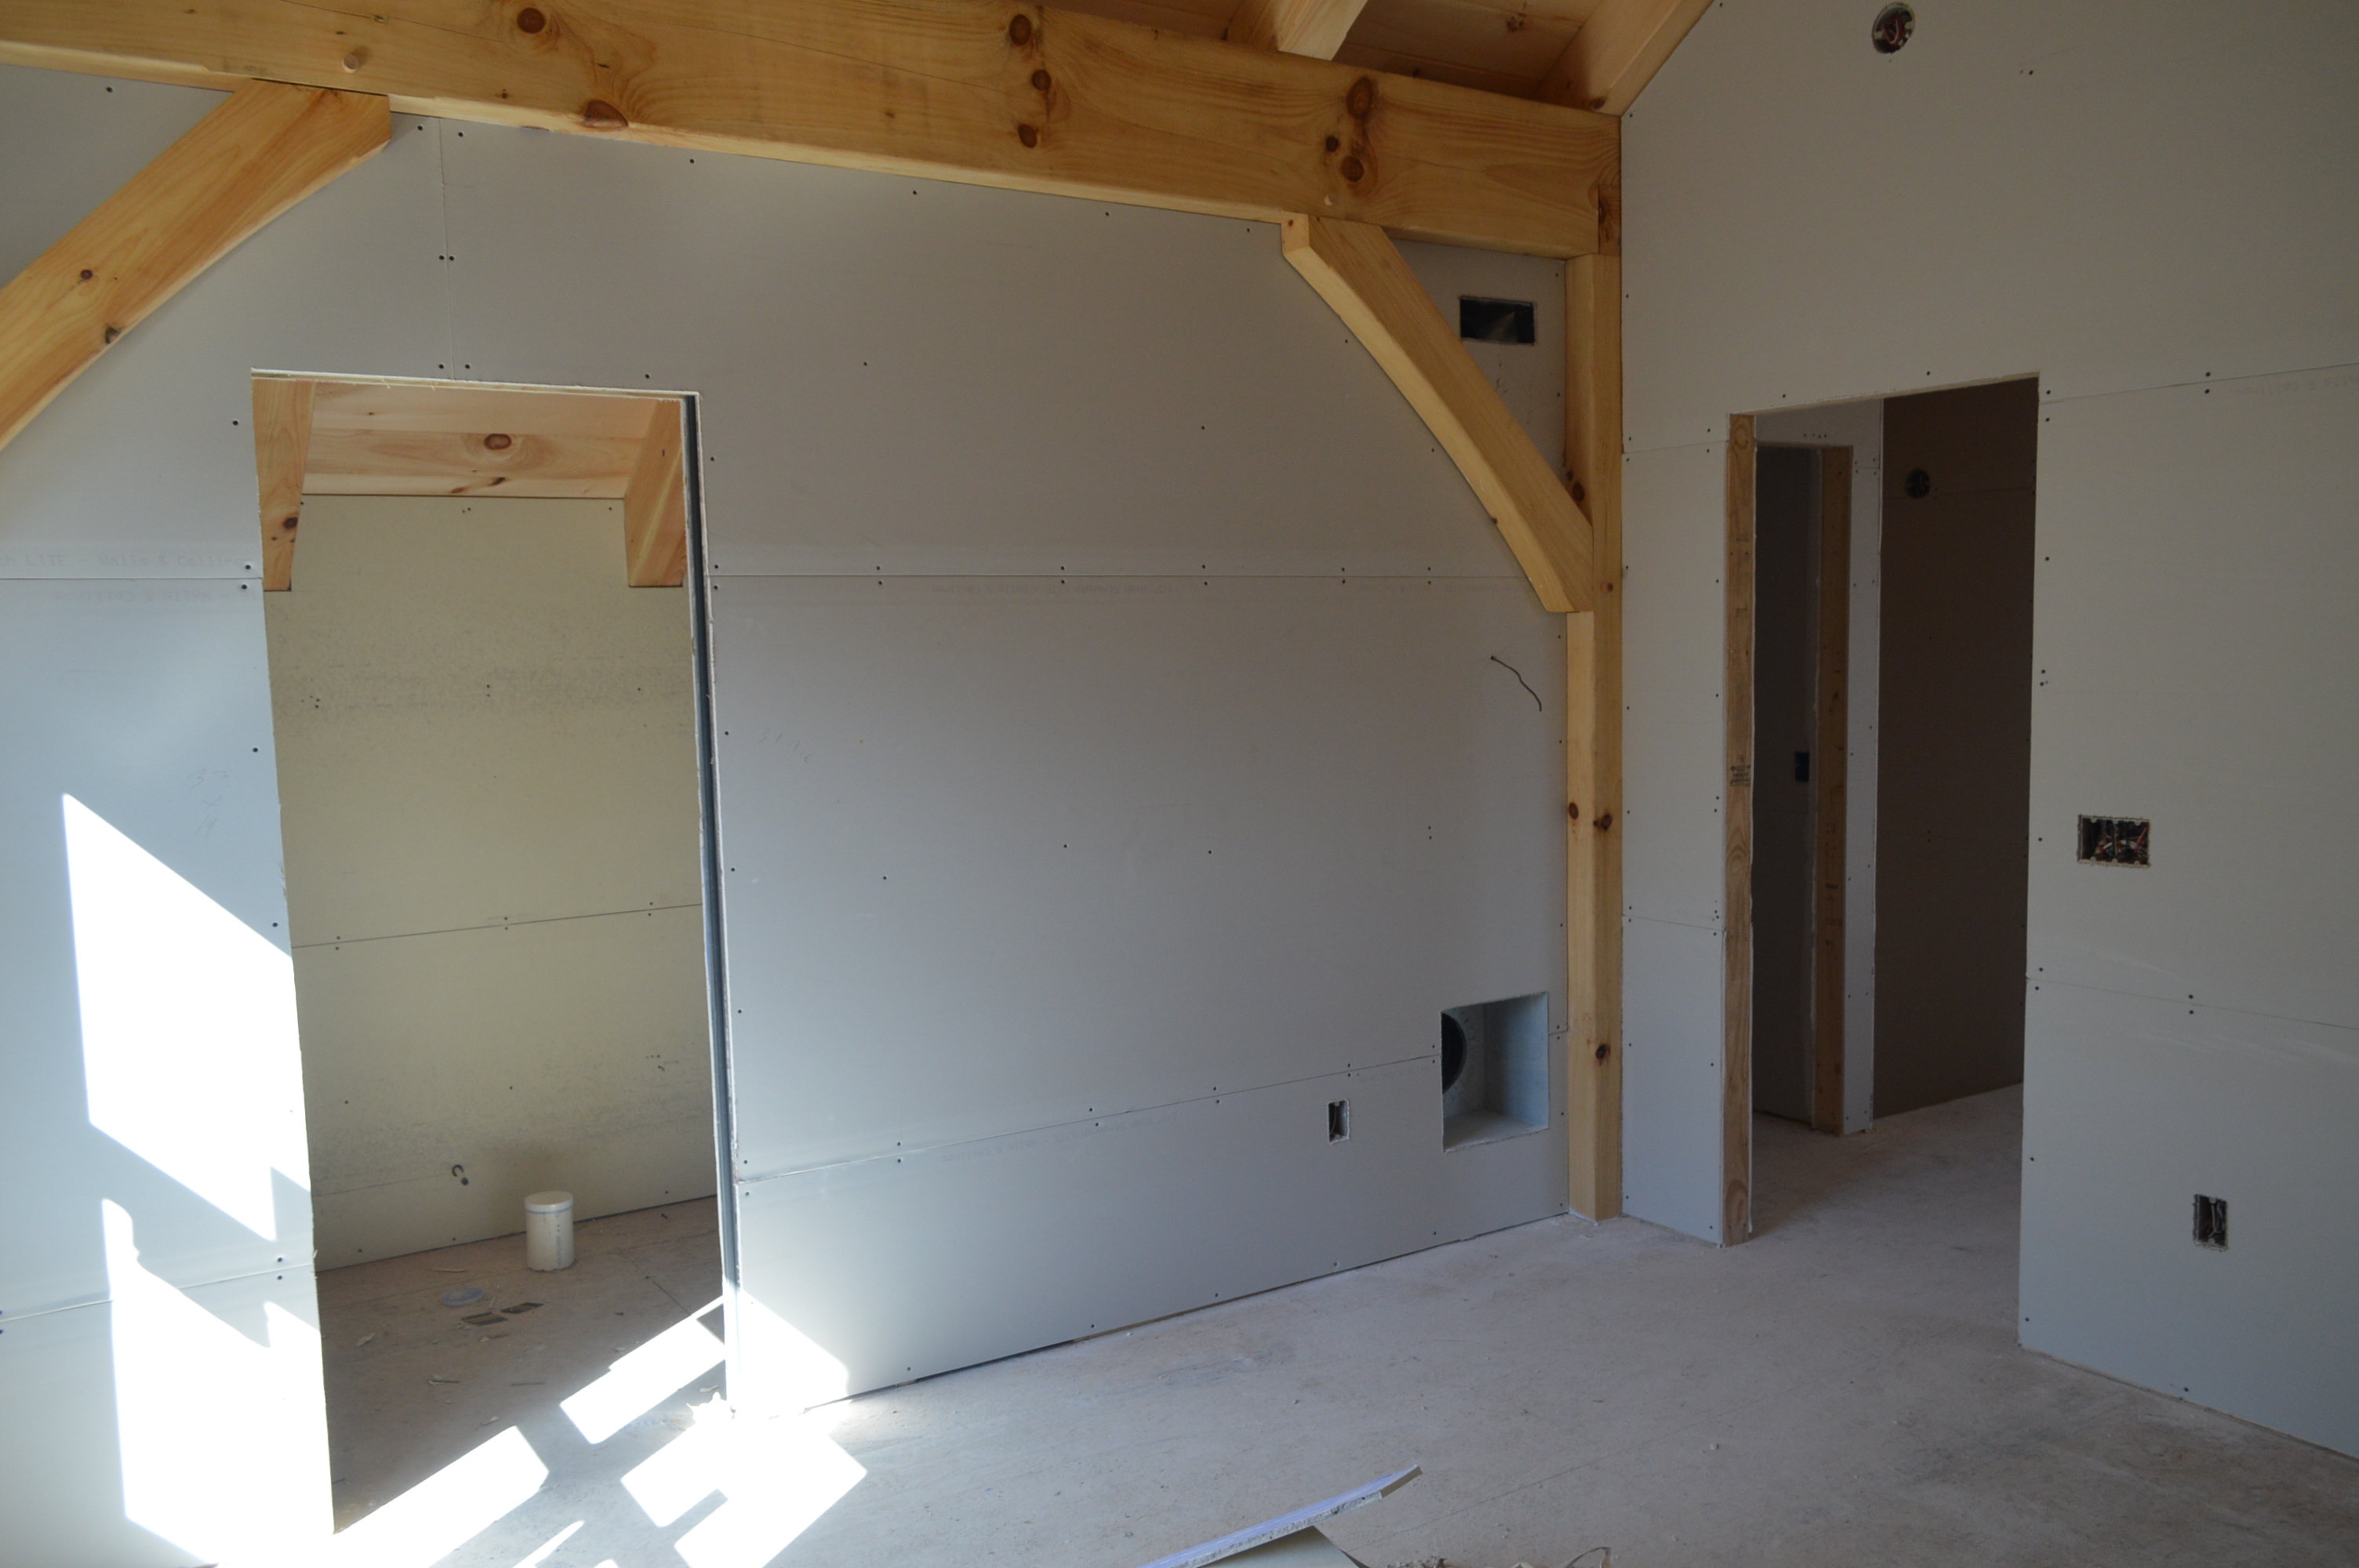
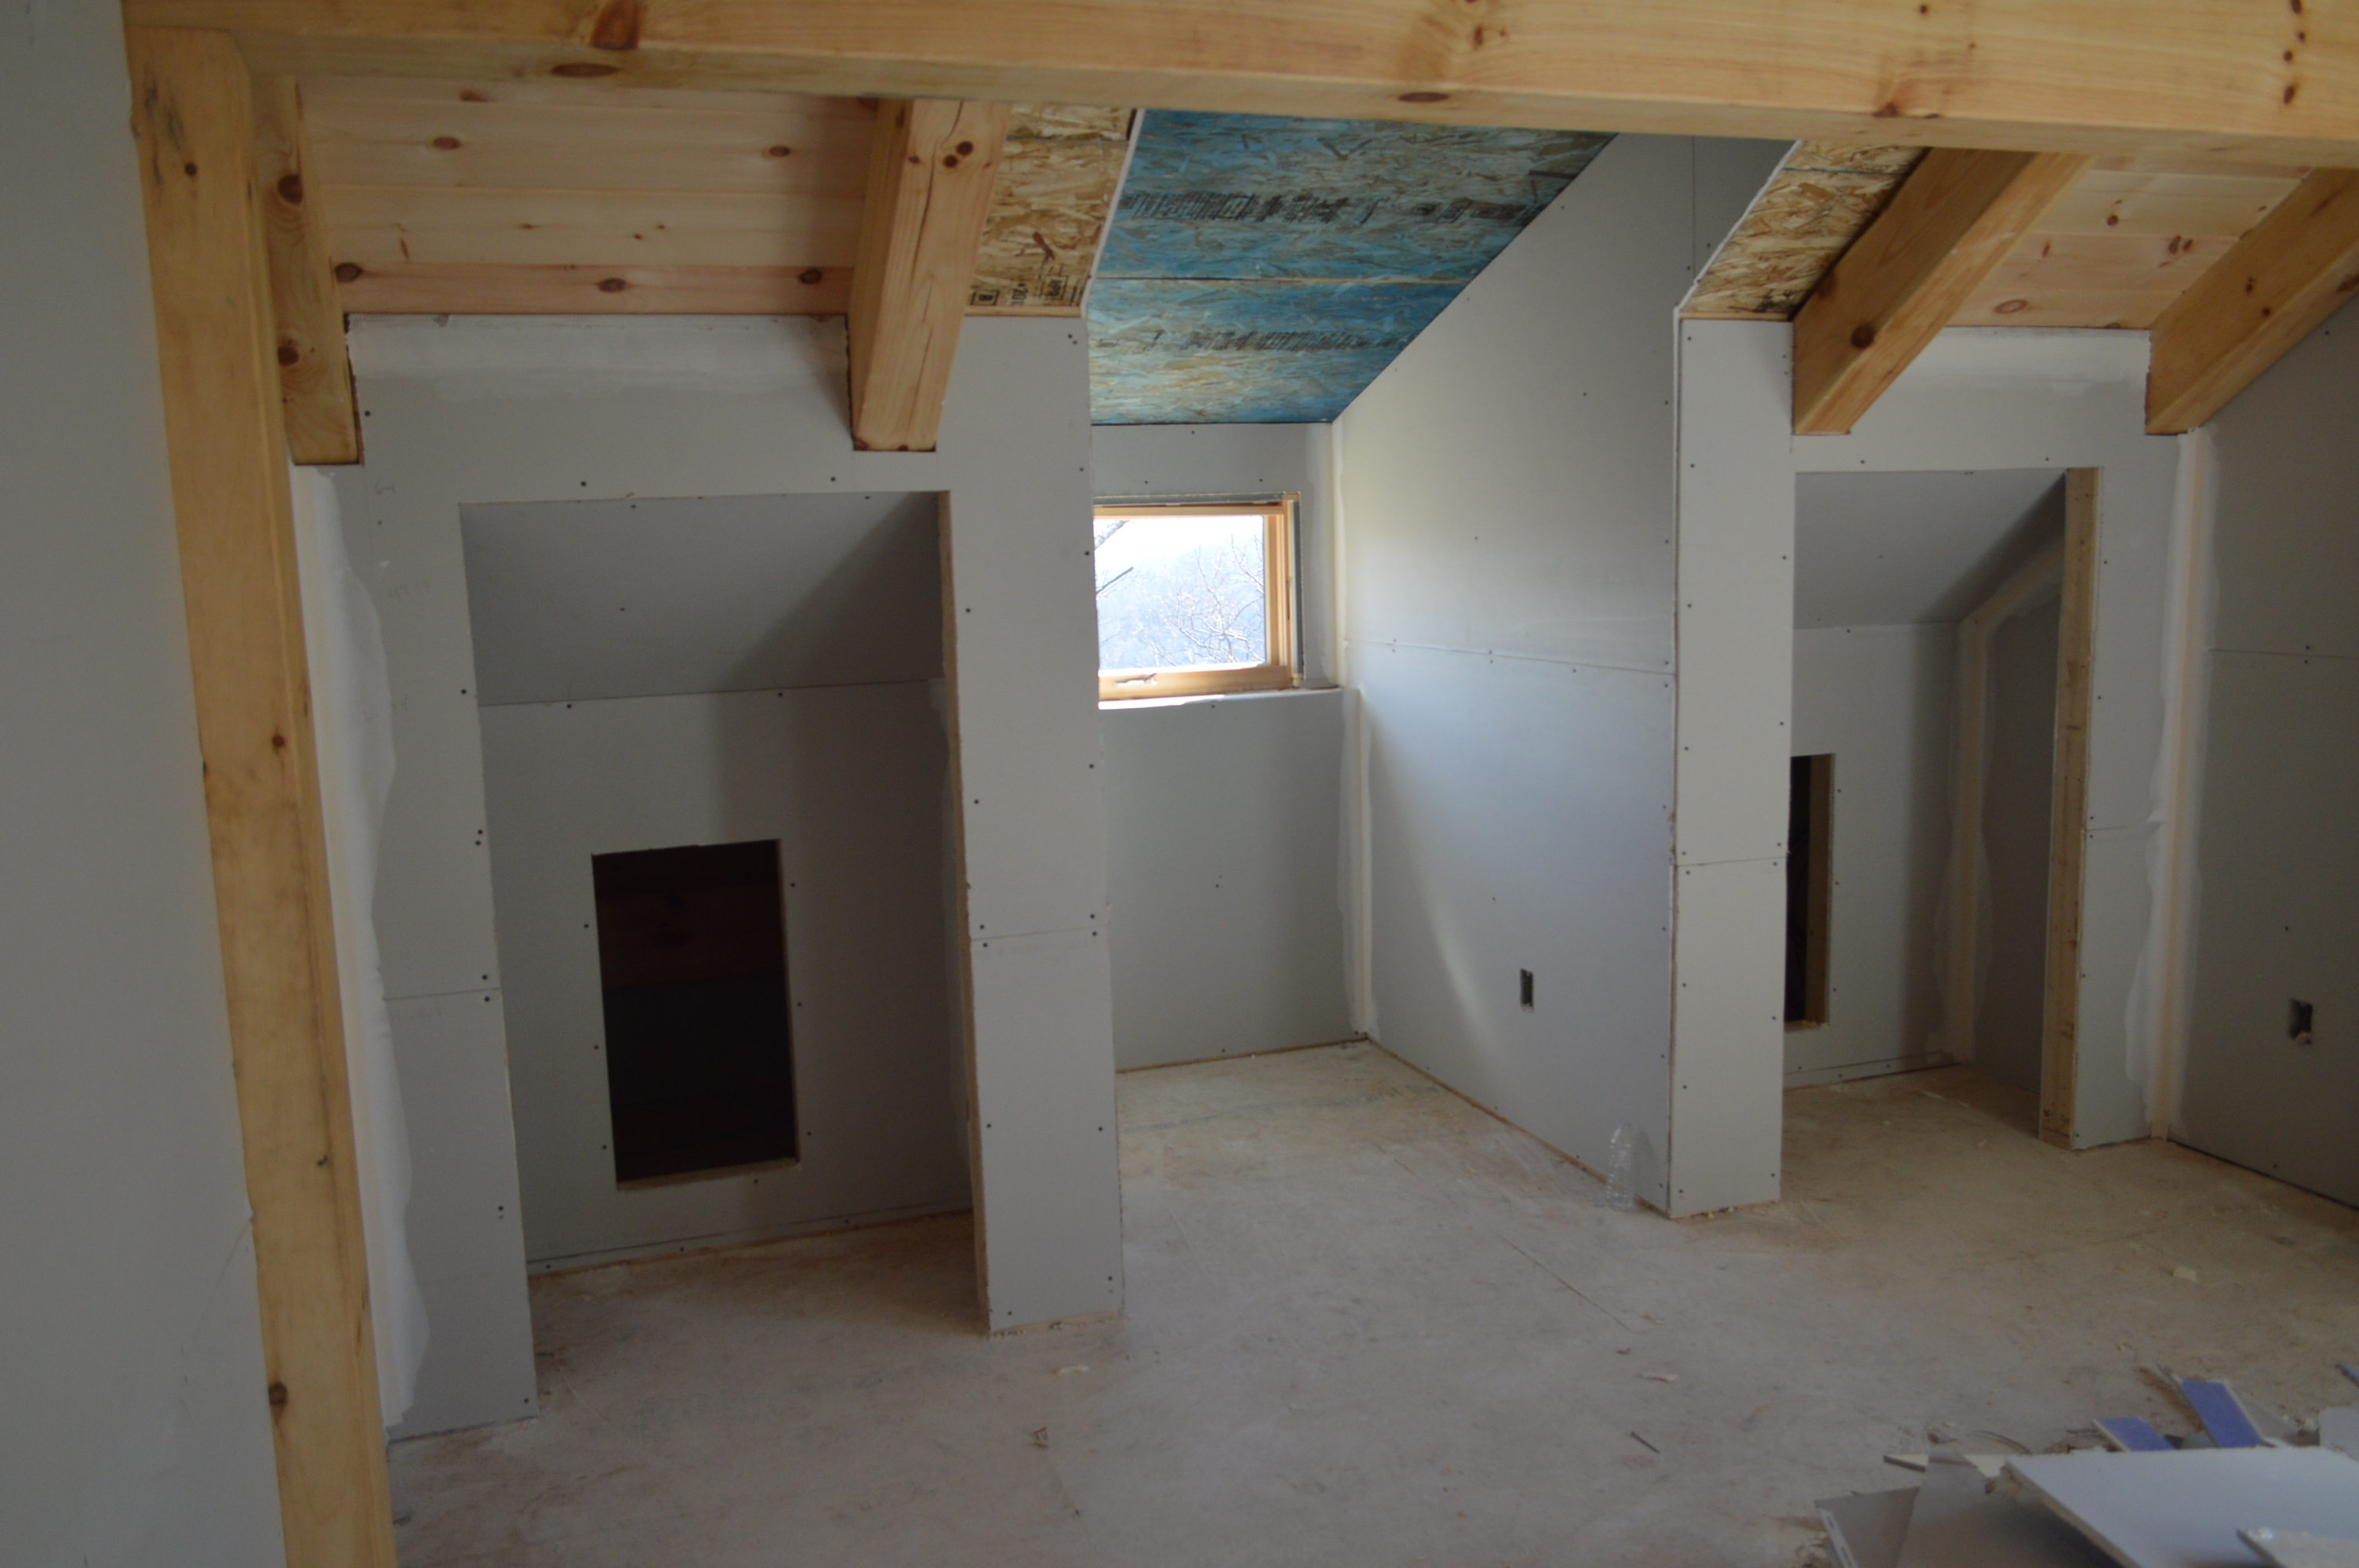
The lower level. Not shown are the closet and bathroom. The walls will be primed but not painted. I'll do that later, as well as finished the floor and do the trim work. Only three photos here:
1) the lower den as one would enter from the stairway
2) the lower den from the opposite corner near the bathroom door. One can see the door to the lower deck and a door to my workshop
3) the workshop as seen from the doorway. Cabinets will be ben installed later on the left side and shelves on the right side.
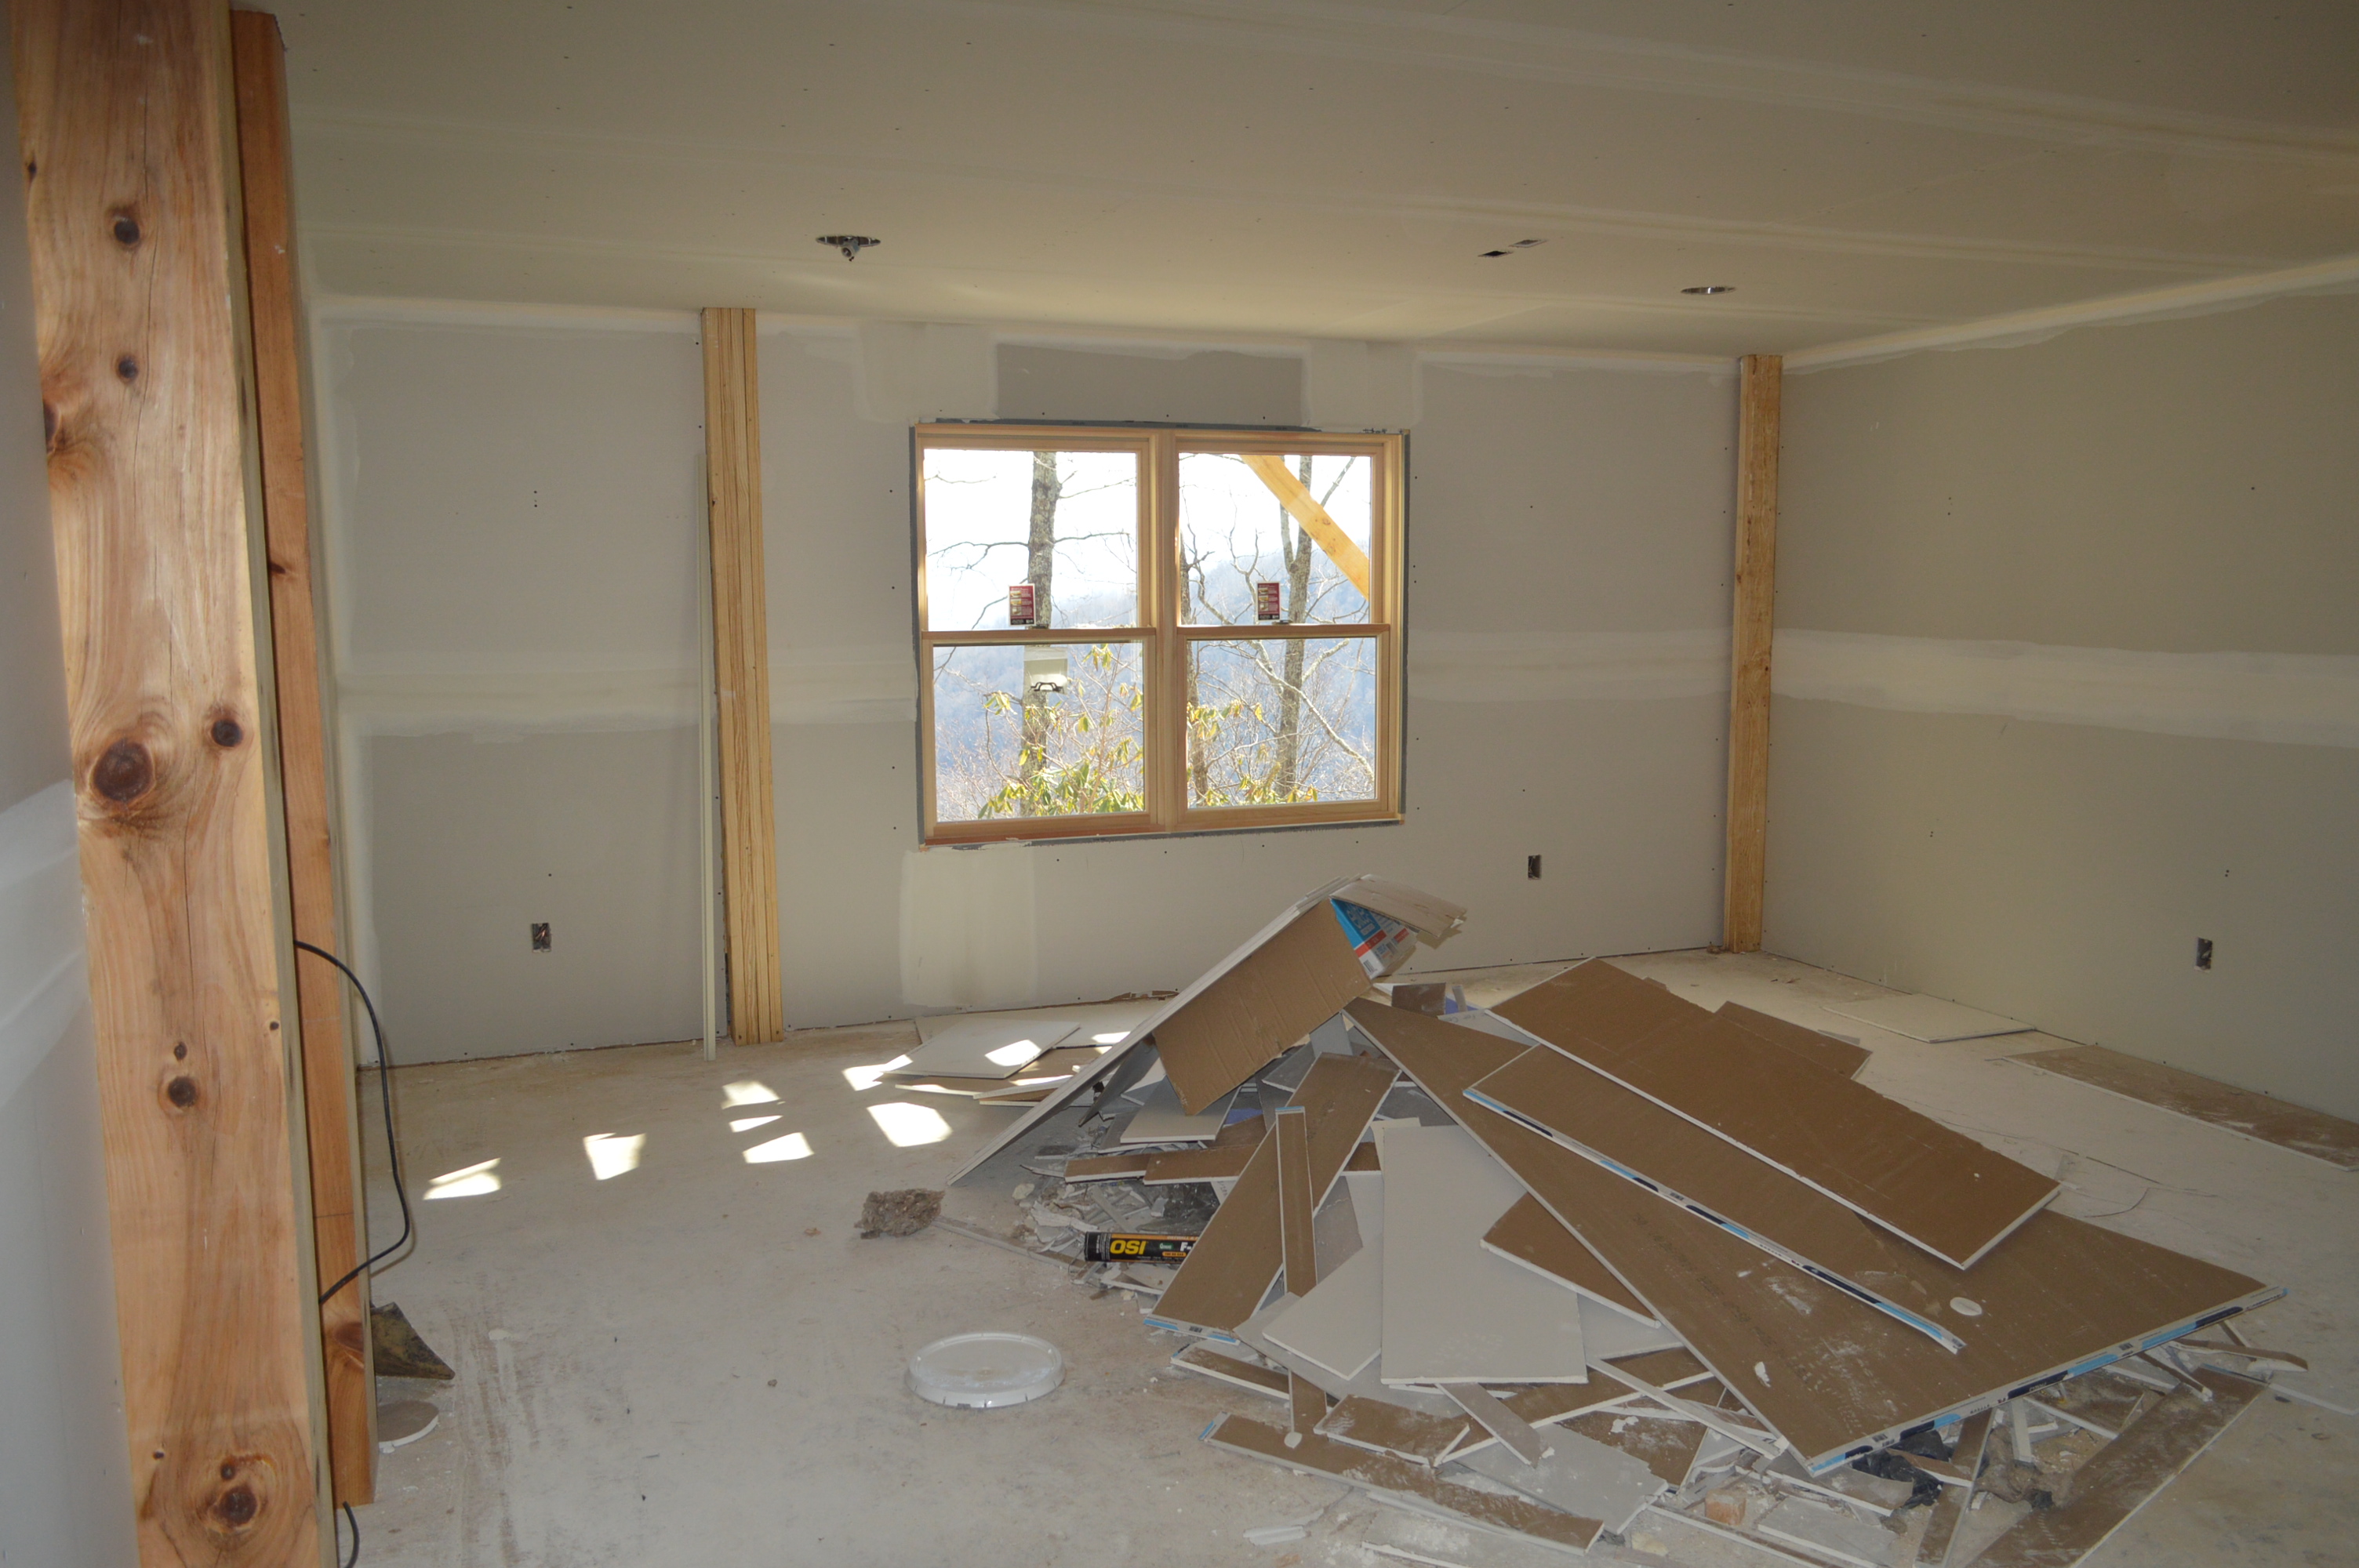
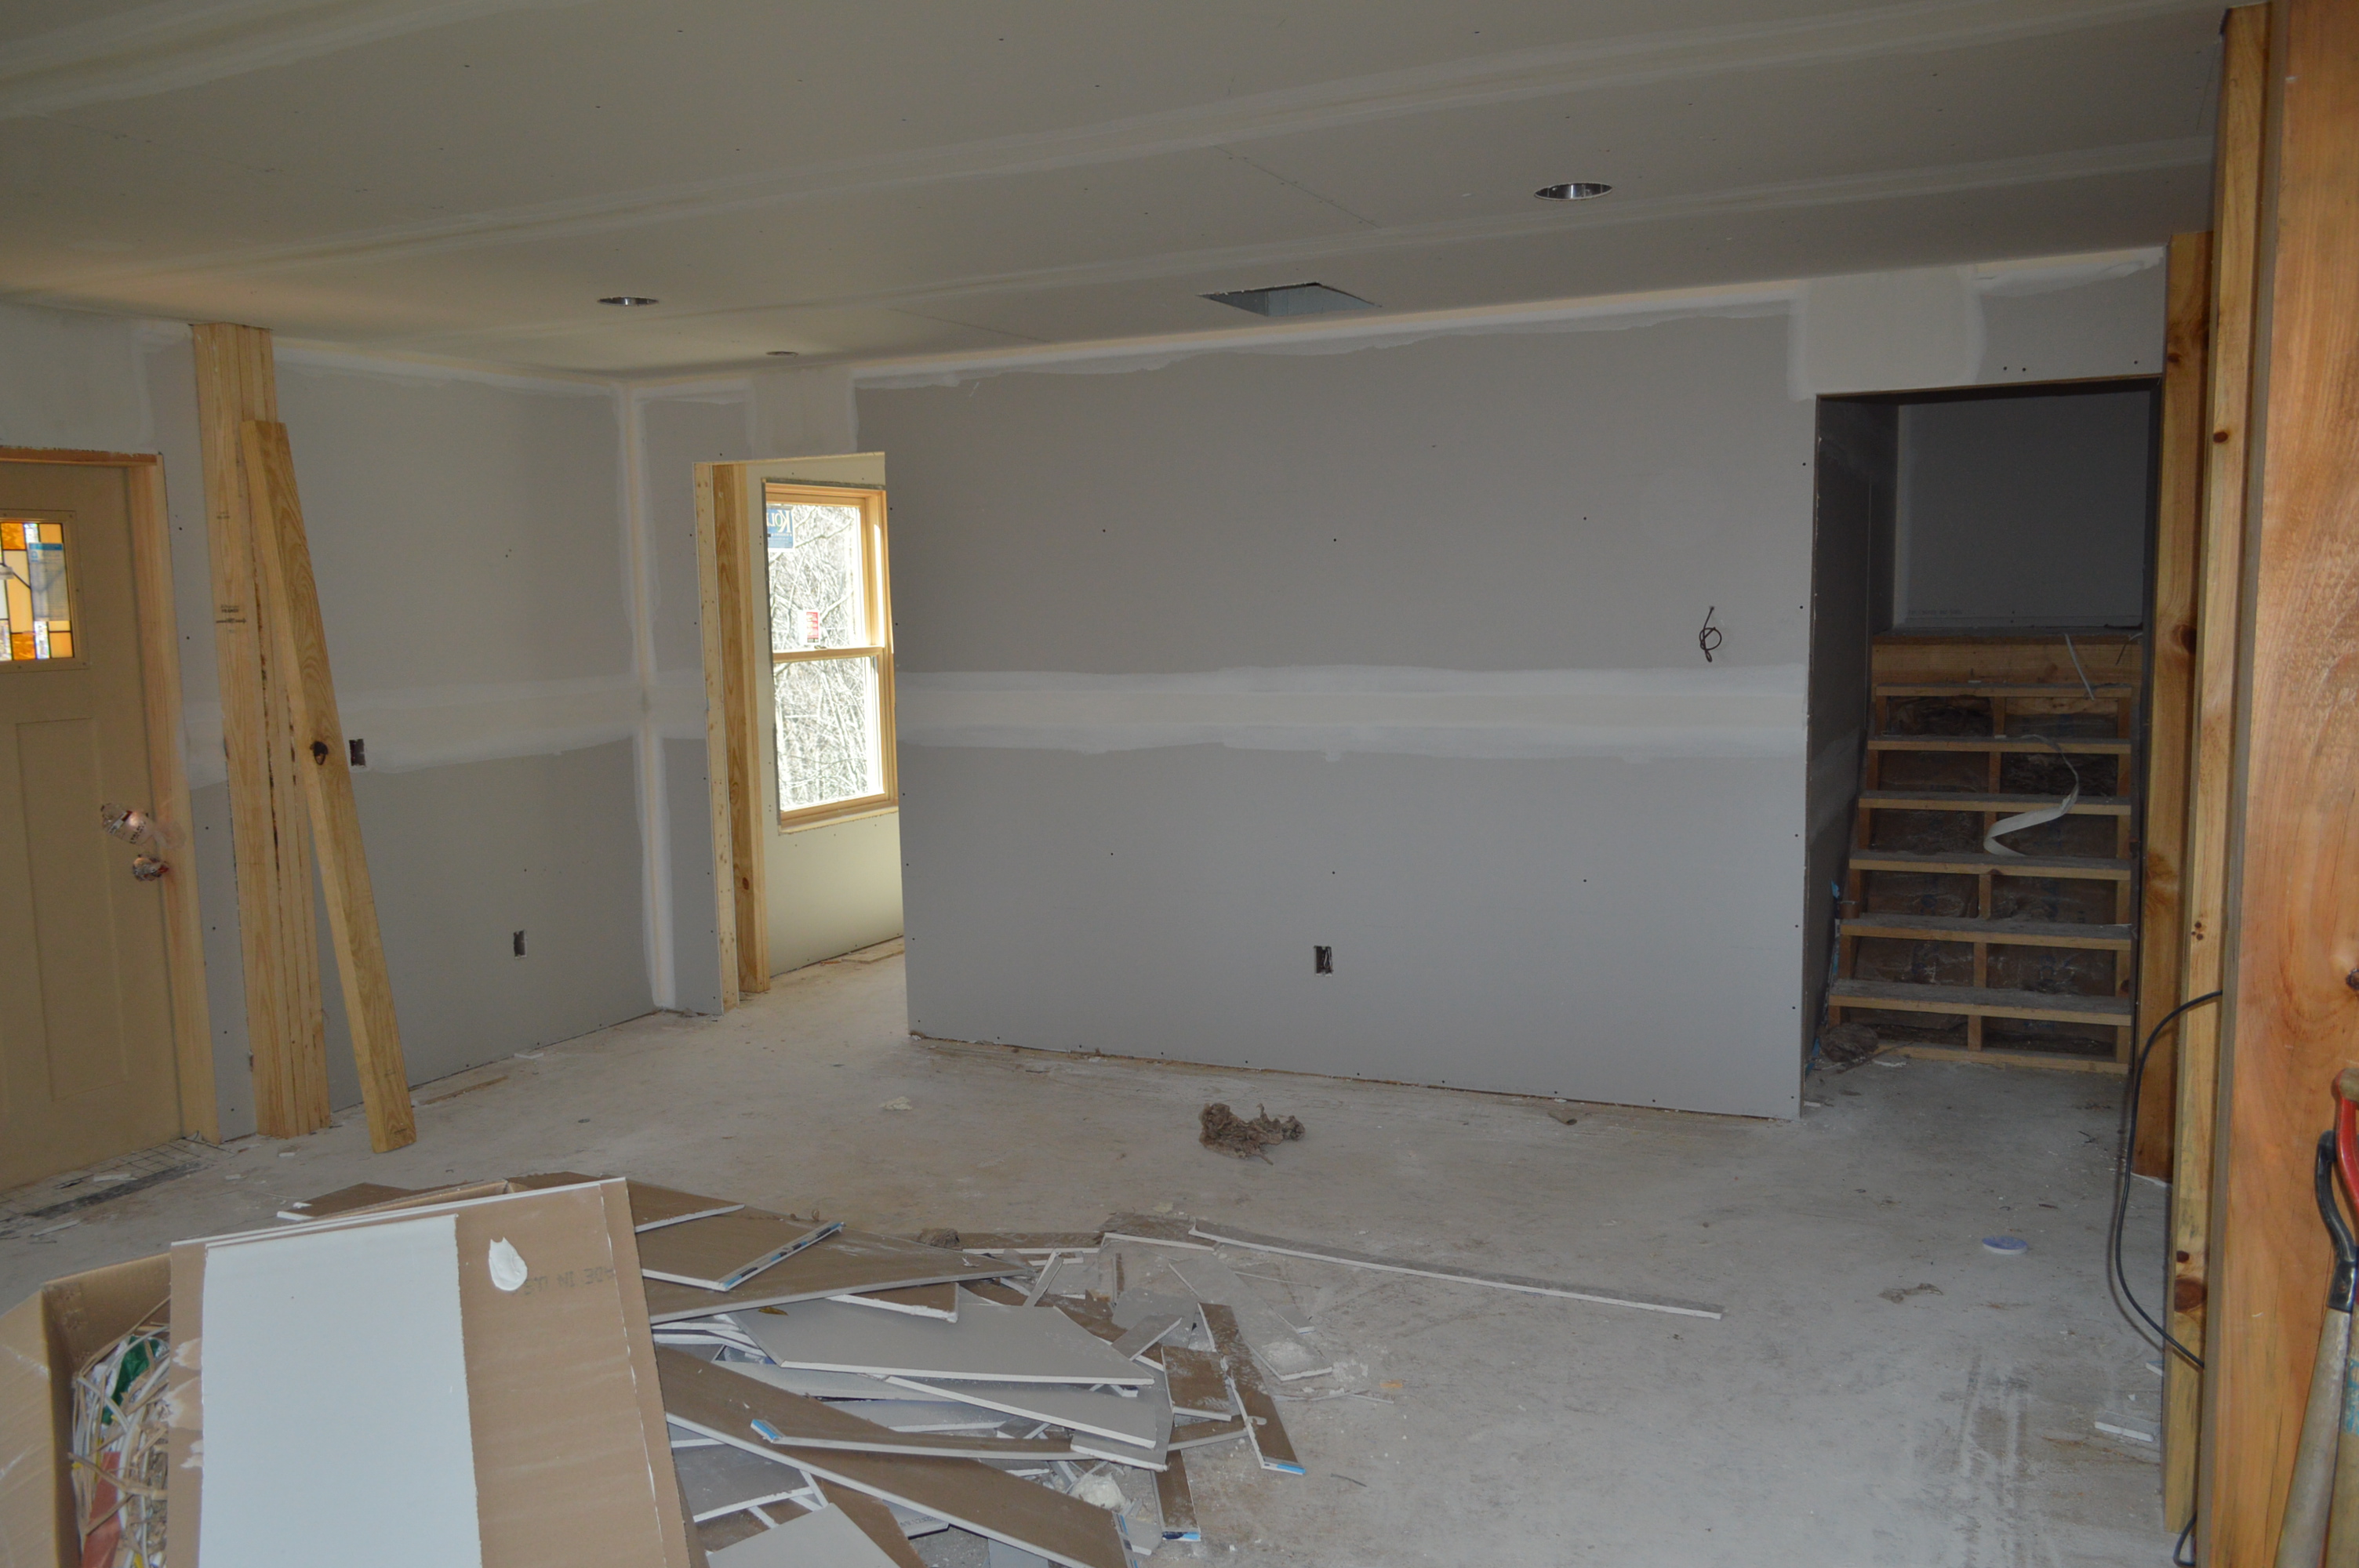

Stay tuned for more updates